This procedure serves as a basic introduction on how you can obtain all entities, and commit authentication via Windows Hello and PlayFab. For a more sophisticated example of Windows Hello and PlayFab authentication, consider our
[UWPExample project](https://github.com/PlayFab/UWPExample).Requirements
- Follow the MSDN “Get Set Up” Guide to prepare Windows and Visual Studio for UWP development.
- Have a registered PlayFab title.
- Be familiar with Login basics and Best Practices.
It is very important that you use the Windows 10 operating system, are logged in with a verified Microsoft account, and have configured an access interface such as PIN. If these requirements aren’t* met, the app will fail without any useful explanation of why.
Preparing a Visual Studio project
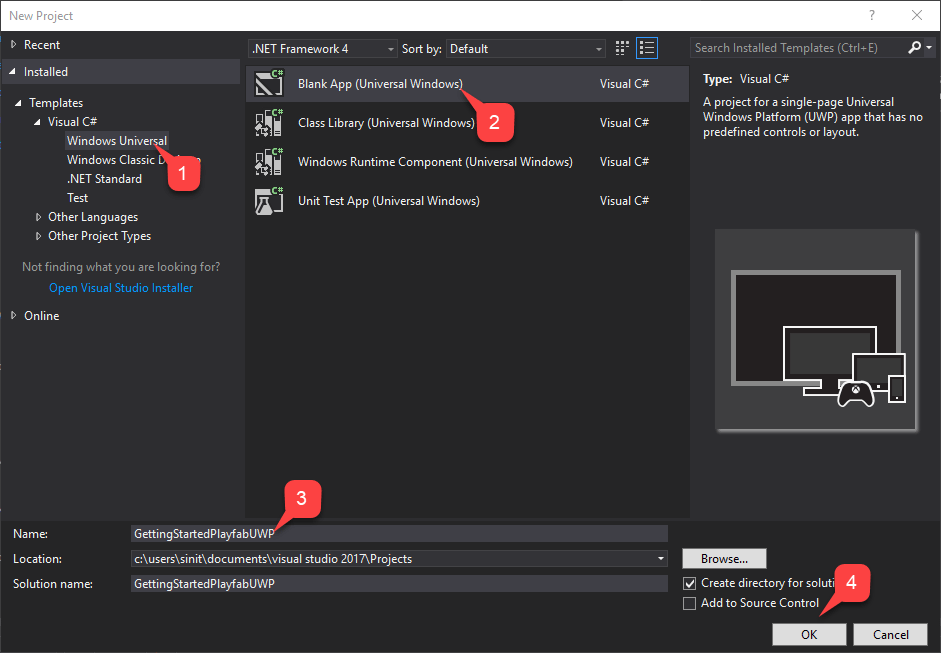
Start Visual Studio and create a new project.- Under Templates, select Windows Universal.
- Then select the Blank App (Universal Windows) type.
- Name it GettingStartedPlayfabUWP.
- Select the OK button to submit.
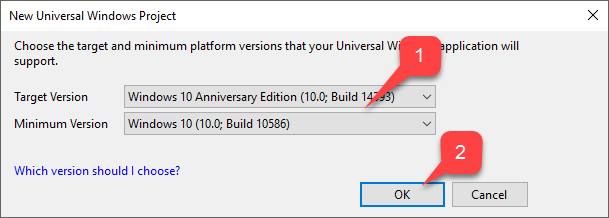
- Select the Target Version and the Minimum Version that match your Project.
- Select the OK button.
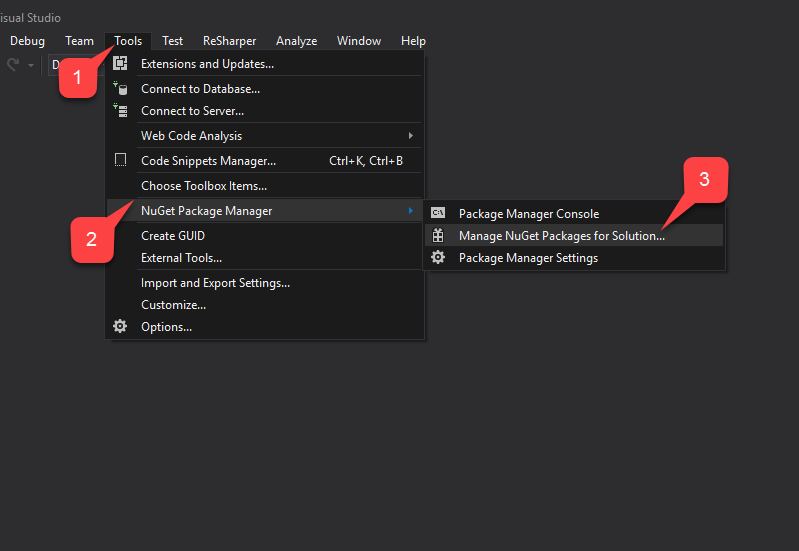
- First, select the Tools tab.
- In the drop-down menu, select NuGet Package Manager.
- Then select Manage NuGet Packages for Solution.
- Select Browse and search for the PlayFabAllSDK package.
- Select your target Project.
- Then select the Install button.
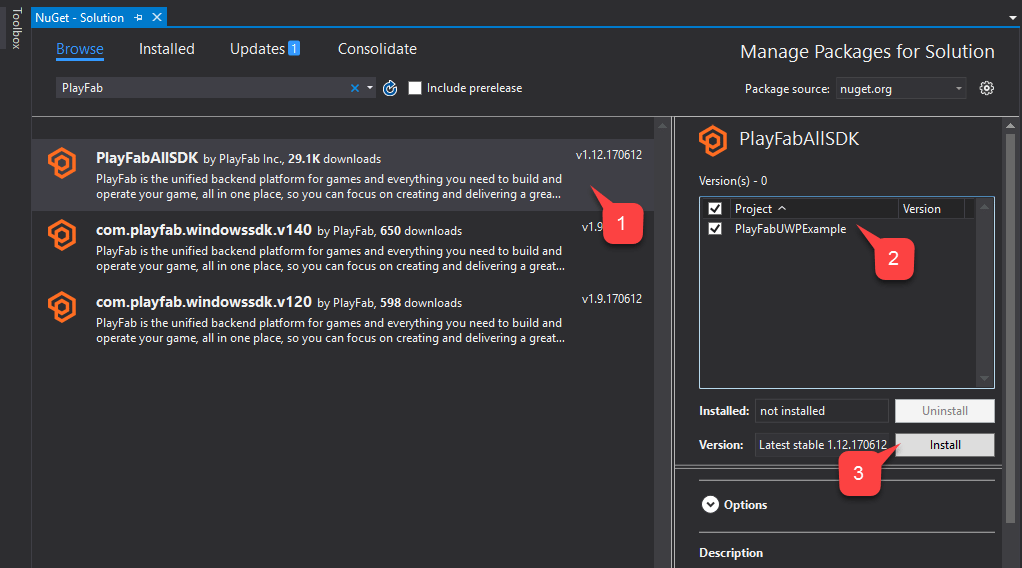
- App
- MainPage
Implementation
App.xaml.cs
This class will just set up our PlayFab SDK by setting a proper title ID. Don’t forget to replace the title ID with your own.MainPage.xaml
This file contains the layout for our main page. This is a super trivial layout with two buttons, and a text input combined in a vertically oriented grid. The buttons are bound to specific methods, and the textbox is accessible via its nameUsernameInput.
MainPage.xaml.cs
This is the functional class for the main page and it’s the heart of the example. Refer to the code comments, and review the different methods that are designed to walk you through PlayFab+Hello register and login. The easiest approach to start learning the code is to review the methods that are triggered by the corresponding buttons:- RegisterRequest
- LogInRequest.
Testing
To run the application:- Enter your username.
- Select the Register With Hello button.
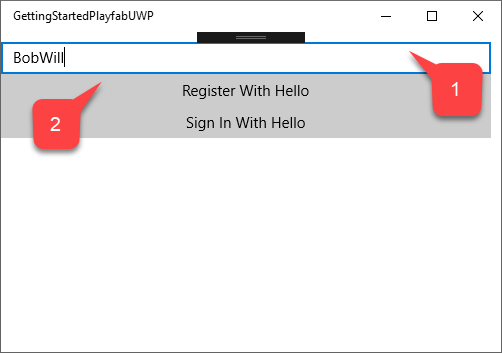
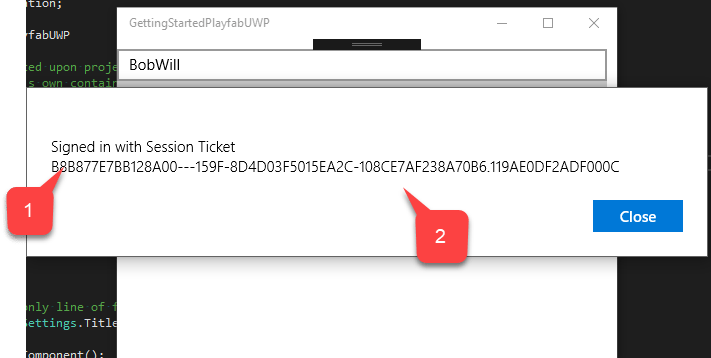
- Once your identity is confirmed, you’ll see the confirmation message saying that the account was Registered and signed in.
- With a Session Ticket.
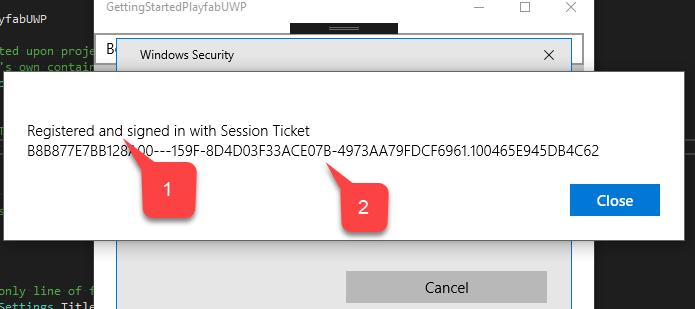
- Select the Sign in With Hello button.
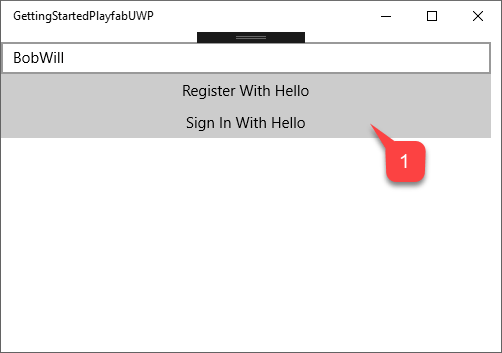
- Once your identity is confirmed, you’ll see the confirmation message saying that the account is Signed in.
- With a Session Ticket.