Prerequisites
Before beginning, you should have:- A Unity project with an imported PlayFab SDK, and a configured title ID.
- A Steam Application with:
- The AppID already set up. The AppID can be acquired through the Steam Direct (Formerly Greenlight) process.
- A Steam Publisher Web API Key. To generate a publisher key, follow Creating a Publisher Web API Key in the Steamworks documentation.
- Familiarity with Login basics and Best Practices.
Setting up a PlayFab title with Steam integration
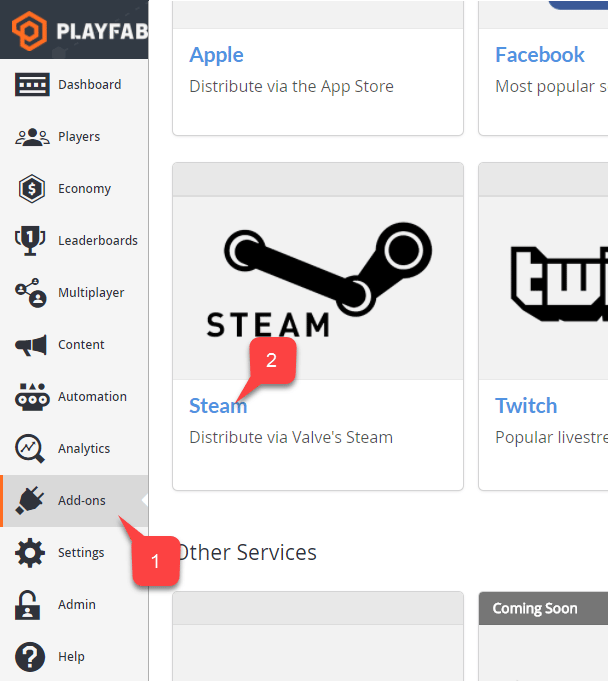
To enable support for Steam authorization, PlayFab requires you to enable the Steam add-on. Go to your Game Manager page:- Select the Add-ons menu item.
- In the list of available Add-ons, locate Steam and select the title link:
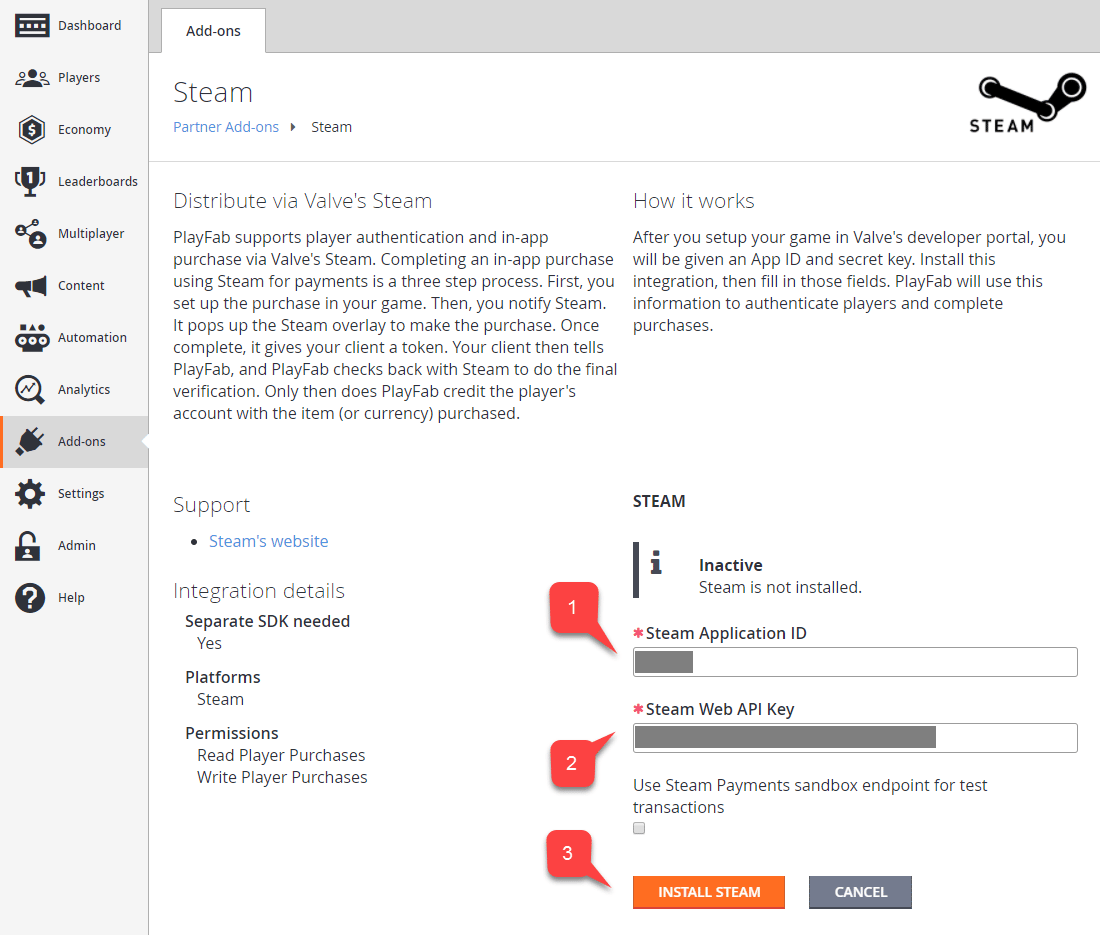
- Enter your App ID.
- Enter the Web API Key.
- Then select Install Steam.
Setting up a Unity project
Start by downloading the latest release of Steamworks.NET from the Releases page.- Get the Unity Package version of the release, and import it into the project.
- Once you import the package, close Unity.
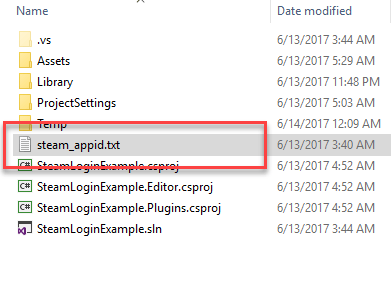
- Navigate to the Project root folder.
- Locate the steam_appid.txt file.
- Open the file and replace the App ID value with your own.
- Add a SteamManager component to the GameObject. This component is part of Steamworks.Net.
- Create and add a SteamScript component to the GameObject.
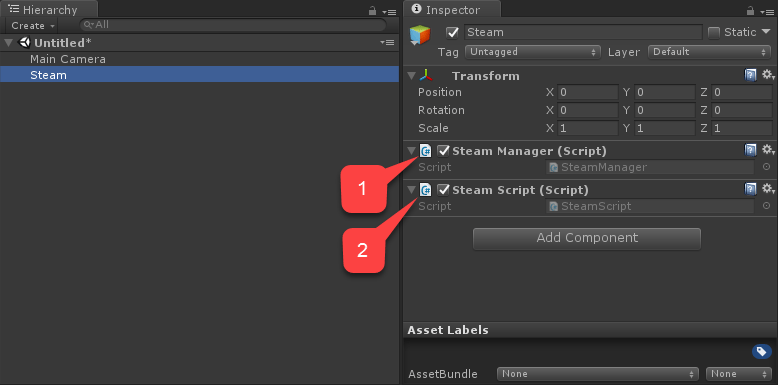
SteamScript component.
Testing
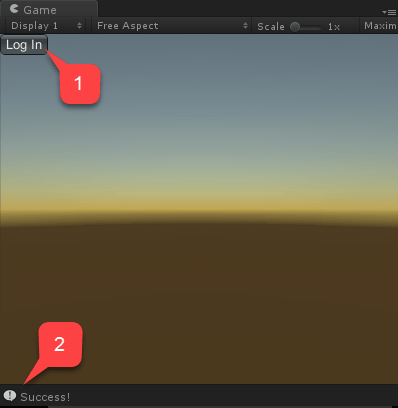
You may test right inside the editor:- Run the scene and select the Log In button.
- The console message should appear after a moment, indicating the authentication result Success!.