Set up PlayFab authentication with Battle.net
This tutorial guides you through the process of setting up PlayFab authentication using Battle.net and HTML5/JavaScript.Requirements
You need:- A Battle.net account for testing.
- A Registered PlayFab title.
- A familiarity with Login basics and Best Practices.
- A server with a valid domain name to act as a static HTML file. Consult the Running an HTTP server for testing tutorial for information on how to set one up.
Server and domain
This guide requires a server with a valid domain to follow. If you don’t have a registered domain and remote web server yet, follow our Running an HTTP server for testing tutorial for information on how to set one to run a local web server with a valid domain name. Throughout this guide, we assume your domain is http://playfab.example.Retrieve Battle.net title Client ID
Start by navigating to the Battle.net and create a Battle.net developer account. Once your account is created, you need to create a title and be assigned Client IDs.Install Battle.net Add-on
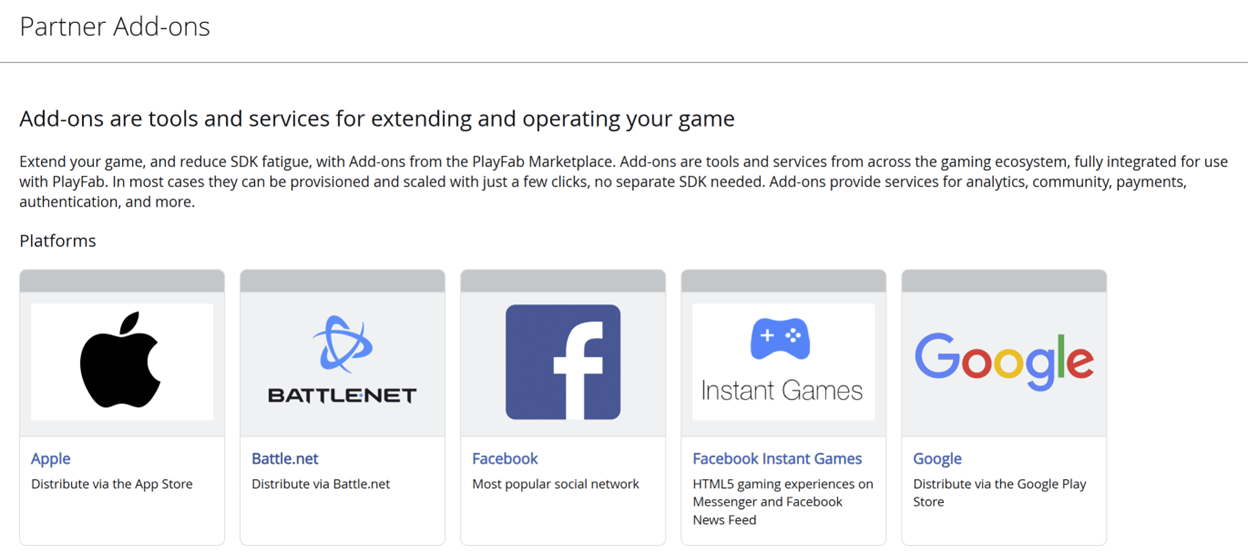
Go to the PlayFab Game Manager page for your title.- Navigate to Add-ons in the menu.
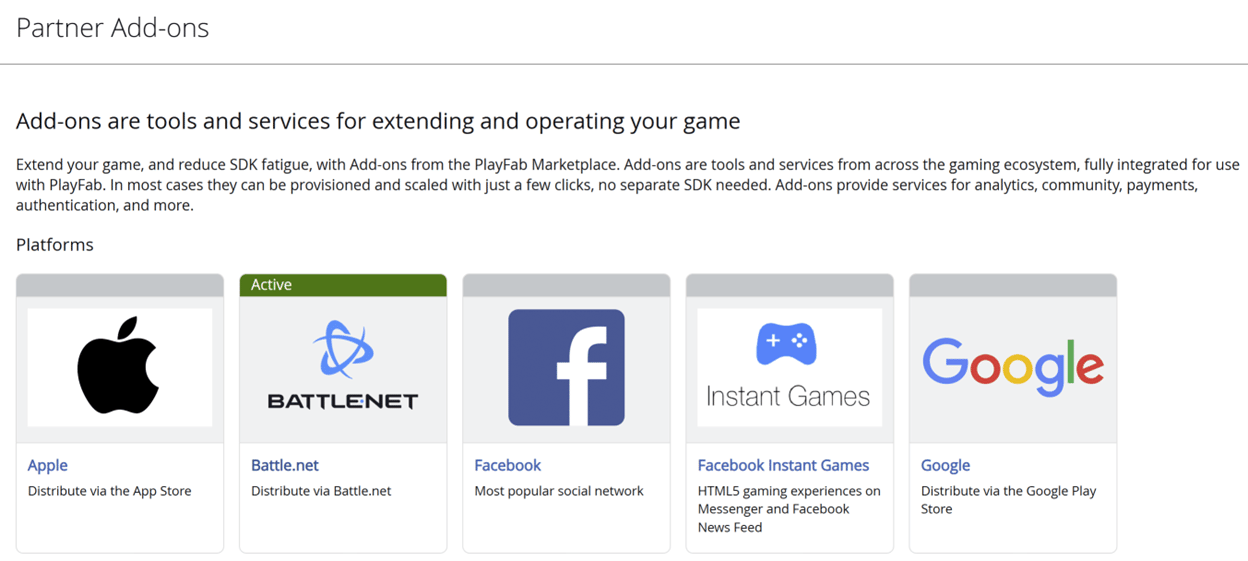
- Locate and open the Battle.net Add-on icon/link.
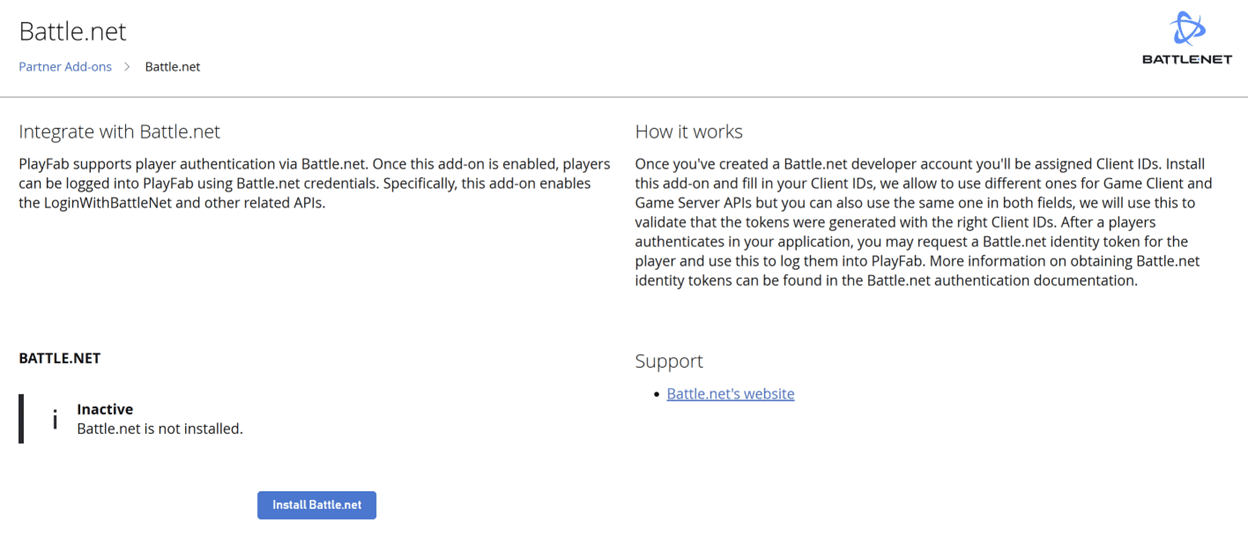
- Select Install Battle.net.
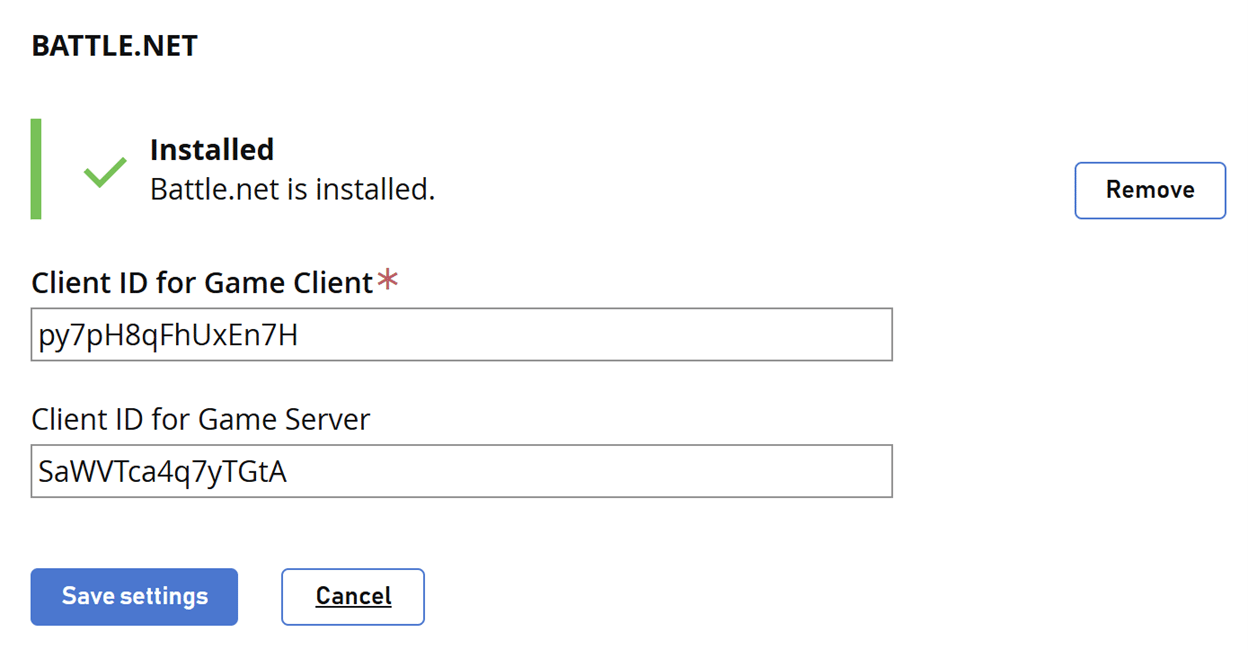
- Fill in the Client ID for Game Client.
- Optionally, fill in a Client ID for Game Server.
- Then select the Save settings button.
Testing using an access token
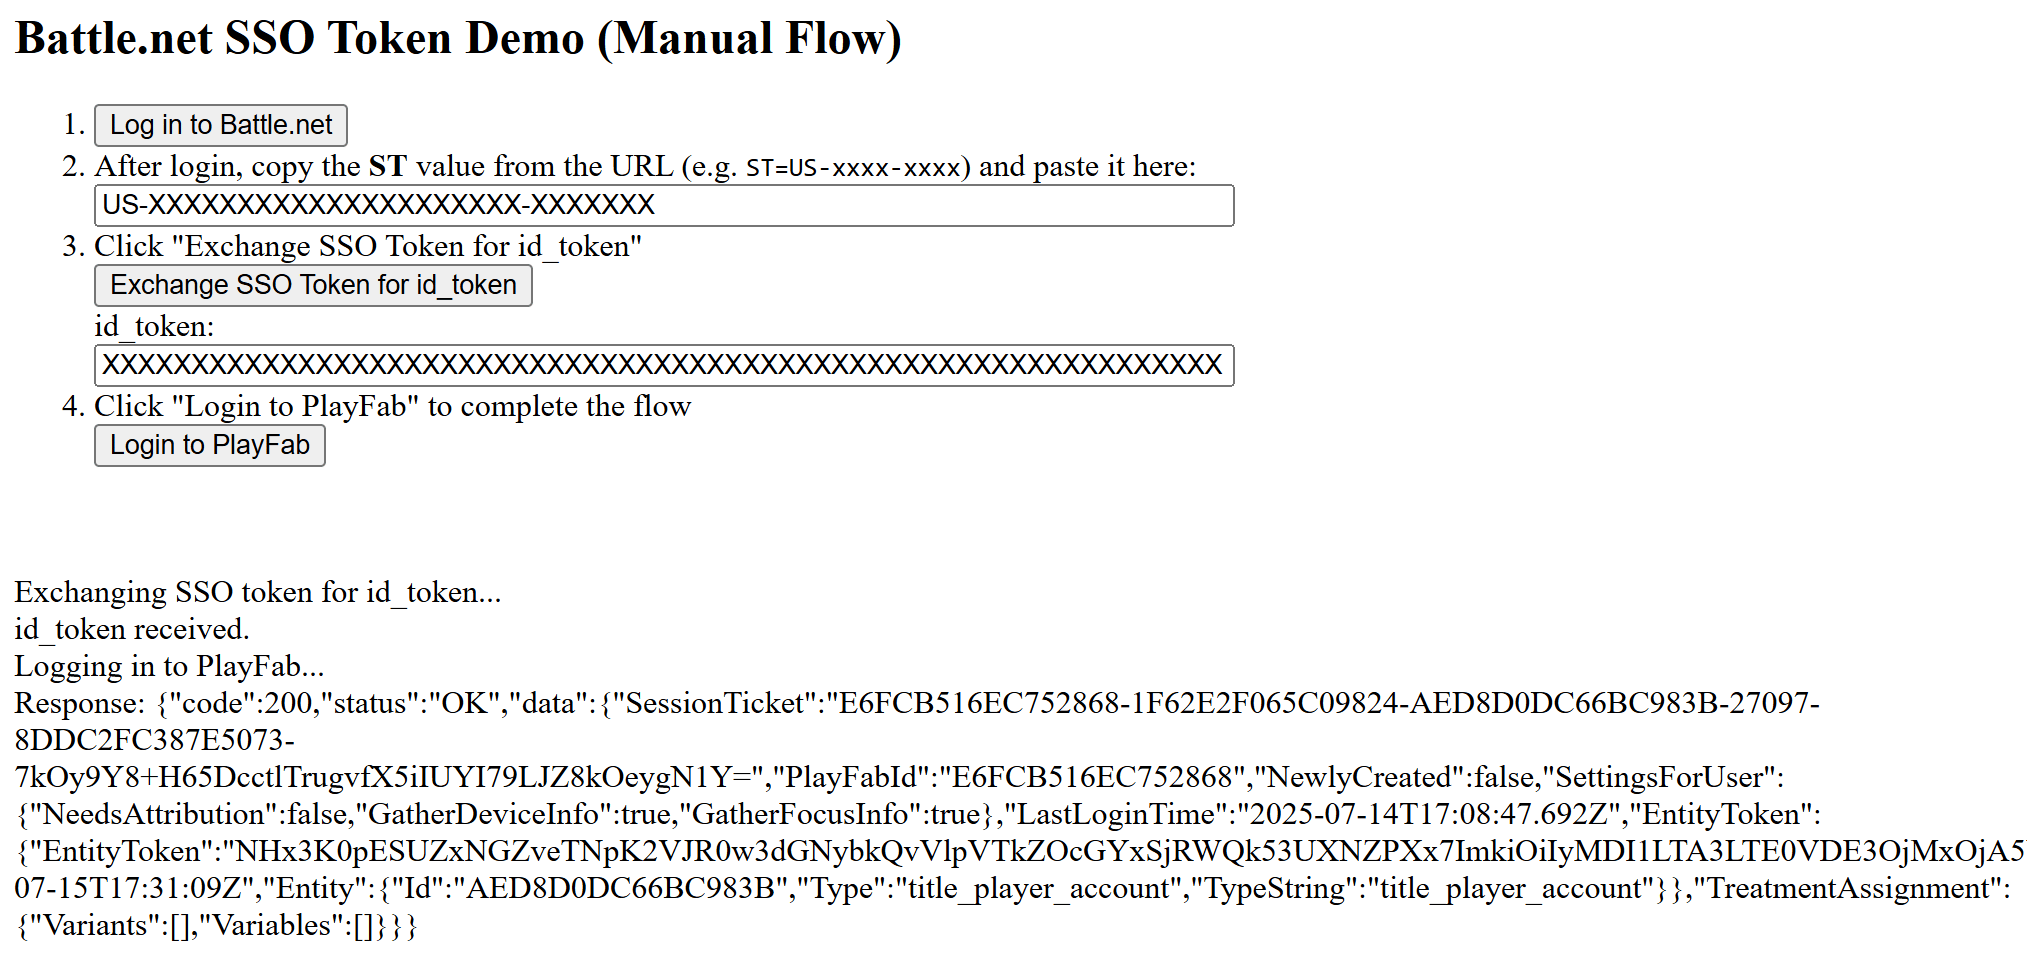
In this example, we show how to test the LoginWithBattleNet API using the classic access token approach. Use the HTML code provided for your testing.Make sure to replace
YOUR_CLIENT_ID, YOUR_PLAYFAB_TITLE_ID, YOUR_BNET_TITLE_NAME, and YOUR_CLIENT_SECRET with your own values.- Once the page opens, select Log in to Battle.net.
- After signing in, copy the ST value from the URL (for example: ST=US-xxxx-xxxx) and input it into the dialogue box.
- Select Exchange SSO Token for id_token and copy the value into the dialogue box.
- Select Login to PlayFab to complete the sign-in flow.
- When finished, the script tries to authenticate on the PlayFab side and shows the result.