
Capture screenshots
You can capture screenshots in one of the following formats:- Lossy - Compressed BMP, up to 1080p
- Lossless - Uncompressed PNG, up to 4K resolution
- Lossless HDR - Uncompressed JXR, up to 4K resolution. This format requires the console to be in HDR mode. If the console is not in HDR mode, XBOX Manager takes screenshots in the non-HDR Lossless format.
Screenshots on XBOX Series S are limited to 1080p.
- Open XBOX Manager GDK from the Start menu shortcut.
- Select the console that you want to use to capture a screenshot.
- Use the console’s controller to set up the scene that you want to capture.
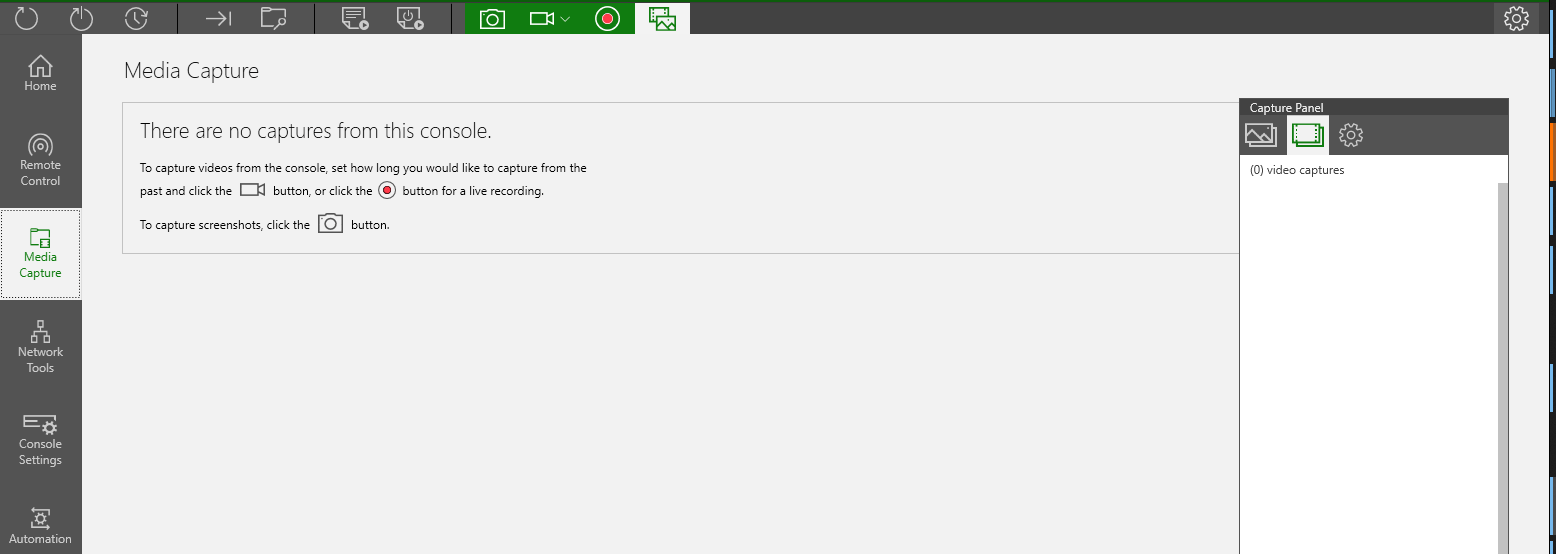
- Select the Capture Screenshot icon as shown in the following screenshot. It will take a screenshot in the currently selected format.
- After you’ve captured your screenshot, you can review the image in the Media Capture tab.
XBOX Manager saves the screenshot in %USERPROFILE%\Pictures\XBOX Manager\Media. The file name is formatted as [console IP | hostname]_Image_#.png (or *.bmp, or *.jxp, according to the selected format).
Record video
XBOX Manager has two modes of video recording:Recording the past X seconds (GameDVR)
This will capture a GameDVR clip of the running title.- Open XBOX Manager GDK from the Start menu shortcut.
- Select the console that you want to use to record a video.
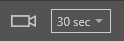
- Select the length of the recording from the list next to the Record Video button as shown in the following screenshot.
 The video is recorded by using the GameDVR function of the console. The time that’s indicated is the amount of previous gameplay that’s recorded, counting backward from the time the Record Video button is selected.
 - Use the console’s controller to set up the scene that you want to record.
- Select Record Video as shown in the following screenshot.
- After you finish recording, you can review the video in the Media Capture tab.
[!WARNING] Navigating to the Remote Control tab in XBOX Manager causes the GameDVR buffer to reset, which means that GameDVR clips captured after navigating to the Remote Control tab will be truncated until the game has run long enough to refill the buffer.
[!WARNING] GameDVR clips are only recorded for running ERA or GDK Game OS game titles, and they are not supported for shared resource applications. If you try to record a video when a game title isn’t running, the following error message appears.
Live recording
This will record a live audio and video stream from the console. A user will have direct control over start and stop times. By default, the recording will be in H264 1080@30; when performed from the Remote Control page and streaming in 4k, the recording will be in HEVC 4k@60.- To start a live recording, click the

- To stop a live recording, click the

- After you finish recording, you can review the video in the Media Capture tab.
XBOX Manager saves the video in %USERPROFILE%\Pictures\XBOX Manager\Media. The file name is formatted as [console IP | hostname]_video_#.mp4.