Requirements
This is an advanced tutorial. Please make sure that all of the requirements have been met, or you will not be able to complete this tutorial.
- To send custom emails with email templates, you’ll need to have your own SMTP server with a username and password. Verify that you have your own SMTP server before following our tutorial Setting up an SMTP server with add-ons.
You can use Gmail for testing - but with Gmail you are limited to 2,000 emails per day.
- Basic knowledge of how to create a player will be necessary, since there will need to be players with a username and password before calling account recovery logic.
- Read the Game Manager quickstart if you’re unfamiliar with the Game Manager, as it’s the place where email templates are created.
- Knowledge of how to work with player profiles will be required, to confirm that emails are necessary for checking that a contact email has been added to a player’s profile. Read up on how to get a player’s profile in the Getting Player Profiles tutorial, and make sure that under the Client Profile Options on your Title you allow Contact email addresses.
- Creating a rule is necessary in this tutorial it’s a good idea to read up on how Rules work.
Step 1 - Create an email template
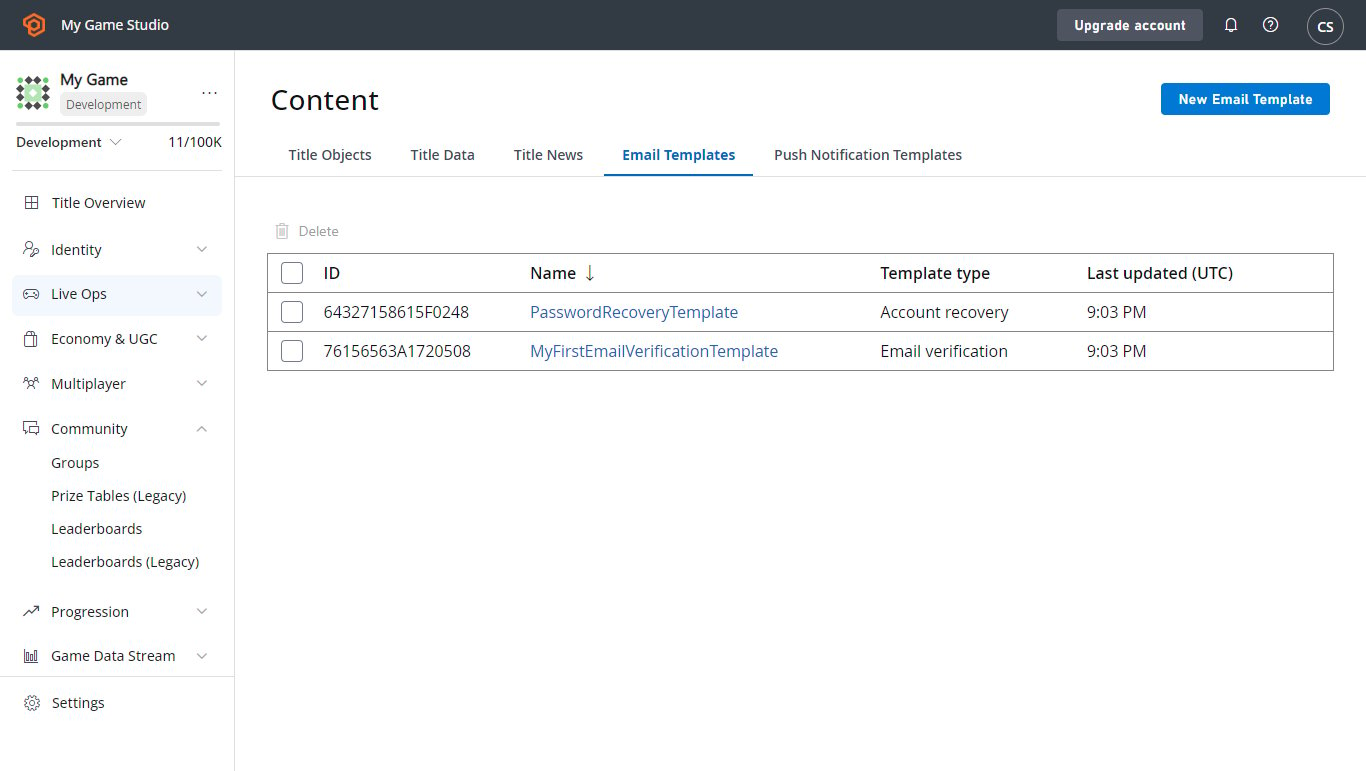
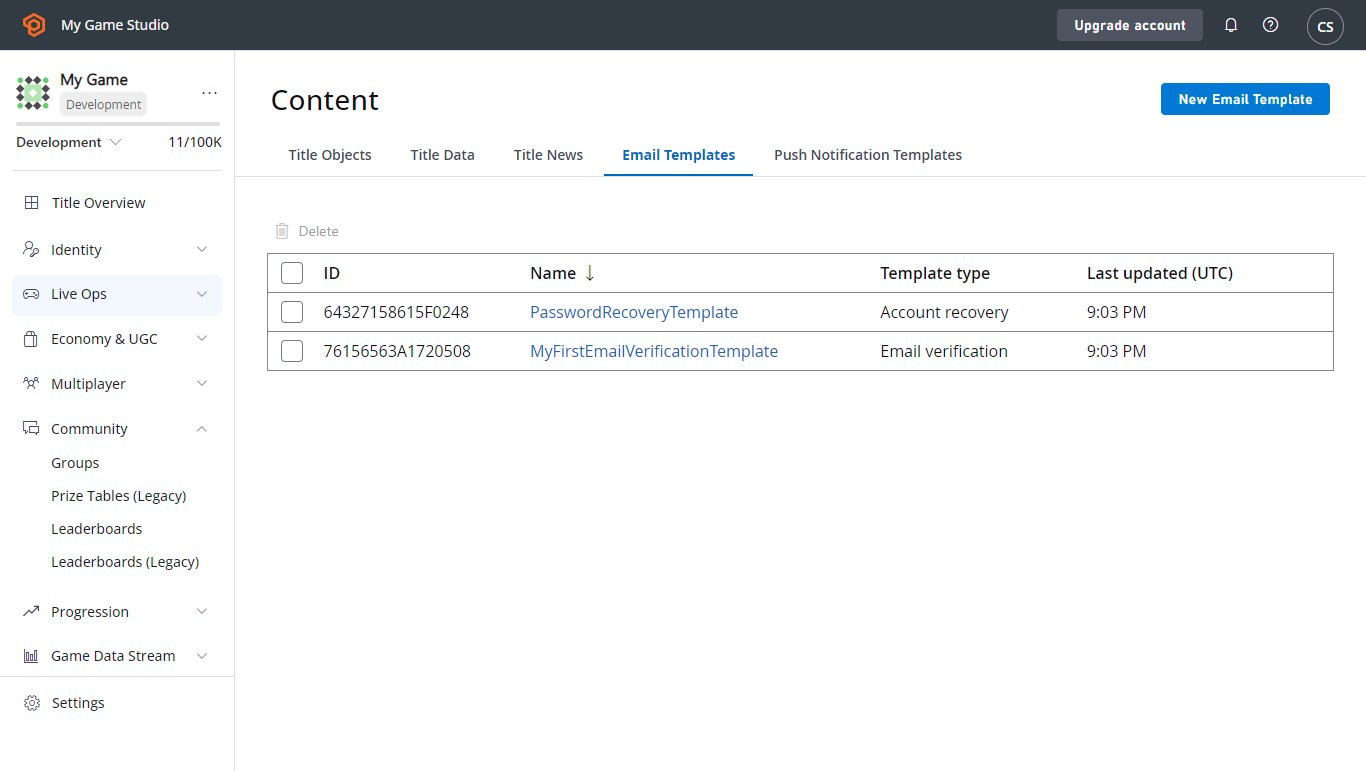
The first thing we’ll do is create an account recovery email template.- Select Content from the menu on the left.
- Go to the Email Templates tab.
- Select the NEW EMAIL TEMPLATE button.
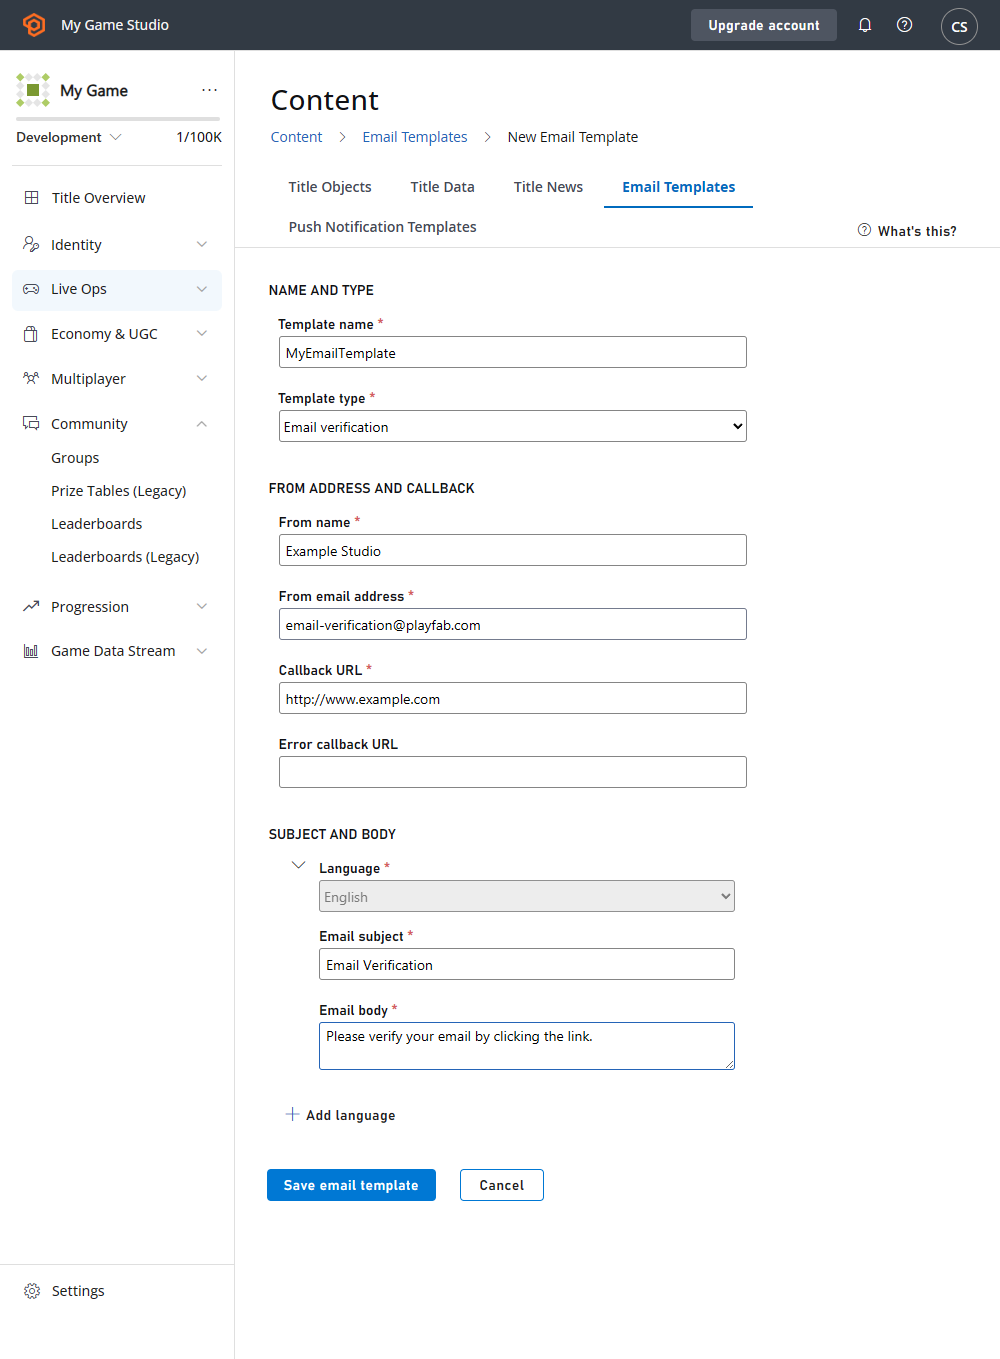
- Template name: MyFirstEmailVerificationTemplate
- Template type: Email Verification
- Email subject: Verify your email
- Email body: (enter as below)
- From Name: The name you want to show in the From field in the email.
- From Email Address: The email address you want to show in the From field in the email. This must be an email domain that the SMTP server enables you to send emails from.
Some email servers, like Gmail, will ignore this field and send from the account set up with the SMTP server.
- Callback URL: https://www.example.com
A few things to remember
- The
$ConfirmationUrl$in the email body generates a customized URL that when selected, tracks that a user has selected the URL, and then issues a redirect to the Callback URL. In this case, it’s injected into an anchor tag. - The Callback URL is the URL that PlayFab will redirect to after the player selects the Confirmation URL link. It can be a static page that tells the user they were successful in confirming their email. In this case, we’ll redirect to https://www.example.com.
Step 2 - Create a rule to send an email when a contact email is updated
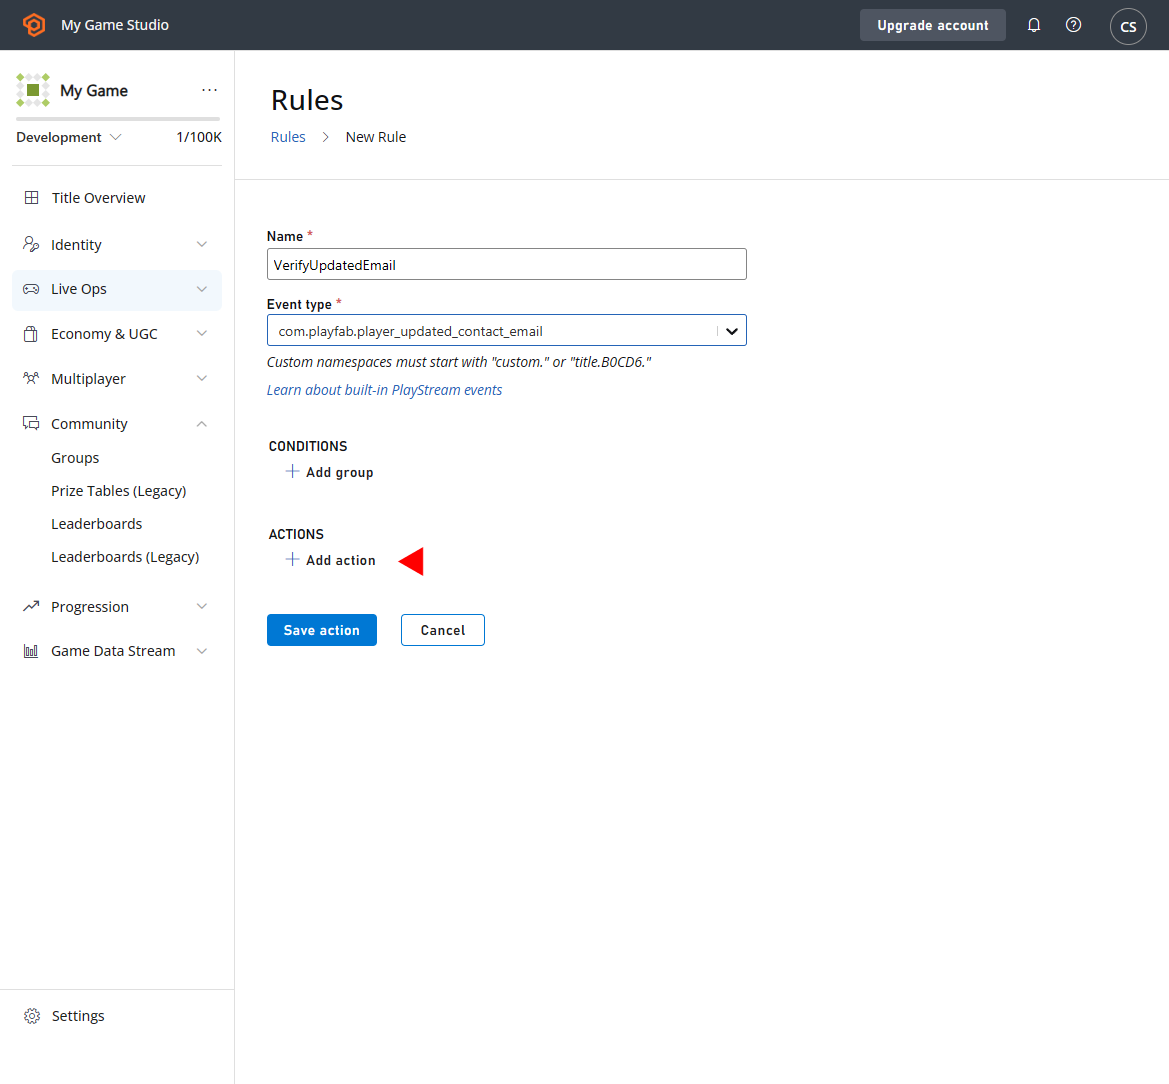
Next, we’ll create a rule to send a verification email every time a player updates their contact email. In Game Manager:- Select Automation in the menu to the left.
- Select the Rules tab.
- Select NEW RULE.
- Fill out the Rule Name field with your Rule VerifyUpdatedEmail.
- From the Event Type drop-down, select com.playfab.player_updated_contact_email.
- Under the Actions heading, select +ADD ACTION.
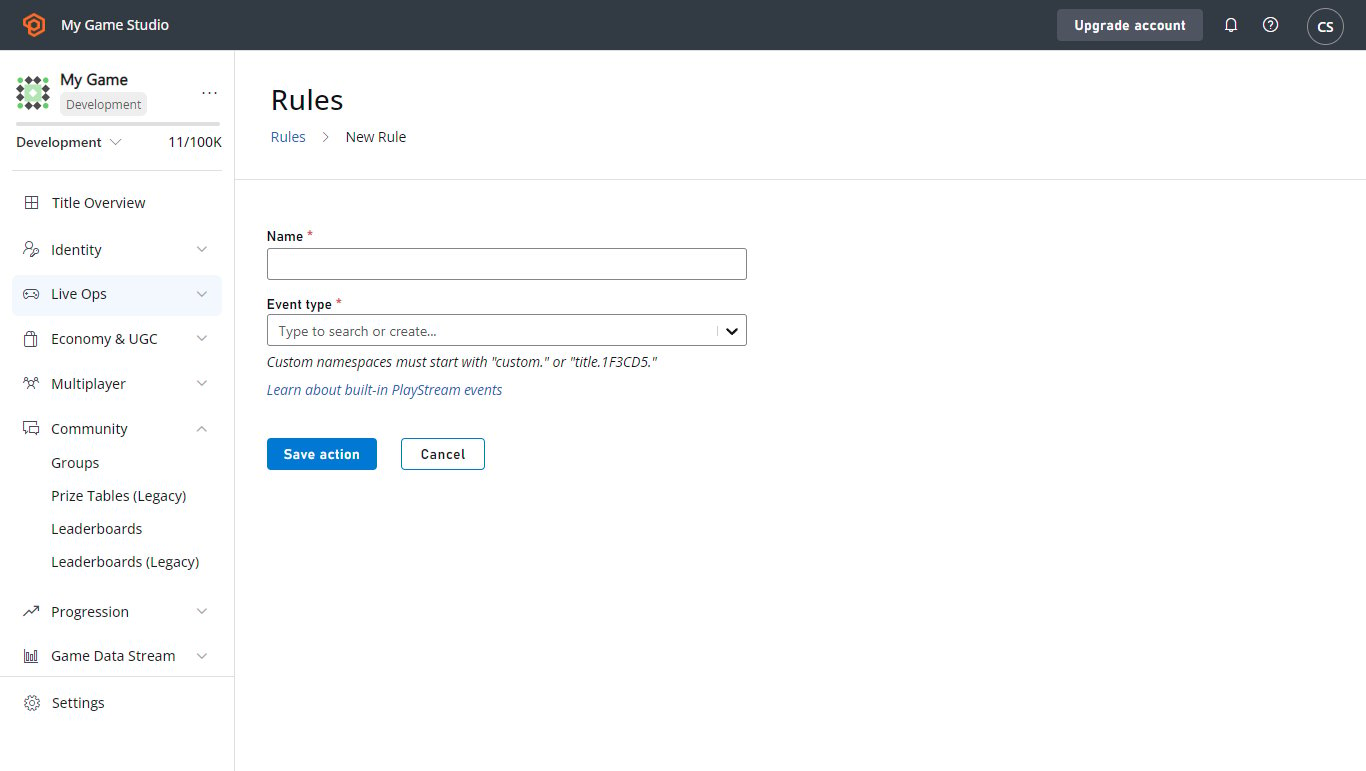
- The Email template drop-down should be populated by the template created in Step 1 MyFirstEmailVerificationTemplate.
- If it isn’t, select MyFirstEmailVerificationTemplate from the drop-down.
Step 3 - Add a contact email to a player
For this next step, you’ll need an existing player account. We add a contact email to the player using AddOrUpdateContactEmail.A Contact Email field in a Player Profile is different from the Login Email field on a Player Profile, even though they may both contain the same email address. Any time you send email to the player, it will only go to the contact email address.
C# code example
In the following example, we sign-in a player, then add a contact email using AddOrUpdateContactEmail. Make sure the email address associated with the player is one that you can access.Step 4 - Confirm that the contact email was added to the player’s profile
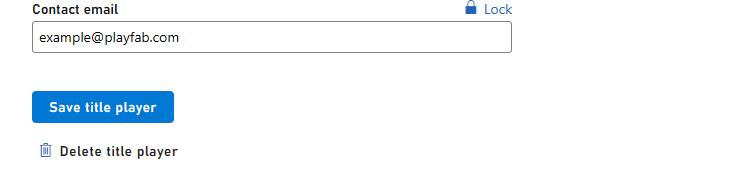
Next, confirm that the contact email was added to the player’s profile. Log into the Game Manager, and visit the Players Profile page. You should see a Contact Email listed for that player, with Verification Status: Pending.The Verification Status could be Unverified, if the verification email was not sent out yet, but will move to the Pending state as soon as the email is sent.
Step 5 - Check that the email was sent
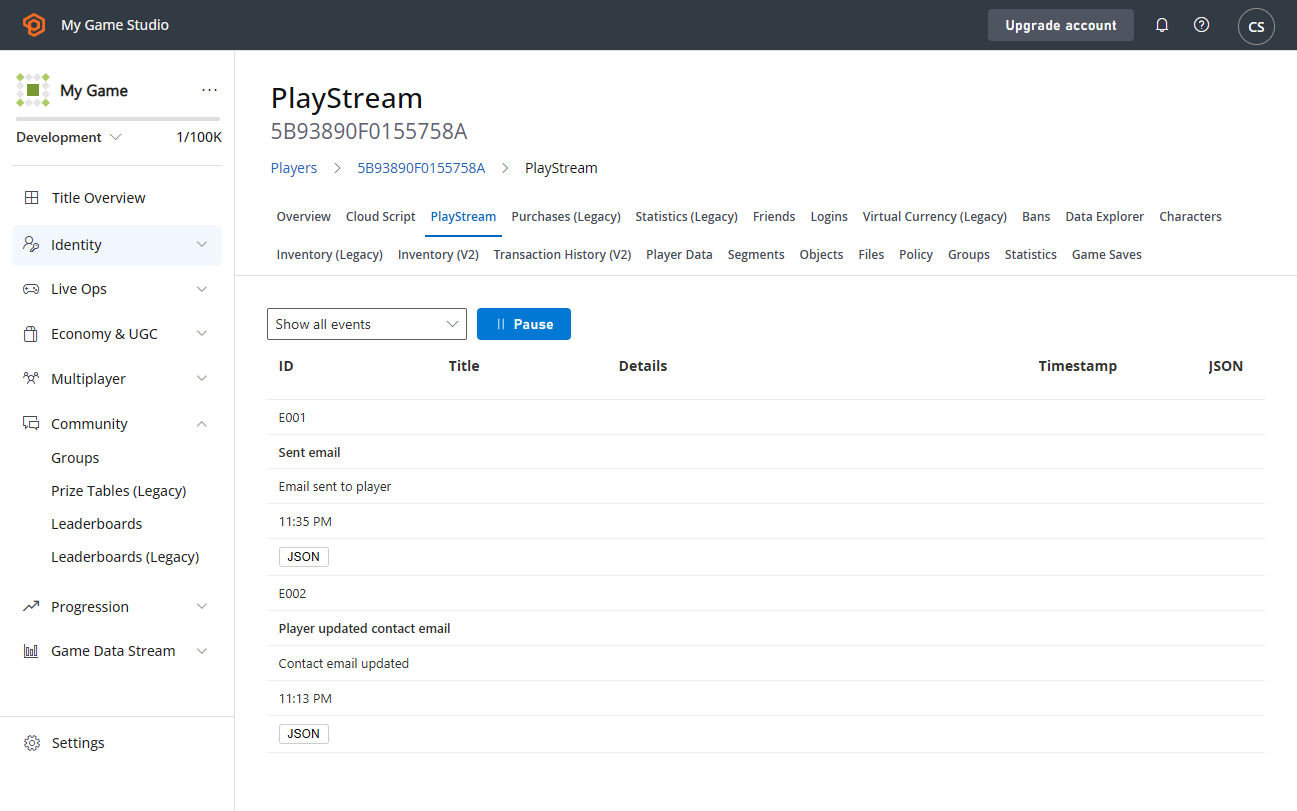
Finally, we can check that the account recovery email was sent. The first thing you can do is to go to the player’s PlayStream in Game Manager:- Select Players in the menu to the left.
- On the Players Tab, go to the PlayStream area.
- It should show a Sent Email Event.
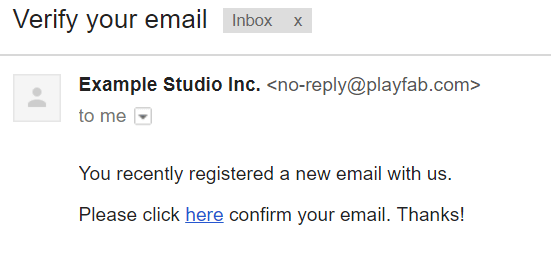
- PlayFab generates a new PlayStream event, called auth_token_validated. This is how you know that the player selected that URL in the email.
- You can use that event to trigger actions, like granting coins or items to the player.
- Because this email template was the special Email Verification template, PlayFab will then mark the player email as Verified.
- PlayFab returns a redirect URL sending the player to the callback URL website.
- On this website you can show a static Thanks for verifying your email message, or something more elaborate. The redirect URL looks something like this: https://www.example.com/?token=2346241B7C277796.
- Go ahead and select the URL found in the email.
- You’ll be taken to the example.com website.
- View your Player Profile using the Game Manager.
- You’ll see that the Verification status has changed.