
About Game Manager
Select a title from My Studios and Titles to follow along. Game Manager is split into four major sections:- Title Overview – Review recent and overarching performance of your Title.
- Build – Foundational elements and tools to configure your game.
- Engage – Facilitate connections with players.
- Analyze – Monitor and act on player behaviors.
Title overview
An overview of the recent and less-recent performance of your title. Overview - shows your game’s basic statistics and what you assigned as Key Performance Indicators (KPIs). In the upper-right, you’ll find time period toggle buttons. There are also filters for the tables.- 4h: This loads data generated within the last 4 hours.
- 24h: This loads data generated within the last 24 hours.
- 3d: This loads data generated within the last three days.
- 7d: This loads data generated within the last seven days.
- mtd: This loads data generated within the current month.
In Game Manager, all times are displayed in local time.
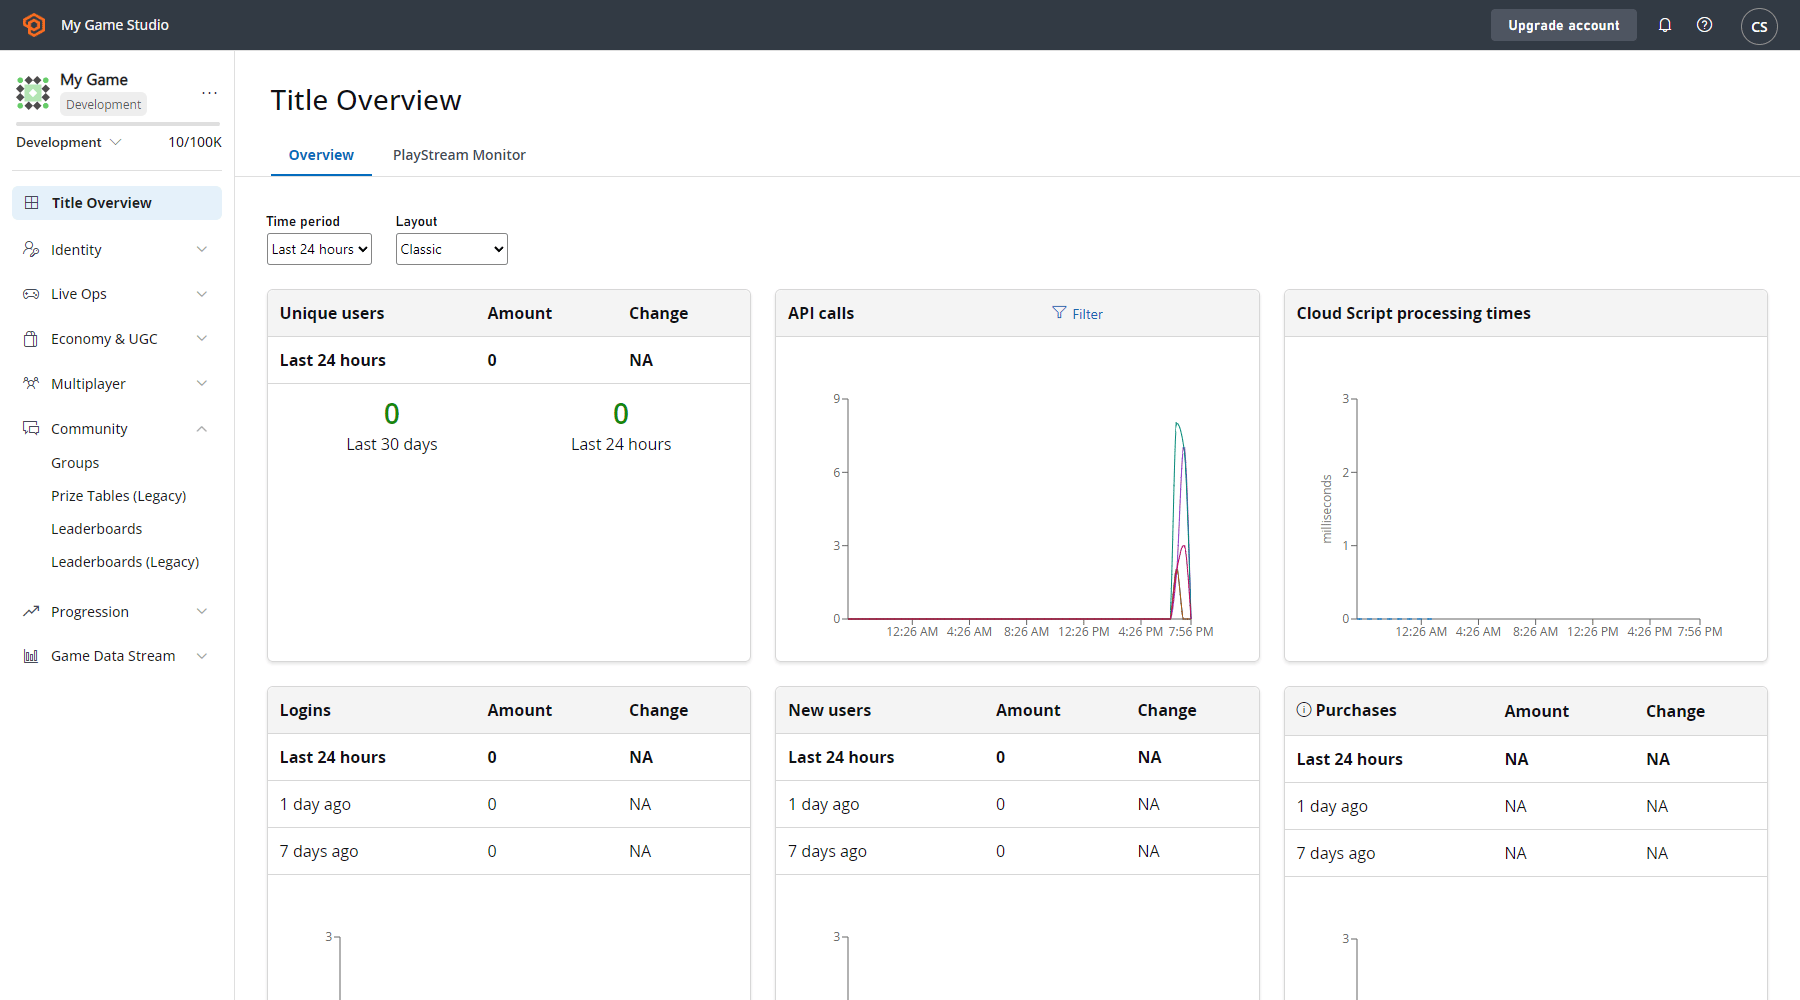
- Unique Users: The average number of unique players logging in per day.
- API Calls: Indicates how many API calls were executed within the given time period.
- CloudScript Processing Times: Provides the average processing time for your CloudScript functions to execute.
- LOGINS: The number of logins recorded for the selected time span.
- NEW USERS: New users added in the time period.
- PURCHASES: The USD value of real money transactions processed for the selected time span.
- REPORTS: The Reports table consolidates several critical categories into a useful format. Specific reports are also available under the Reports tab in Analytics.
Build
Provides the foundational elements and tools to configure your game.Players
Players contains settings and data pertaining to your individual players, including player segmentation. In this section of the Game Manager, a sorted list is presented, and organized by most recent login. Select any of the records to display the Player’s Overview. Use the Search box to search for players by ID, Username, Display Name, or Email.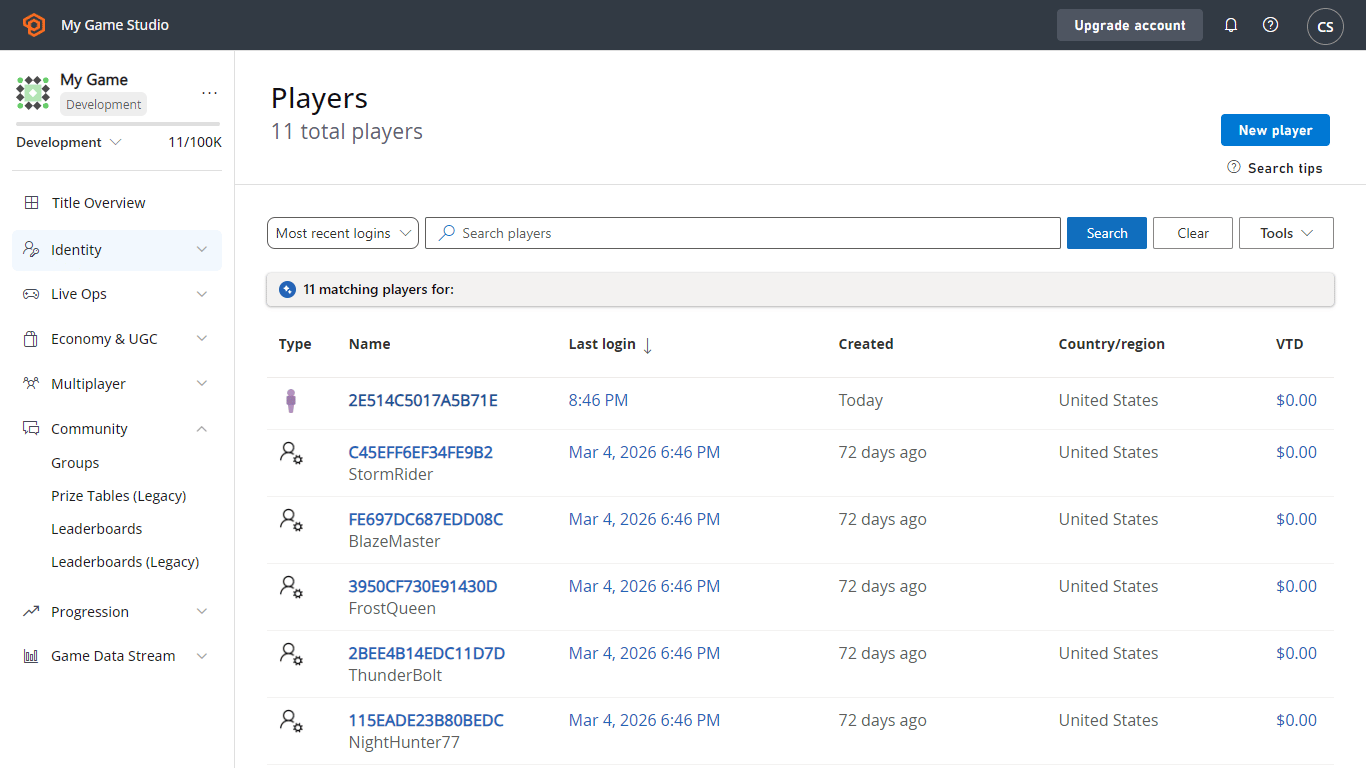
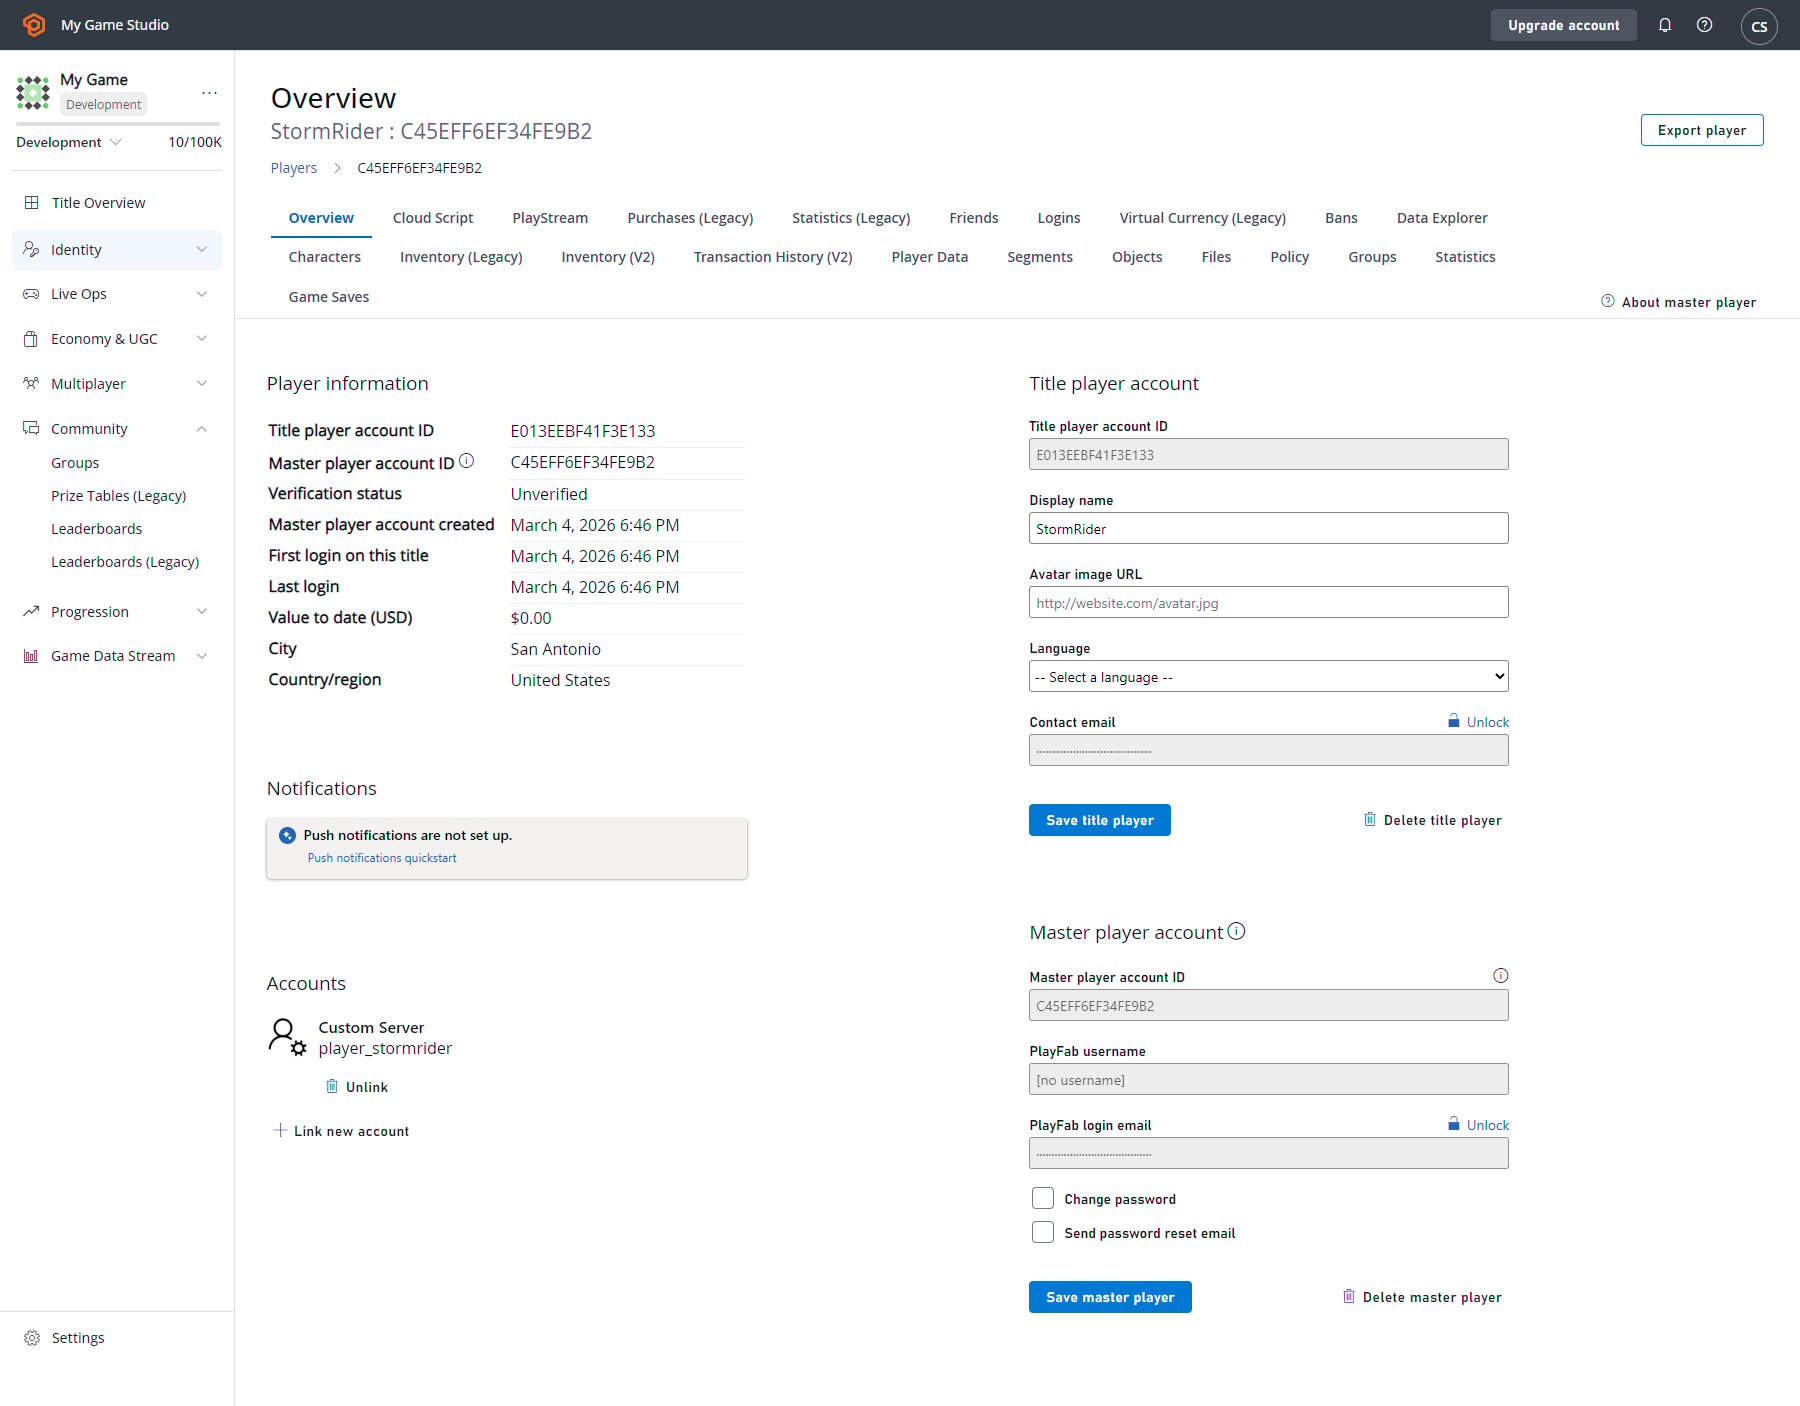
- Overview- View basic details and linked account status.
- CloudScript - View and run CloudScript functions.
- Multiplayer- View player match history from multiplayer sessions.
- PlayStream- View player generated events.
- Purchases- View a player’s real money purchase history.
- Statistics- View and edit player statistics.
- Logins- View player login history.
- Bans- View player ban history.
- Characters- View player-owned characters and edit basic details.
- Player Data- View and edit player data records.
- Segments- View which segments a player has entered.
Multiplayer
Multiplayer allows you to configure server hosting and matchmaking. Servers - Whether you’re looking to hosting multi-player matches or just need a secure environment that can reduce many common forms of hacking and abuse, the PlayFab Thunderhead servers work with many architectures and game types. These servers provide an excellent alternative when compared with the overhead of dedicated game servers. Matchmaking - Set up your matchmaking queues by configuring match sizes, servers, and statistics.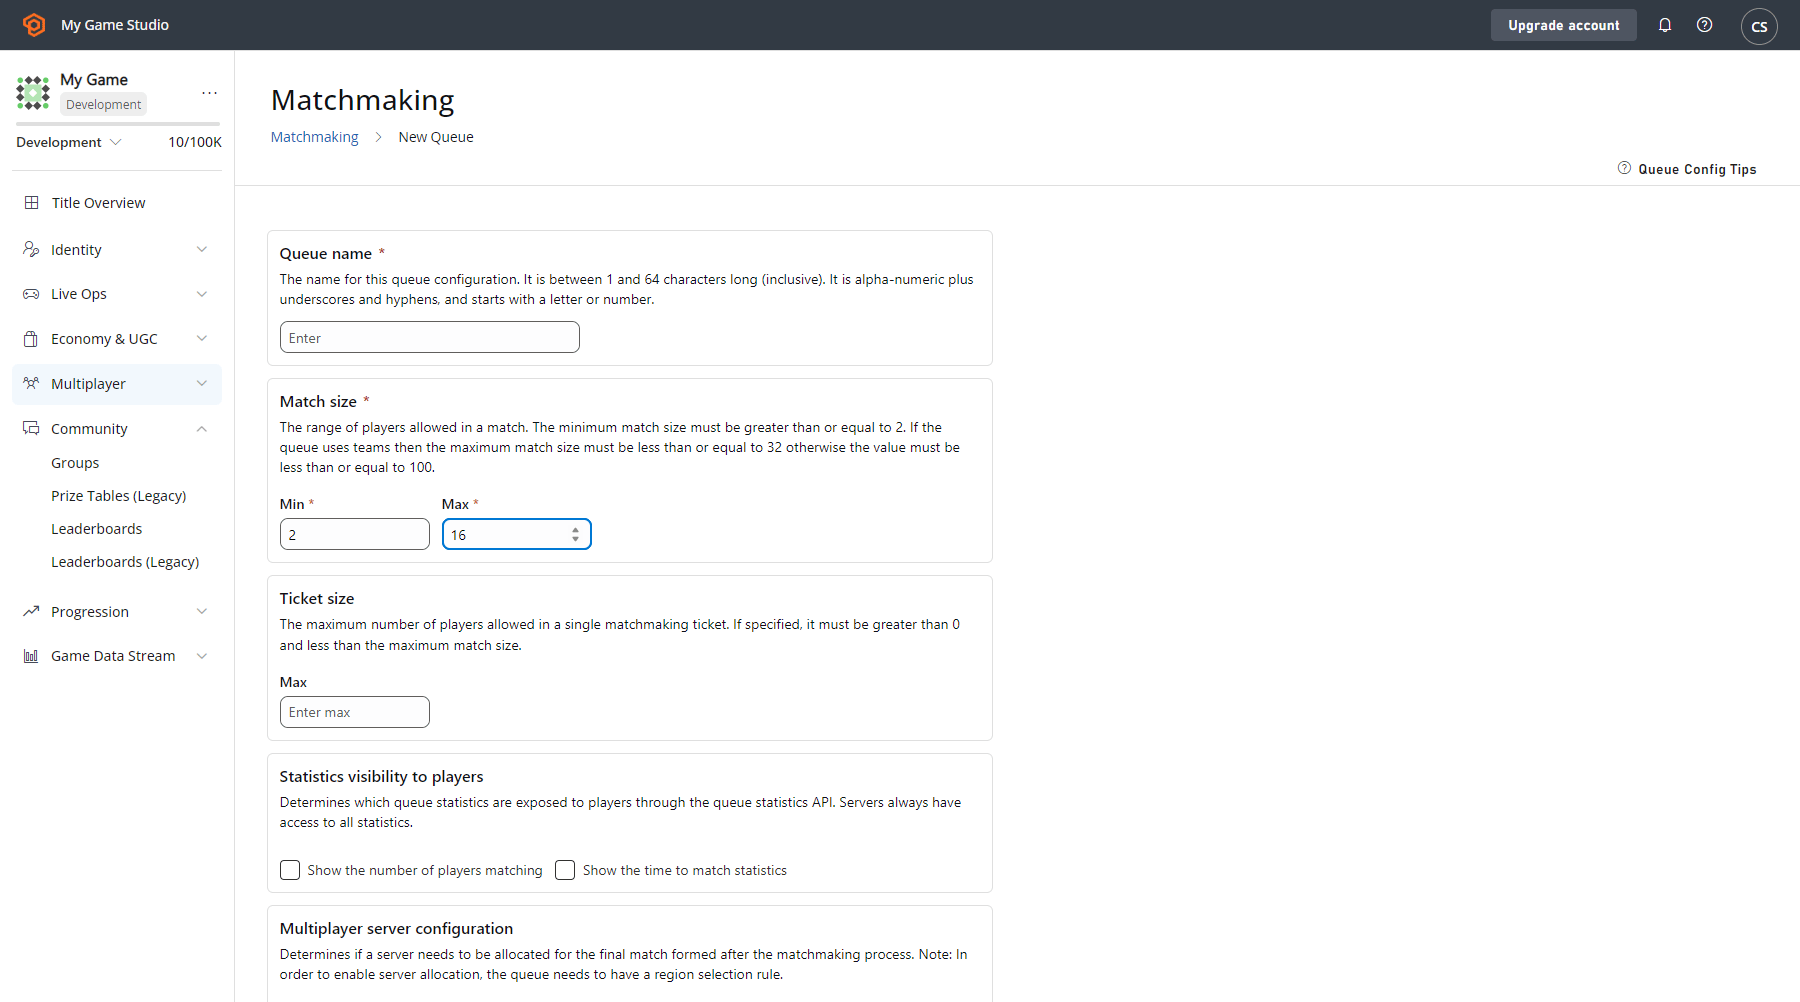
You must be an Indie, Pro, or Enterprise subscriber in order to enable Parties.
Groups
The Groups section allows you to create and manage groups of players designated by entity type and ID.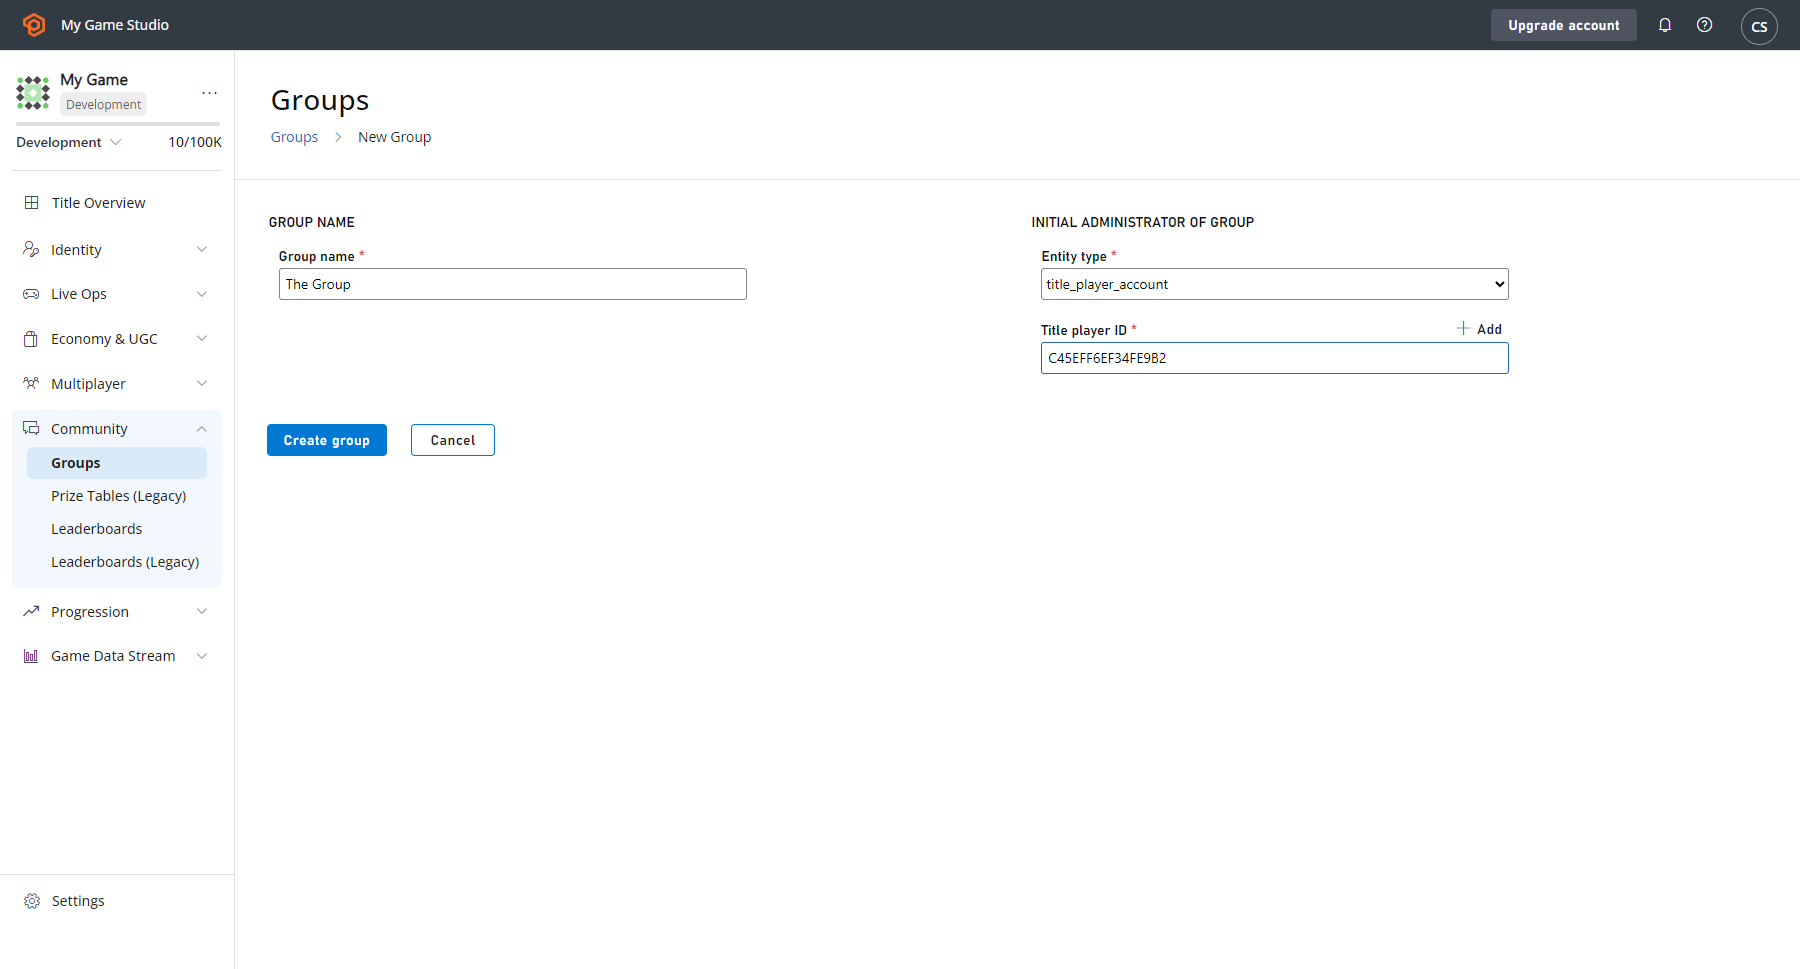
Automation
In the Automation area, you can run CloudScript, run A/B tests, assign Rules, and schedule tasks for your game title using server-side logic for your game, including scripting, rules, and tasks. Configure and trigger actions based on events generated by your title.Add-ons
The control center for managing partner integrations. To configure marketplace integrations for your title: Explore the Add-ons section of the Game Manager for details on the various add-ons.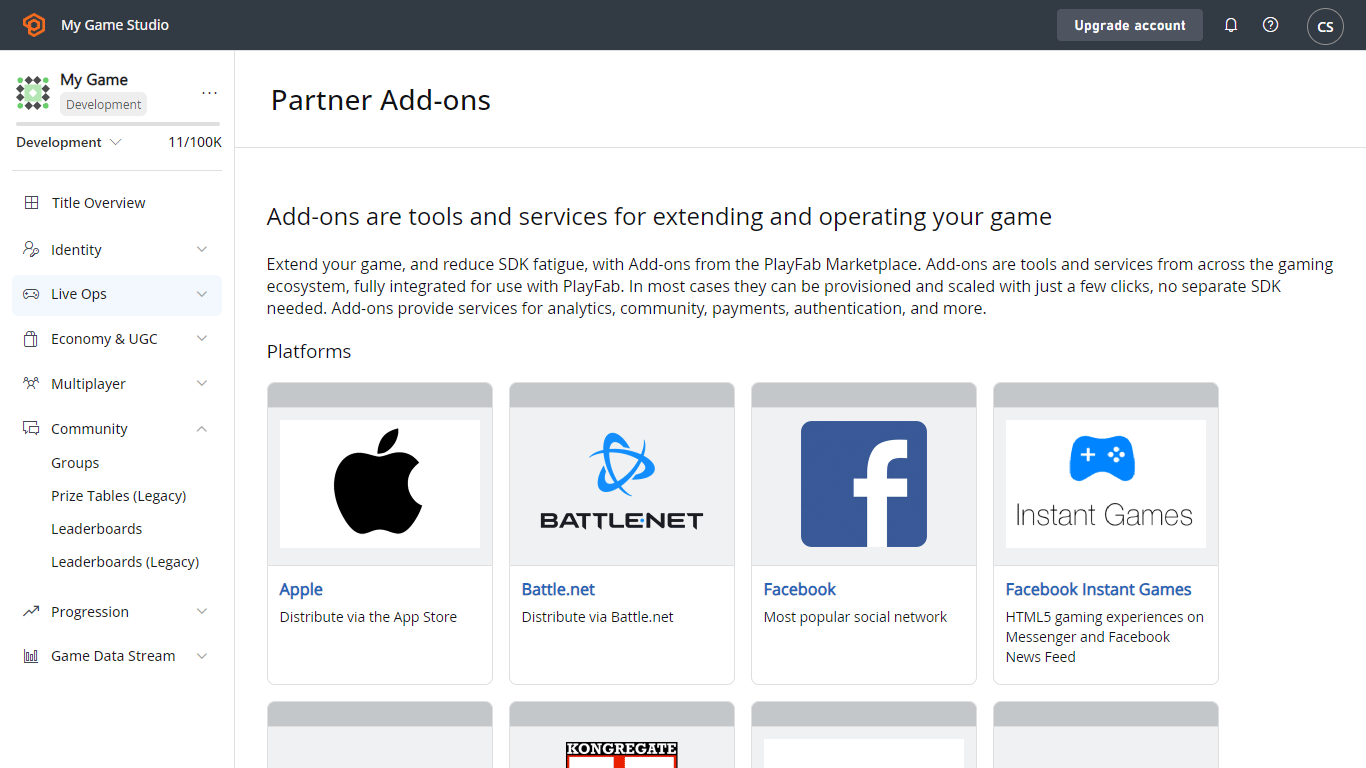
Engage
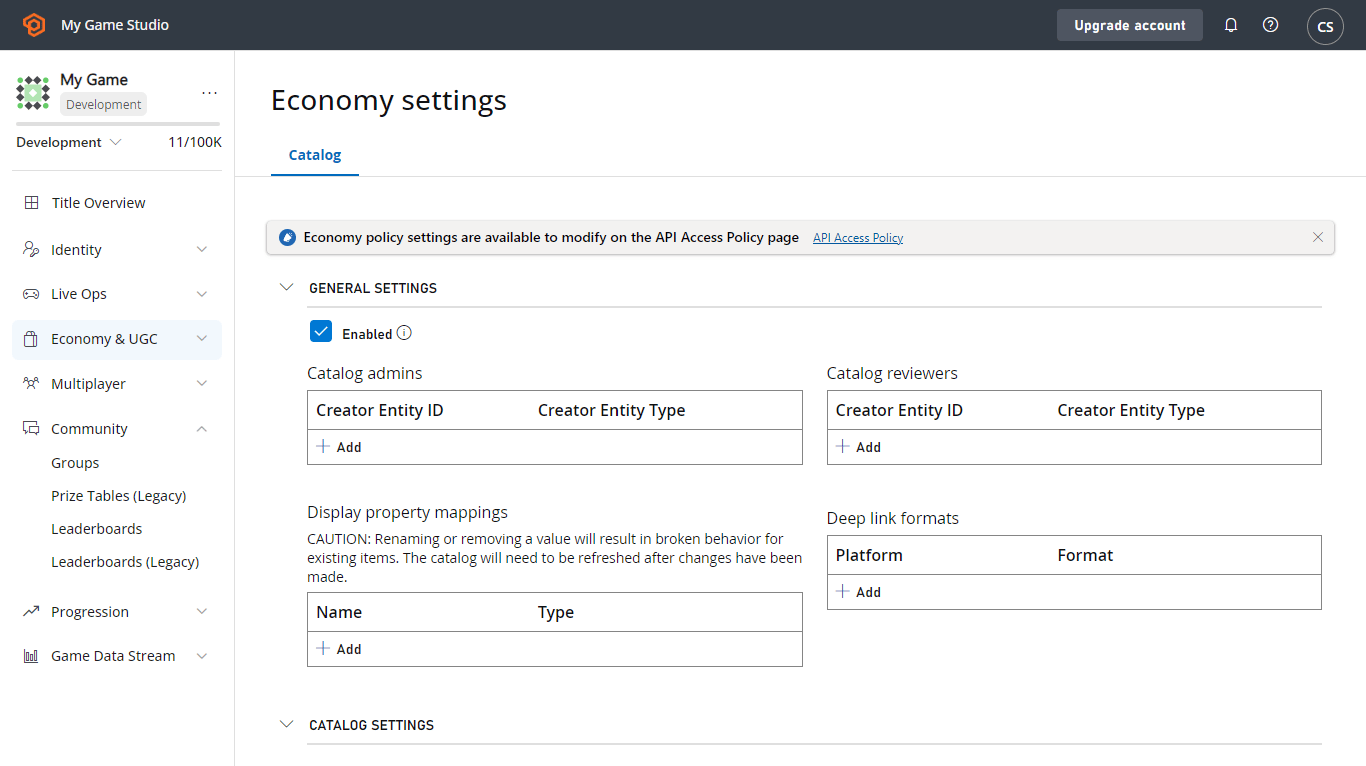
Engage allows you to facilitate connections with players.Economy
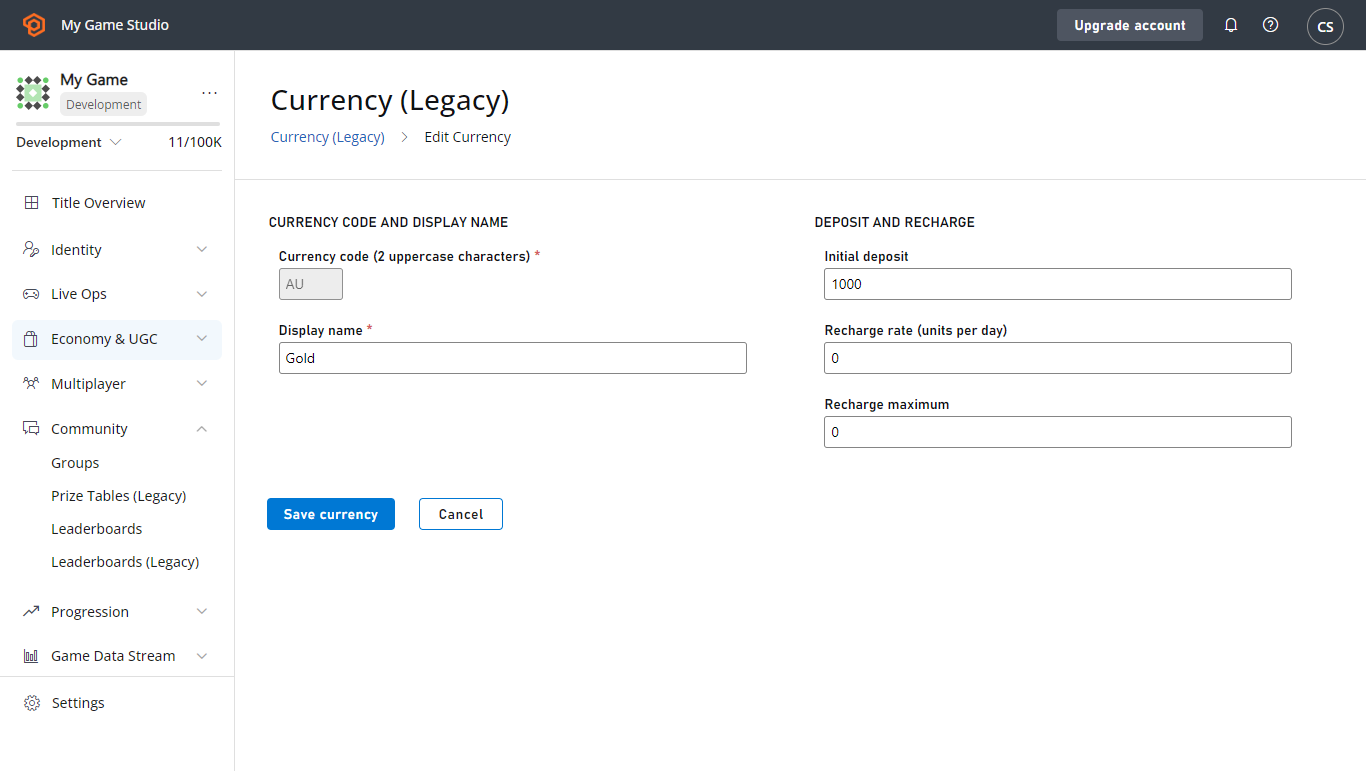
This section provides all the tools needed to manage the virtual economy of your game. Catalogs - At the center of PlayFab economies is the concept of catalogs. Catalogs are a collection of items, stores, and drop tables. As an example, the following image shows the primary catalogs for Unicorn Battle.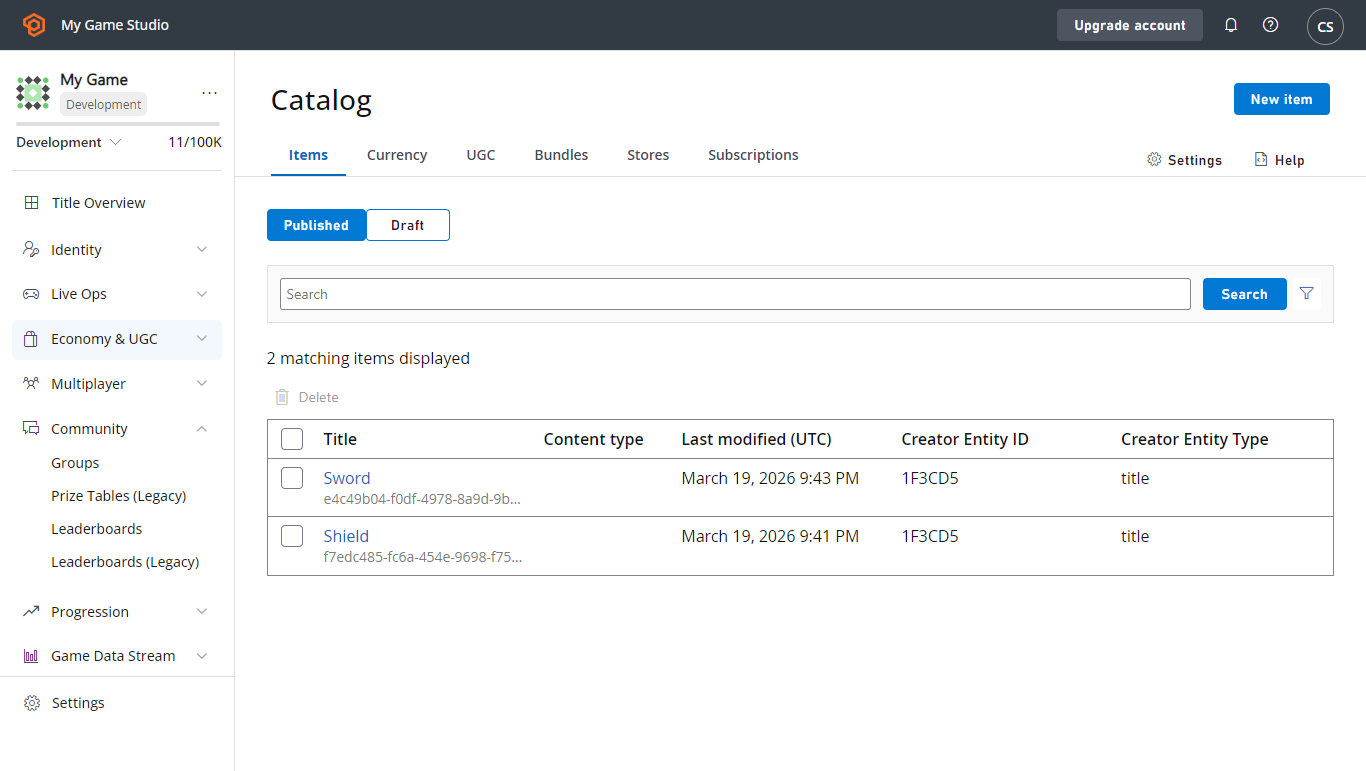
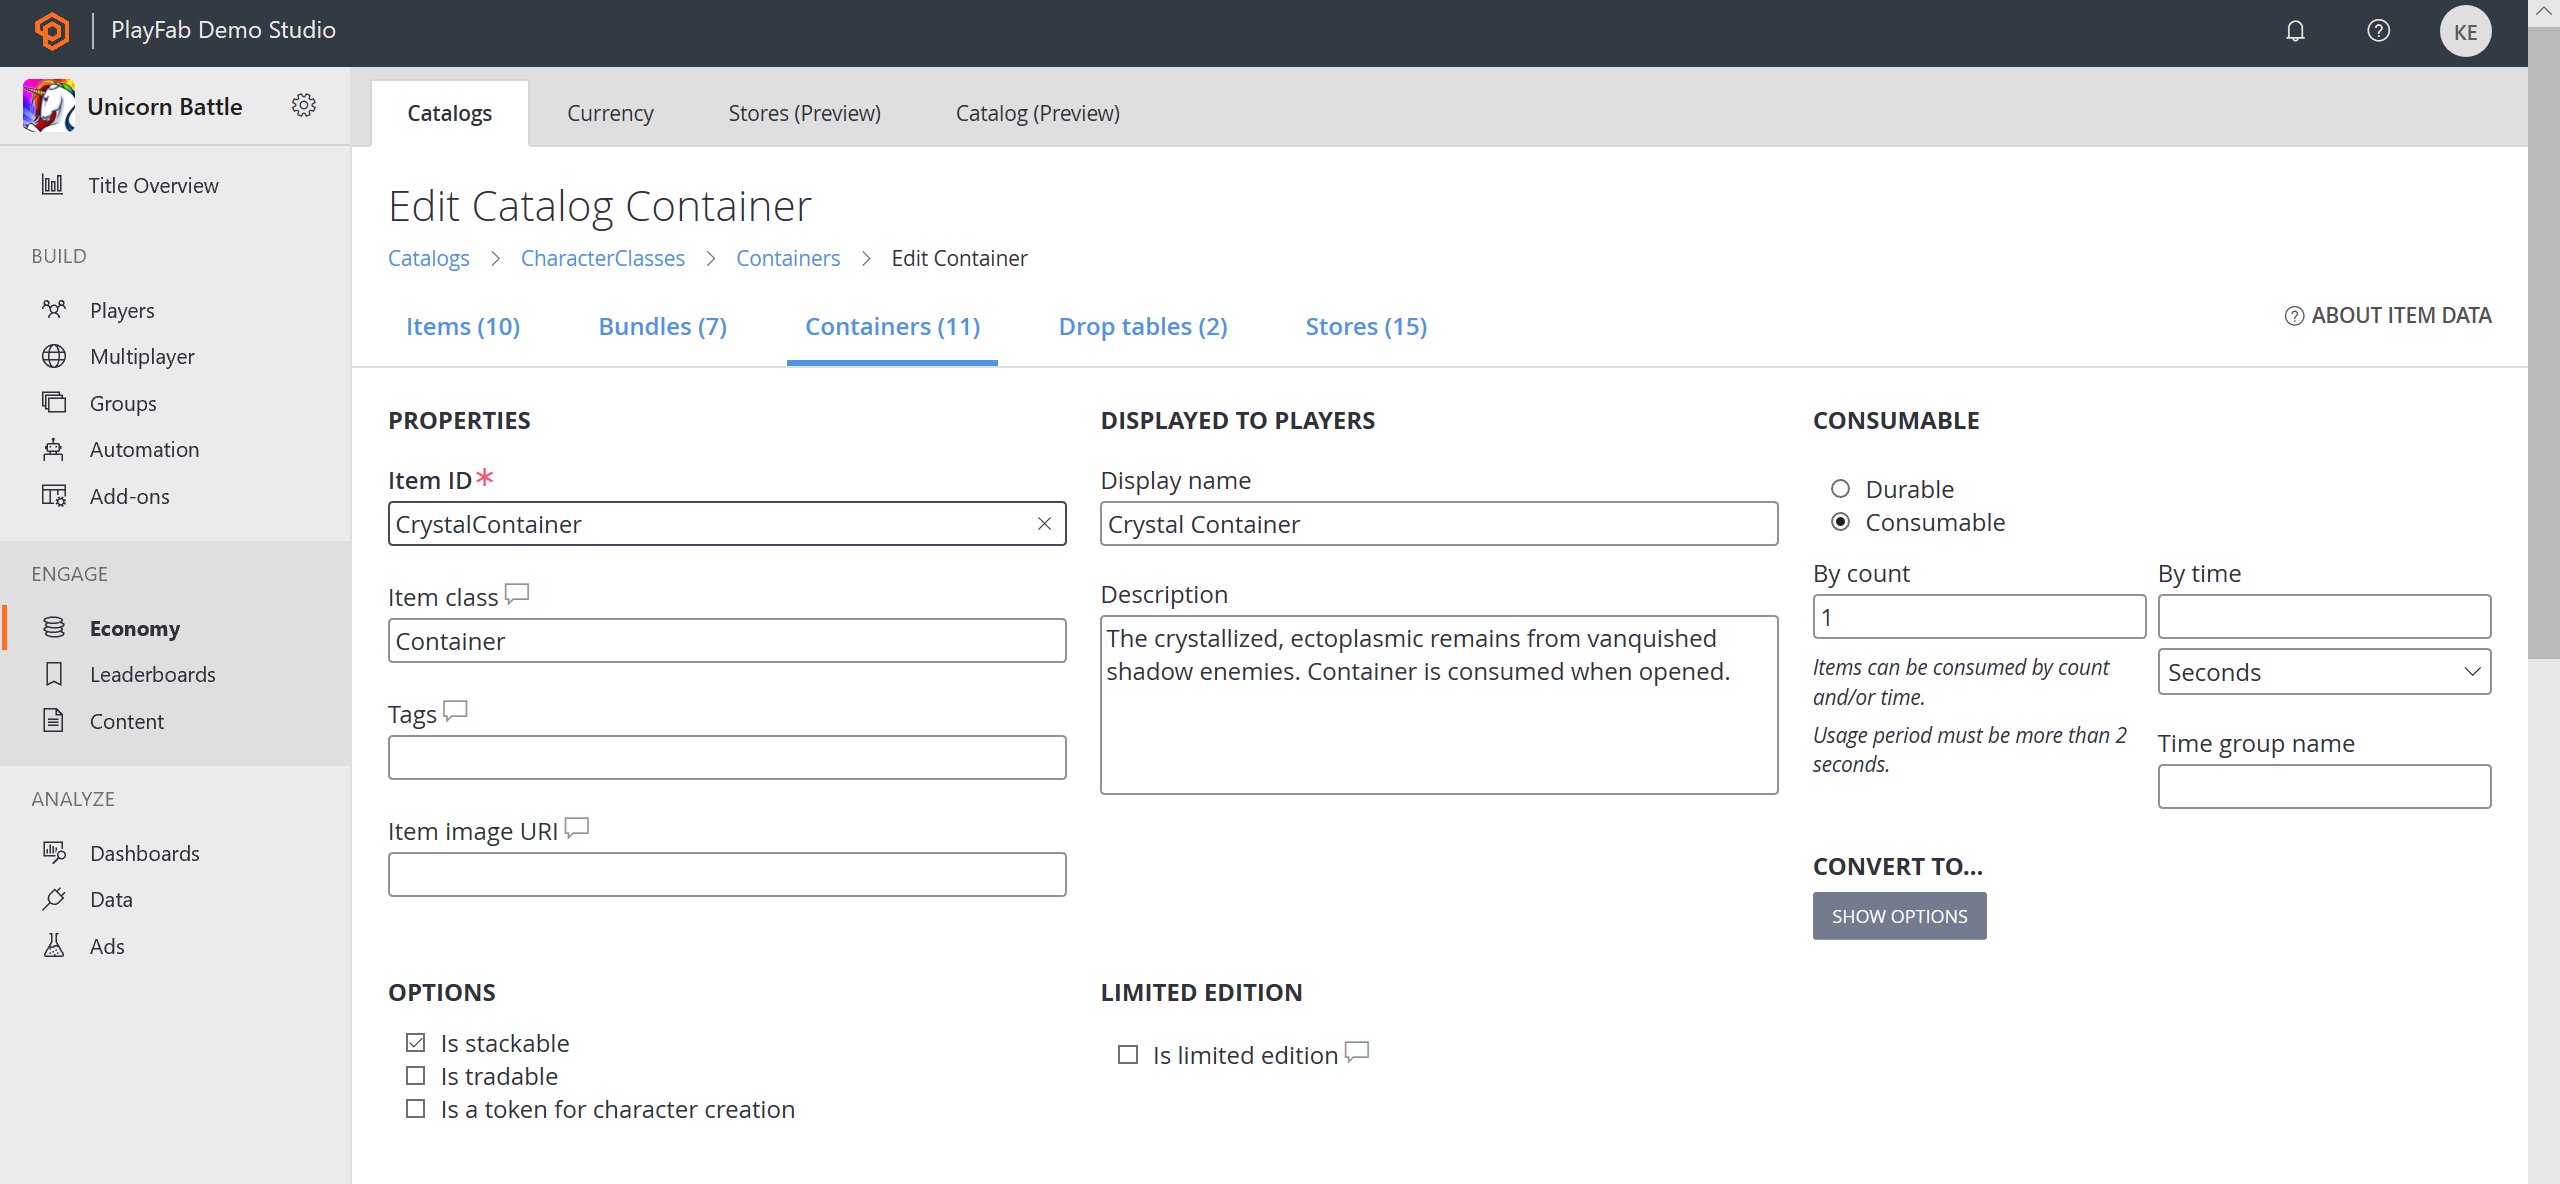
Select any catalog item to open a detailed editor for the properties of the item.
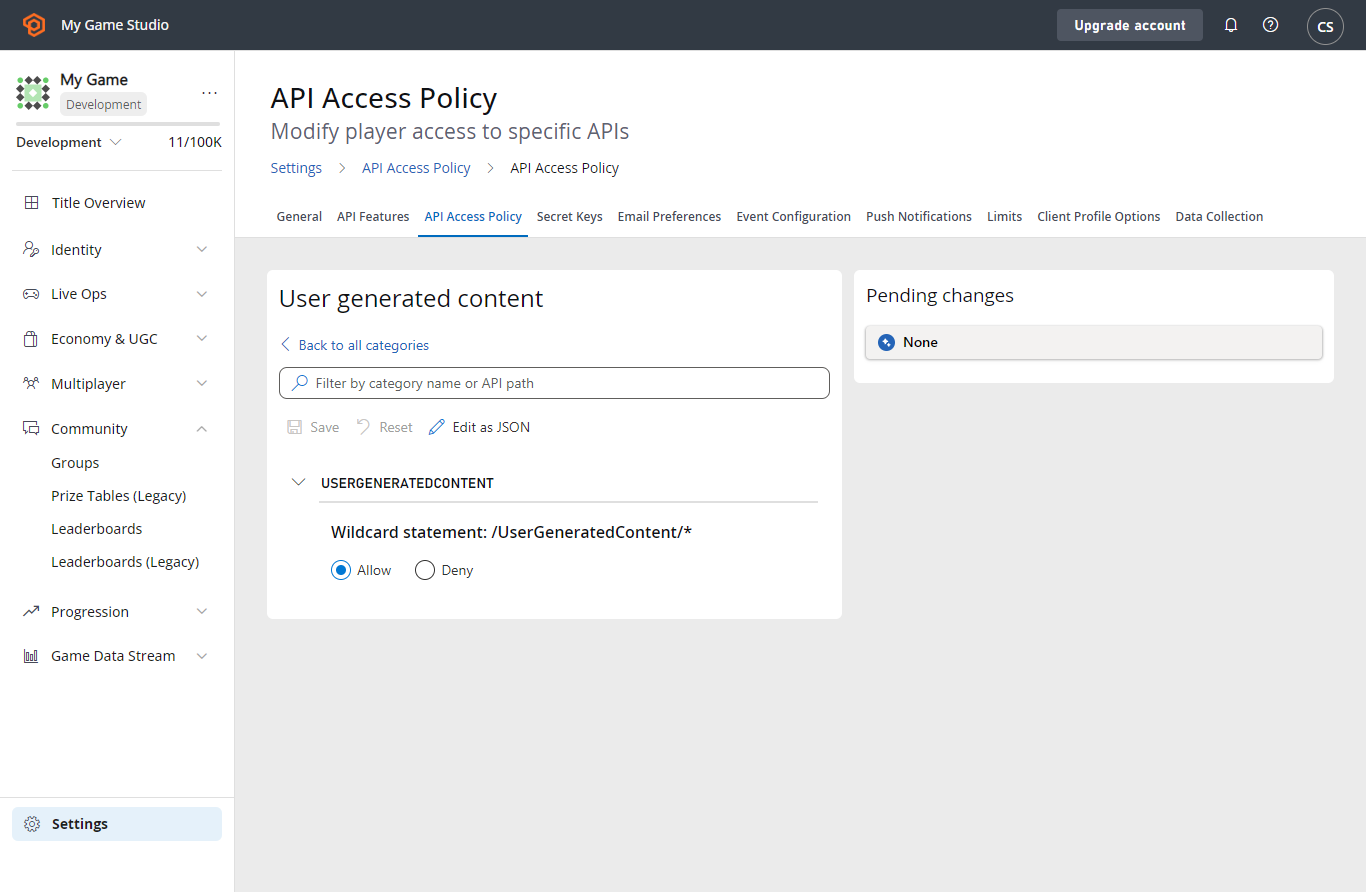
User Generated Content
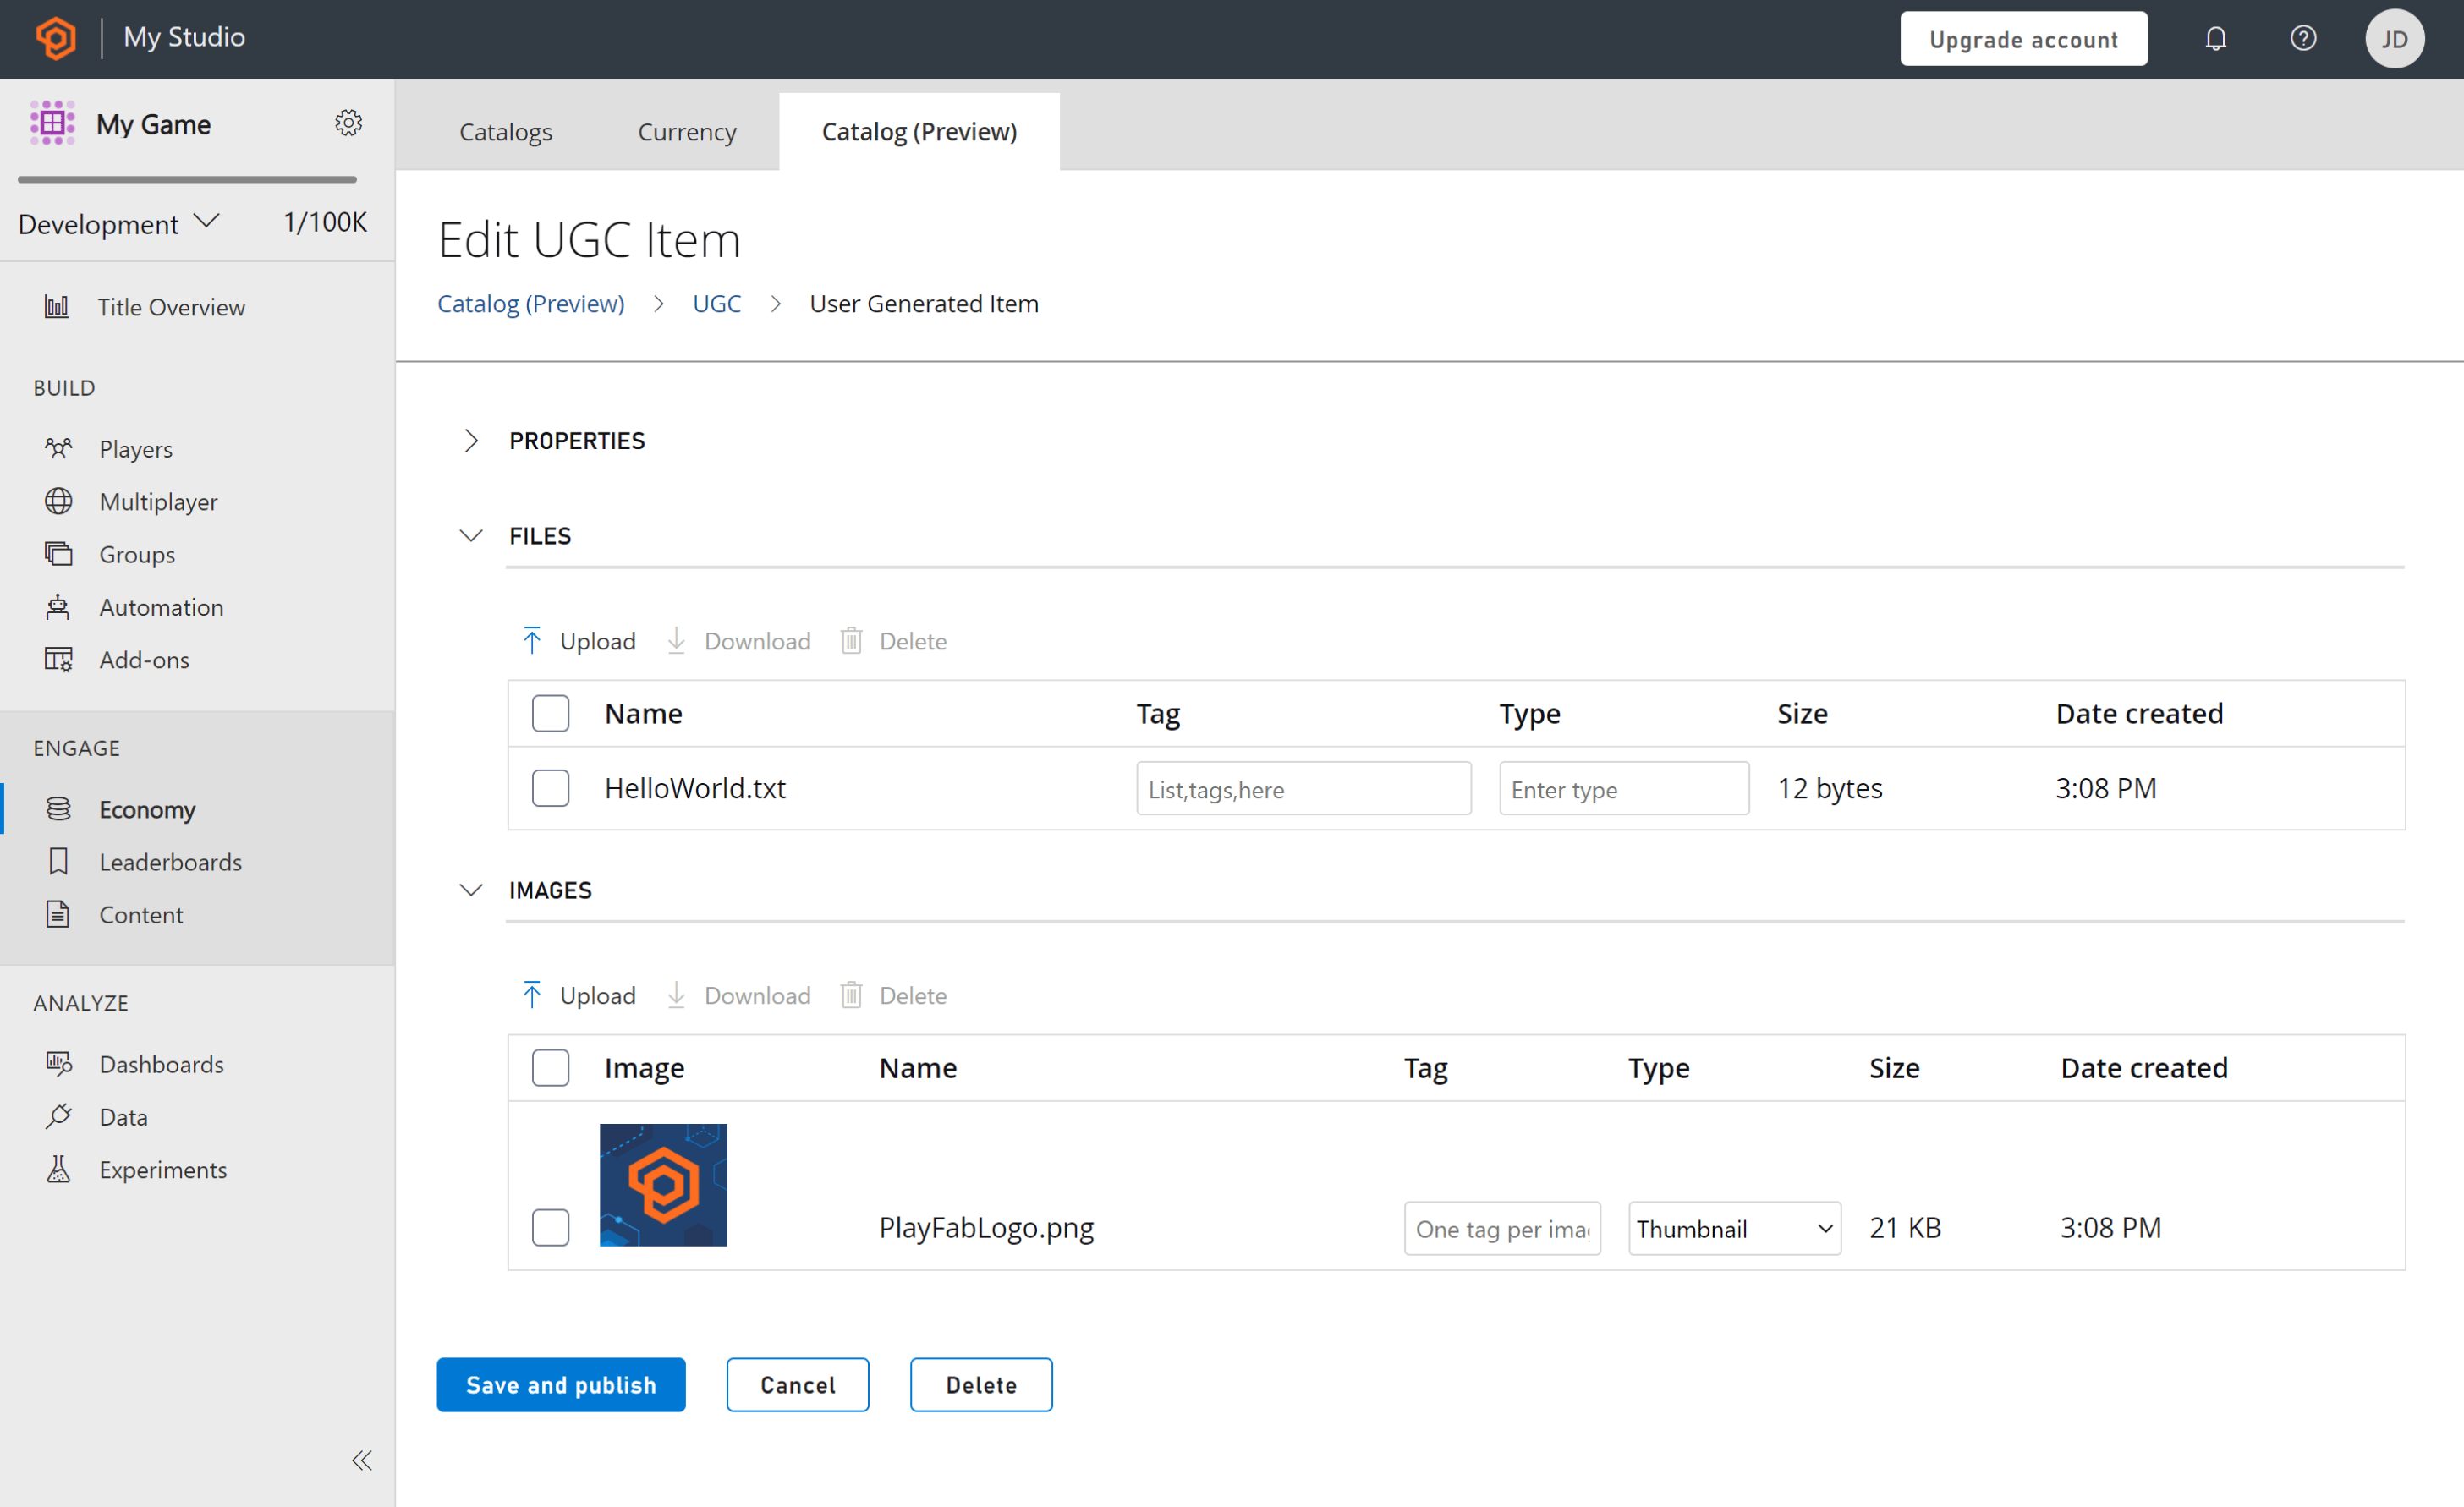
The User Generated Content (UGC) tab displays all published content for your title. When enabled, all users can create, discover, and consume content.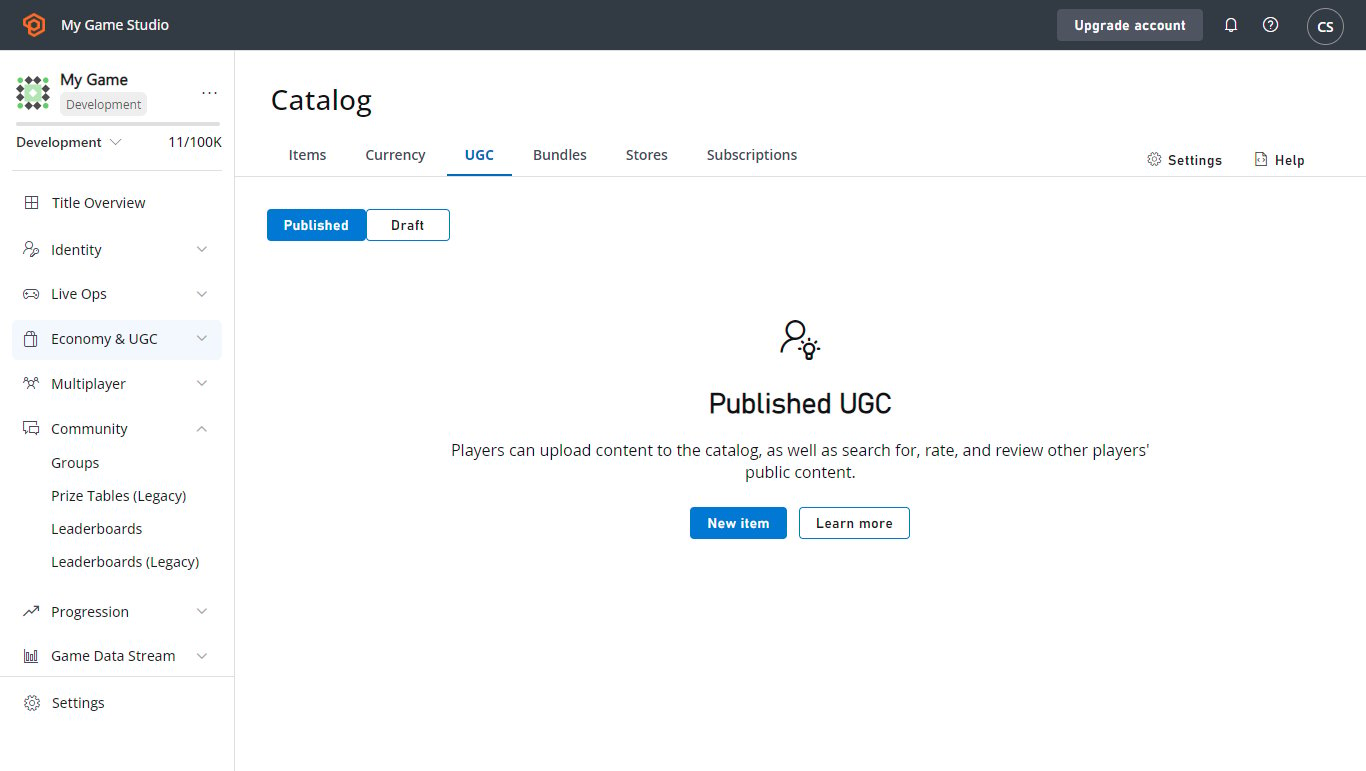
Progression
The Progression tab displays all the active stats and leaderboards for your title. PlayFab Statistics and PlayFab Leaderboards can be defined and configured here. You can even link a leaderboard to a stat to have one call drive updates for both.Content
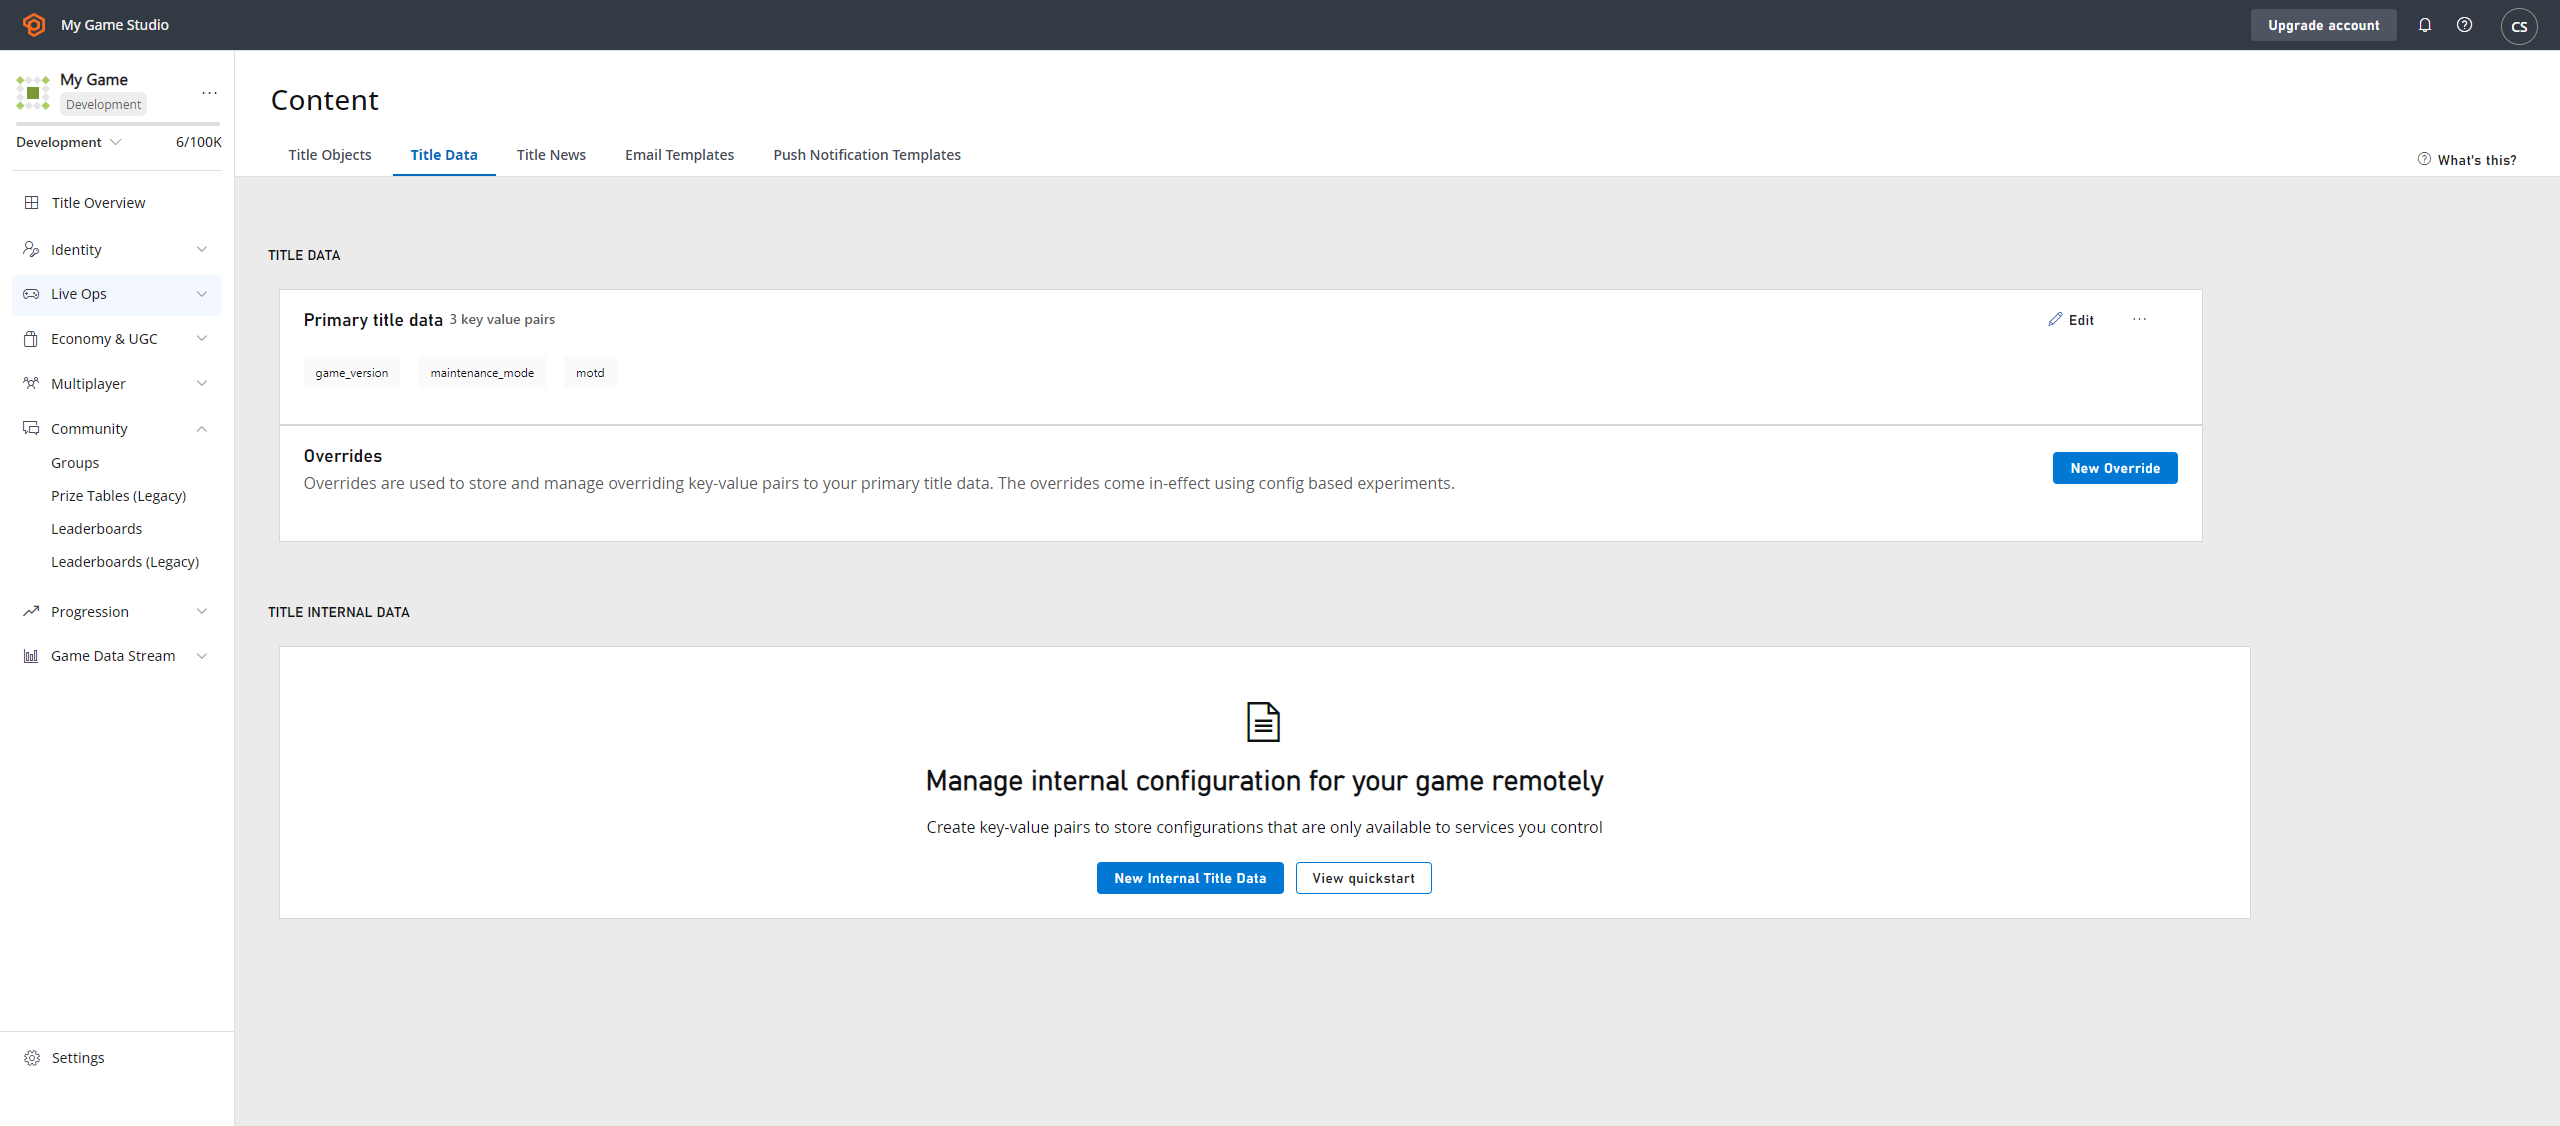
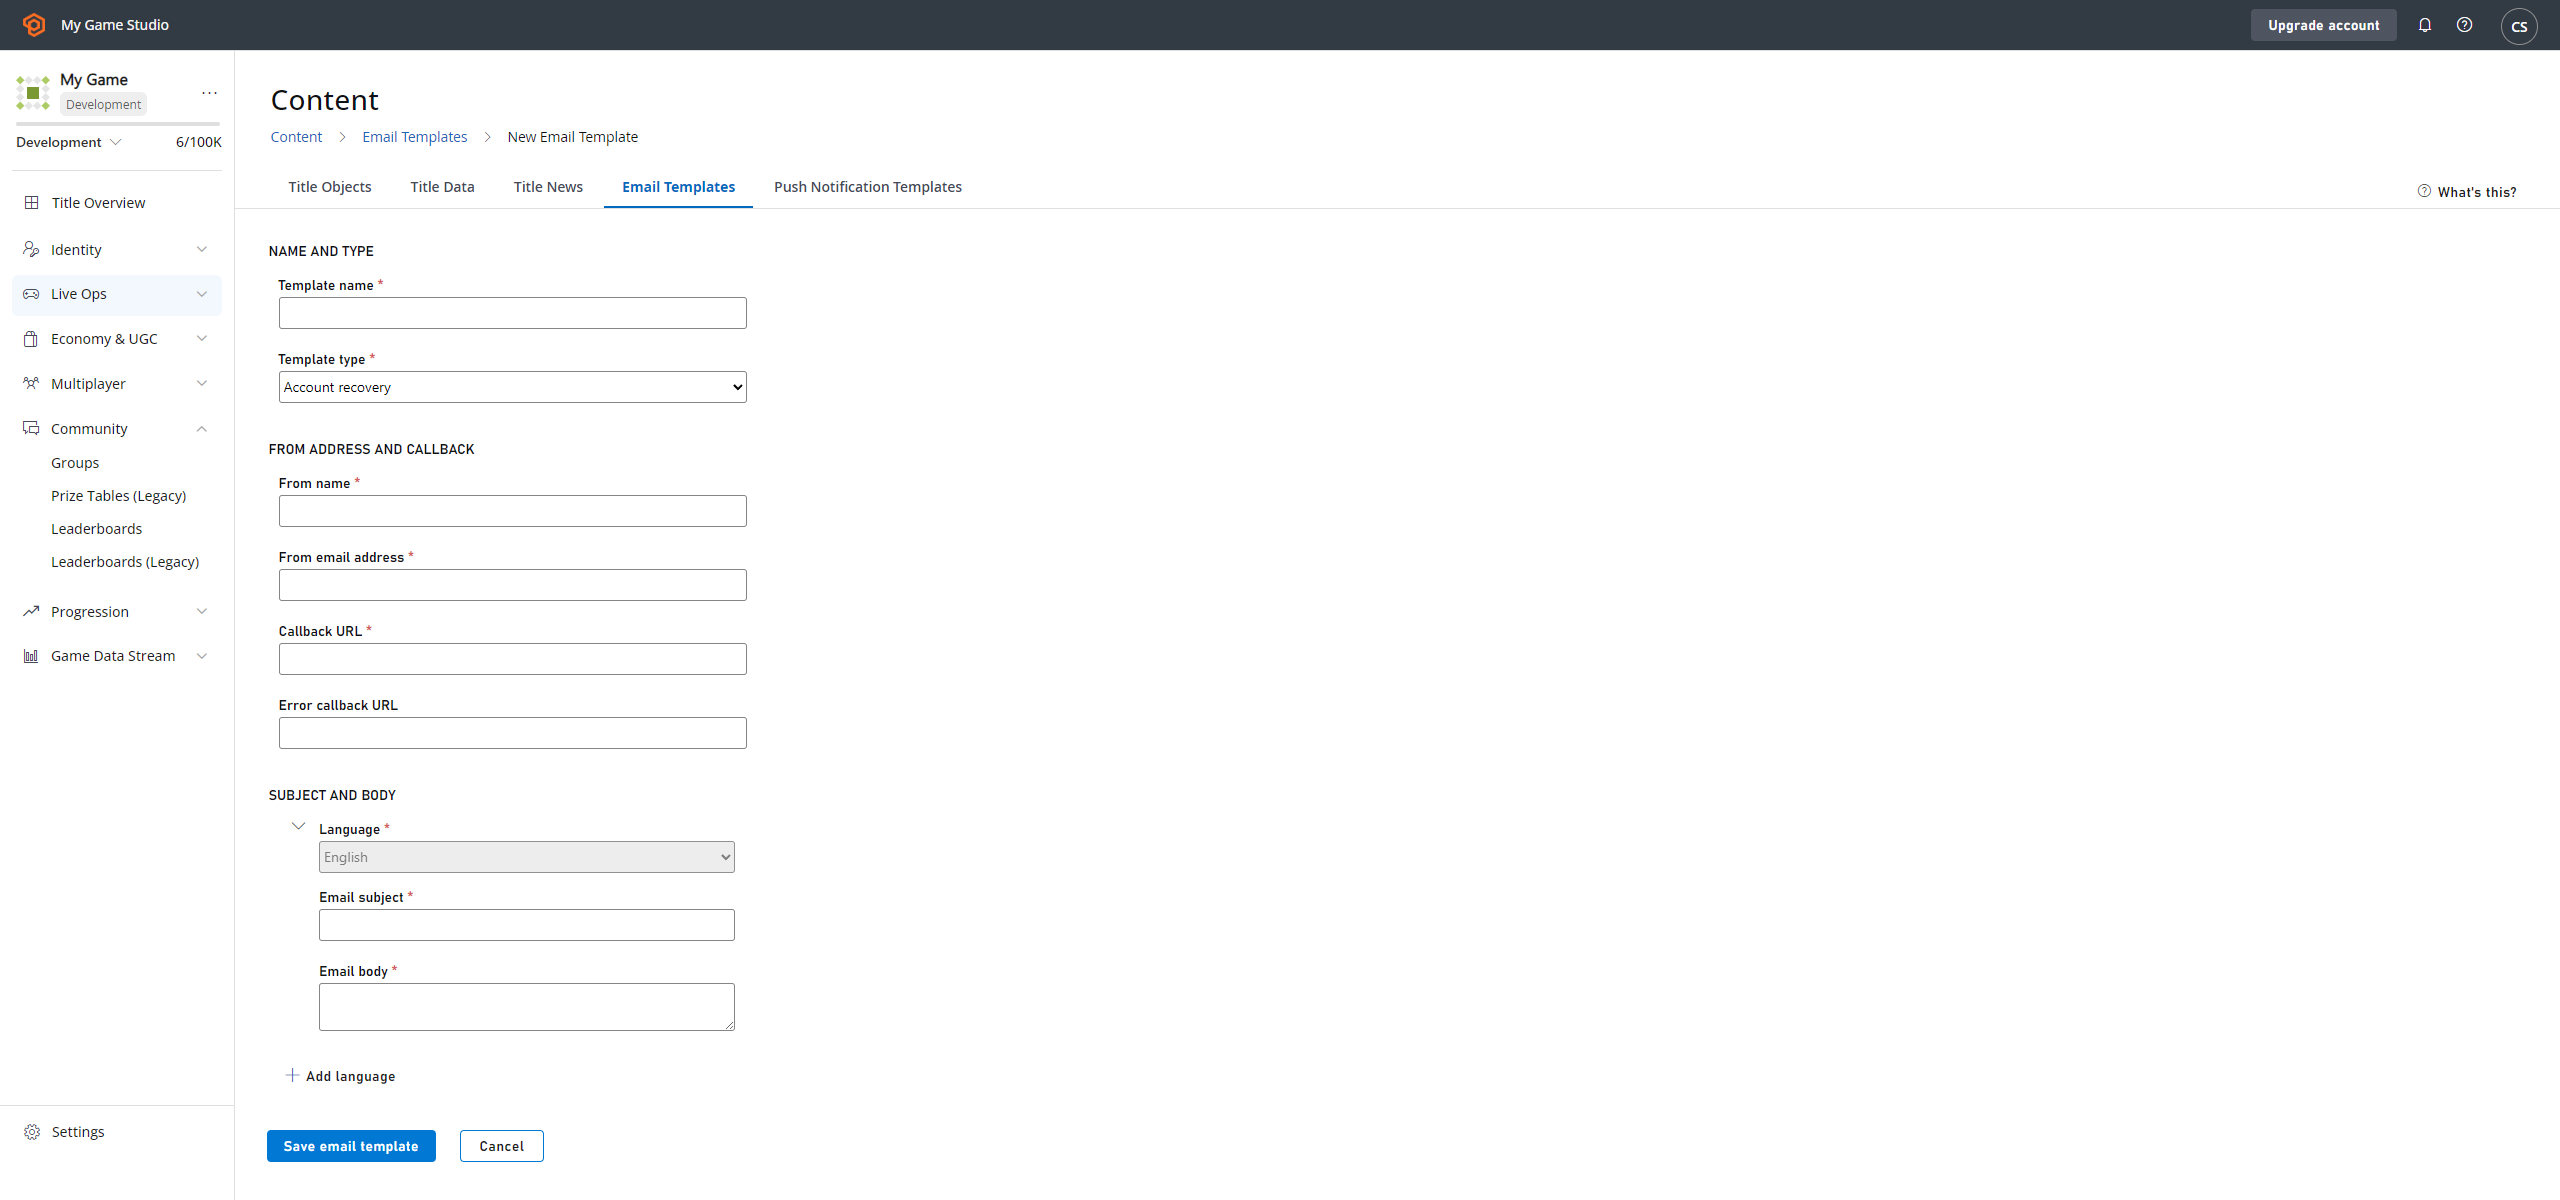
The Content section offers tools for engaging with your players. The content can include news, remote configuration, and files. Title Data - Here you can configure and store key properties that you can change after your game launches. Title data is accessible from all API sets by all users. Because of this, title data is an ideal place to store your custom title settings. Internal data is hidden from game clients and only available on your game servers.Add or edit title data keys
- Enter text for your Key (keys must be unique.
- Enter text for your Value (accepts strings up to 10KB).
-
Save your changes with the orange SAVE TITLE DATA button under the data table.
Remove title data keys
- Check the box that corresponds to the row(s) that you wish to remove.
- Select the X Remove link in the top-left, above the User table.
- Save your changes with the orange SAVE TITLE DATA button under the data table.
There are varying time delays, depending on the type of file handling that is required. For detailed information, view the online Help for the File Management tab.
Analyze
Analyze allows you to monitor and act on player behaviors.Dashboards
Dashboards allow you to see Trends, run Reports, and perform Diagnostics.Data
In the Data area, you can do many things to track and analyze data from your players’ activities. There are a number of graphing and reports capabilities that provide the ability to consolidate and visualize the data. Trends - Configure and view trends for a number of statistics for time periods ranging from 7 days to 26 months. The Trends graph shows classic retention - only new players that have returned - for the chosen time period. The 30-day retention report includes both new and returning players. Event History - Search and display a number of different Event History types, depending on the query you create. Use event name, date range, or event values. Reports - Use Reports to view and download a number of different types of reports based on player data and statistical values.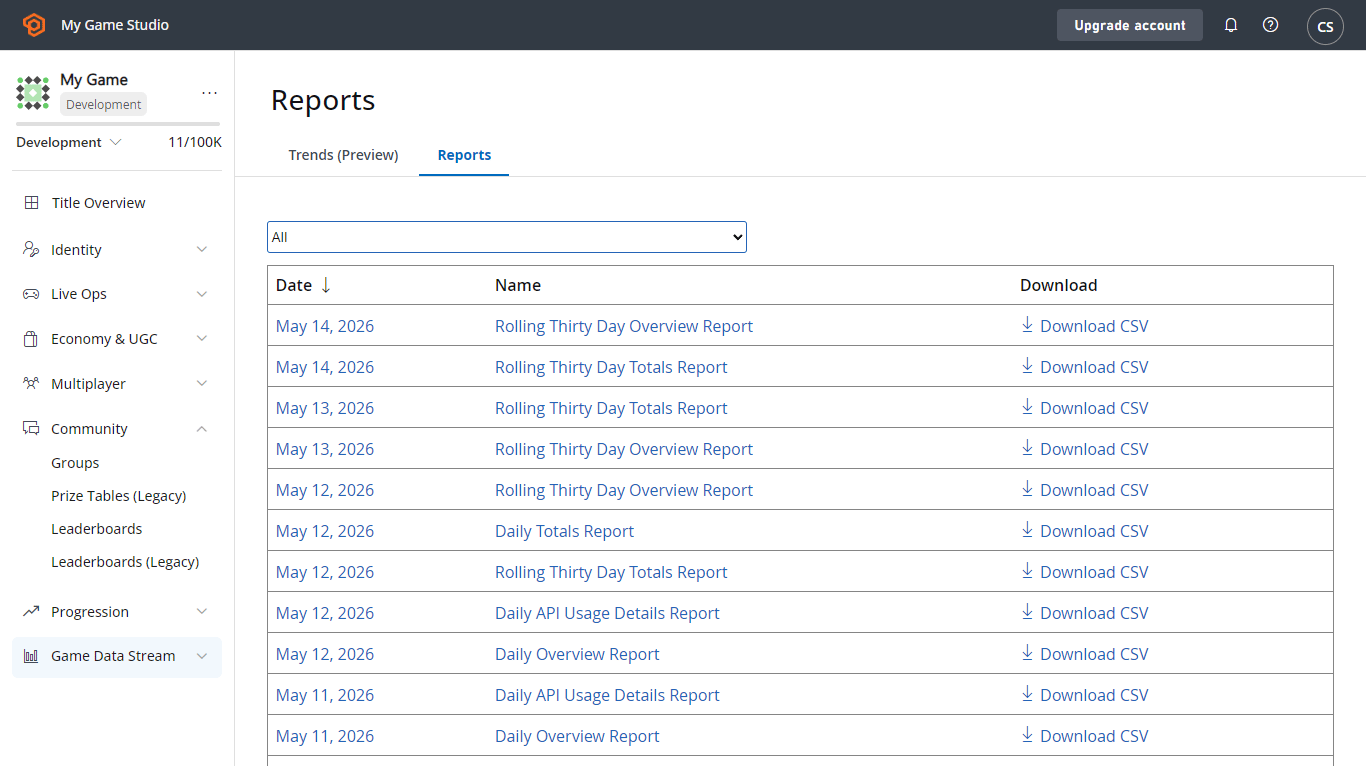
About Audit History and Billing
Every action taken within the Game Manager is logged in the Audit History log. To display the Audit History, select Title audit history from the Settings menu for your game title.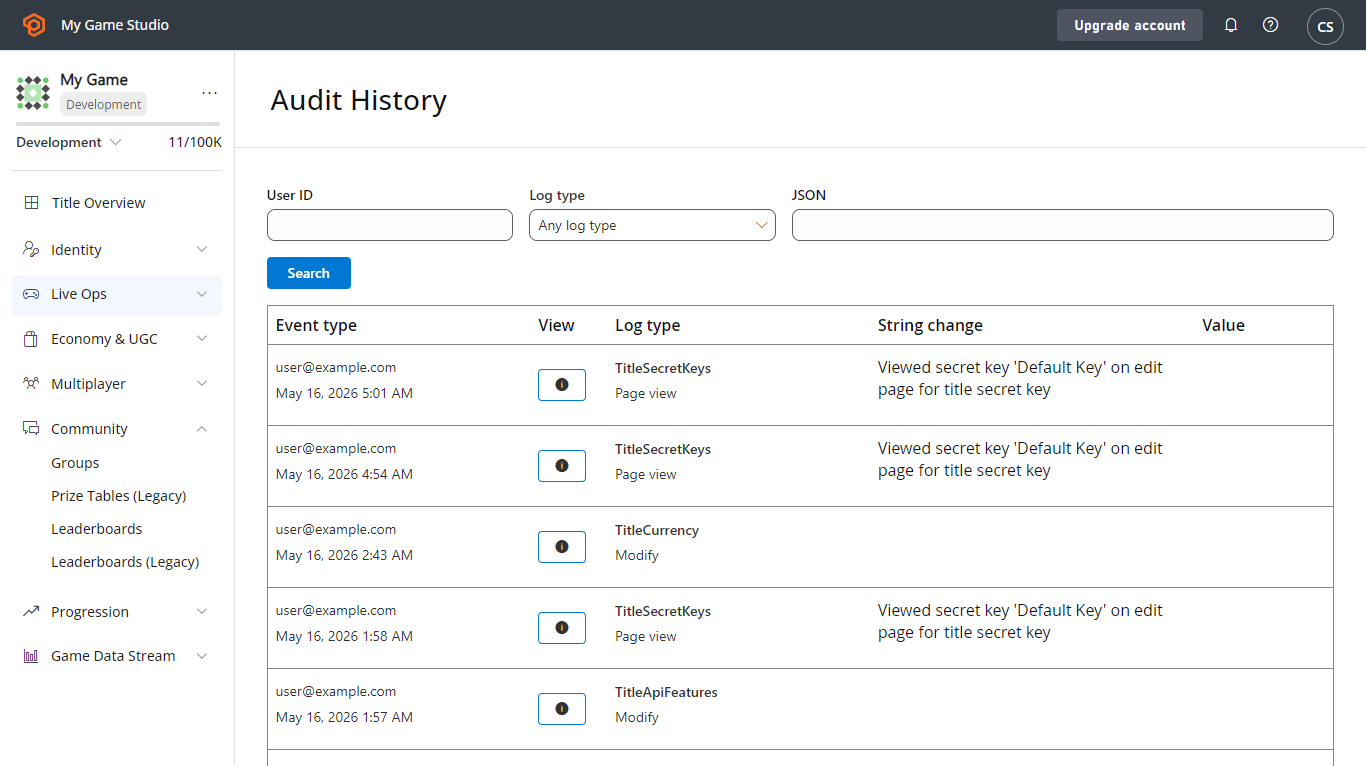
- The Event time column exposes information about the time and the author of the change.
- The Log type column gives you a clue about the kind of change that was made.
- The String change and Value columns represent short details of the change.
- The View column allows you to access a full JSON description of the change.
About title settings
Access the title settings from the Settings menu. General - Provides basic information that you’ll use to configure your title such as player display names and the default language for your title.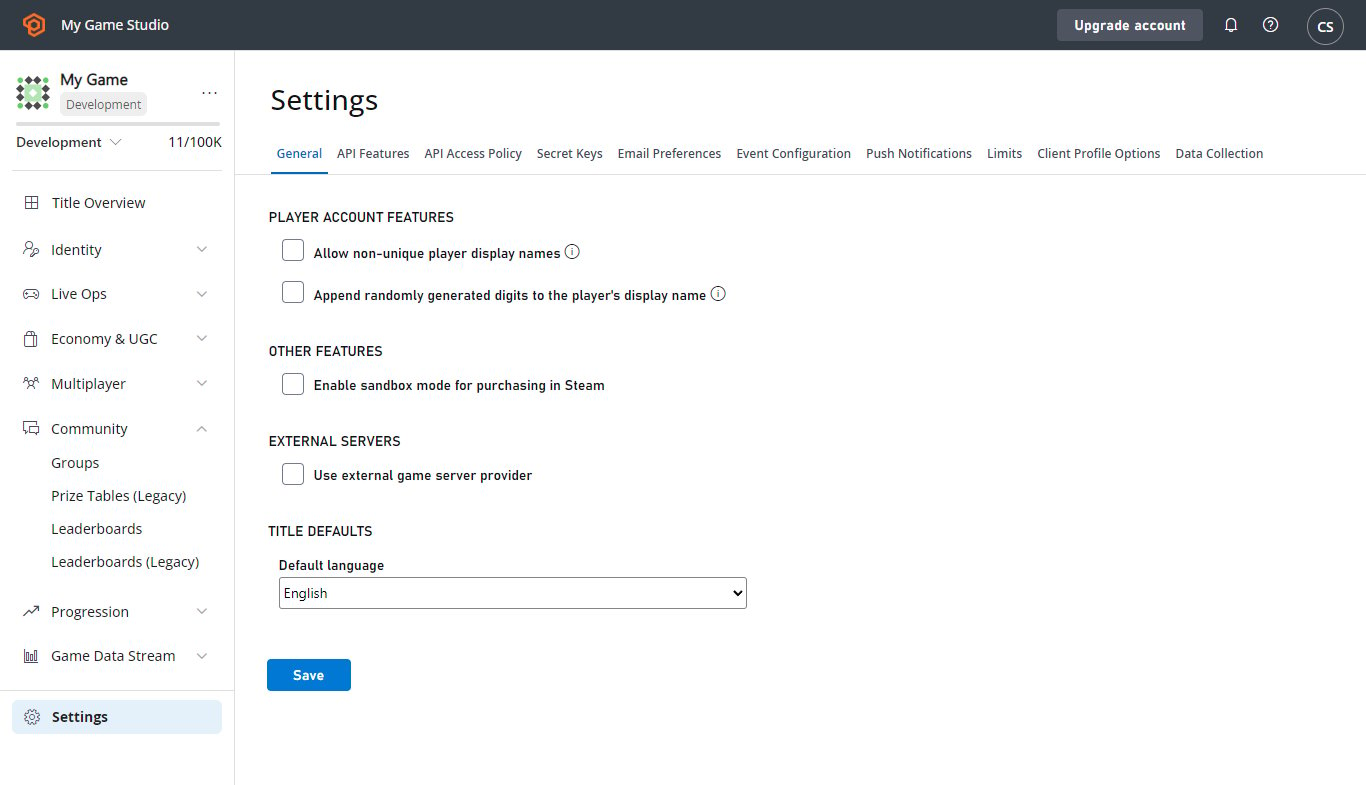
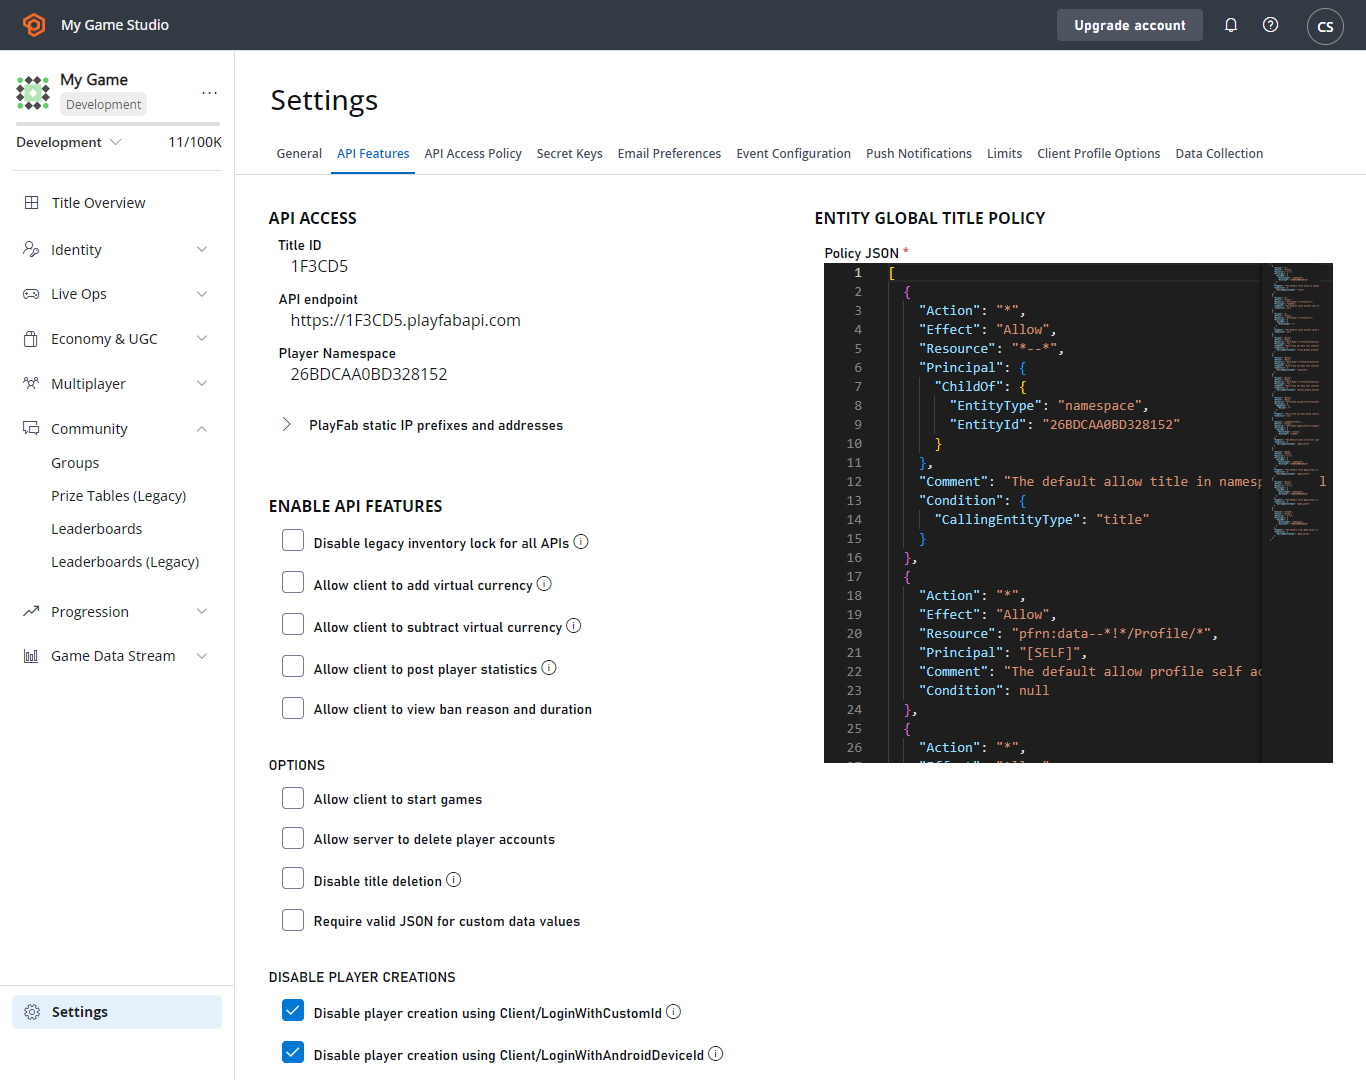
This key should only be shared with trusted members of your development team, since it enables API calls that can affect game data and player accounts. Never share your PlayFab API secret key with anyone; doing so might jeopardize your title’s security.
Other basic actions
Edit profile settings
- From the drop-down menu in the upper-right corner of the Game Manager window, select My Profile.
- Specify Your Name, a Password, add a Phone number, set your Time zone, and specify whether you want to enable Two-Factor Authentication.
- Select the Save Profile button to save your changes and return to the studios page.
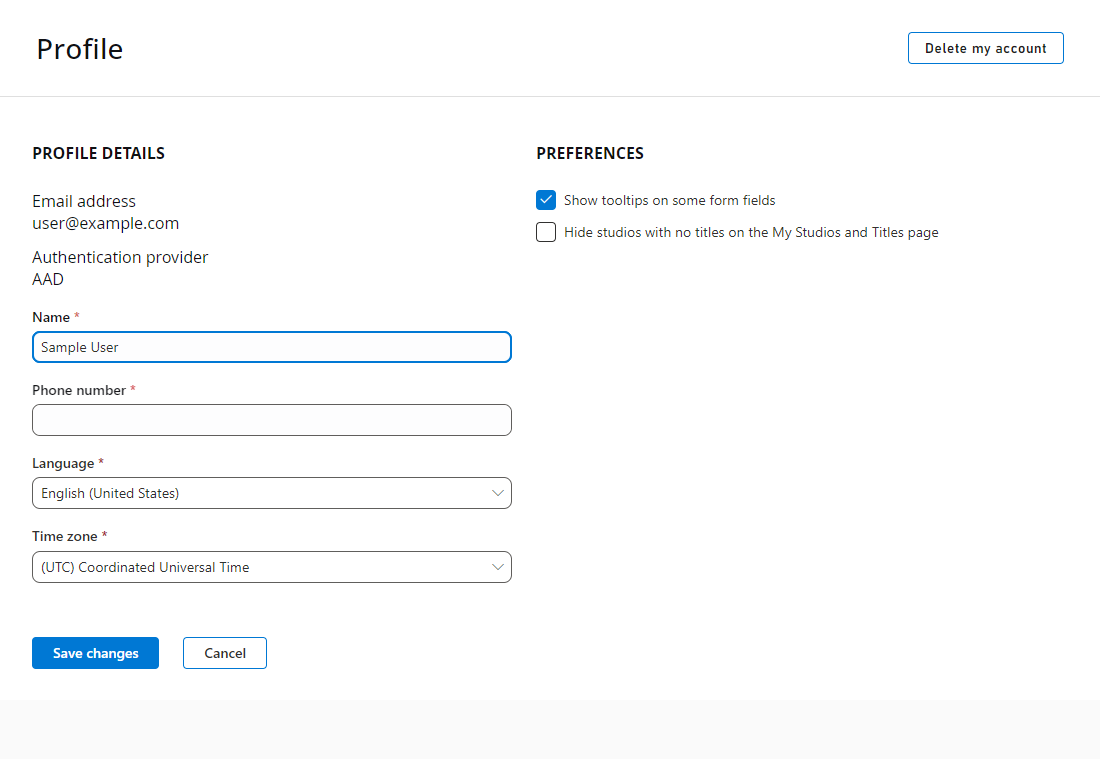
Two-factor authentication improves the security of your developer accounts by requiring a code to be supplied when logging in.
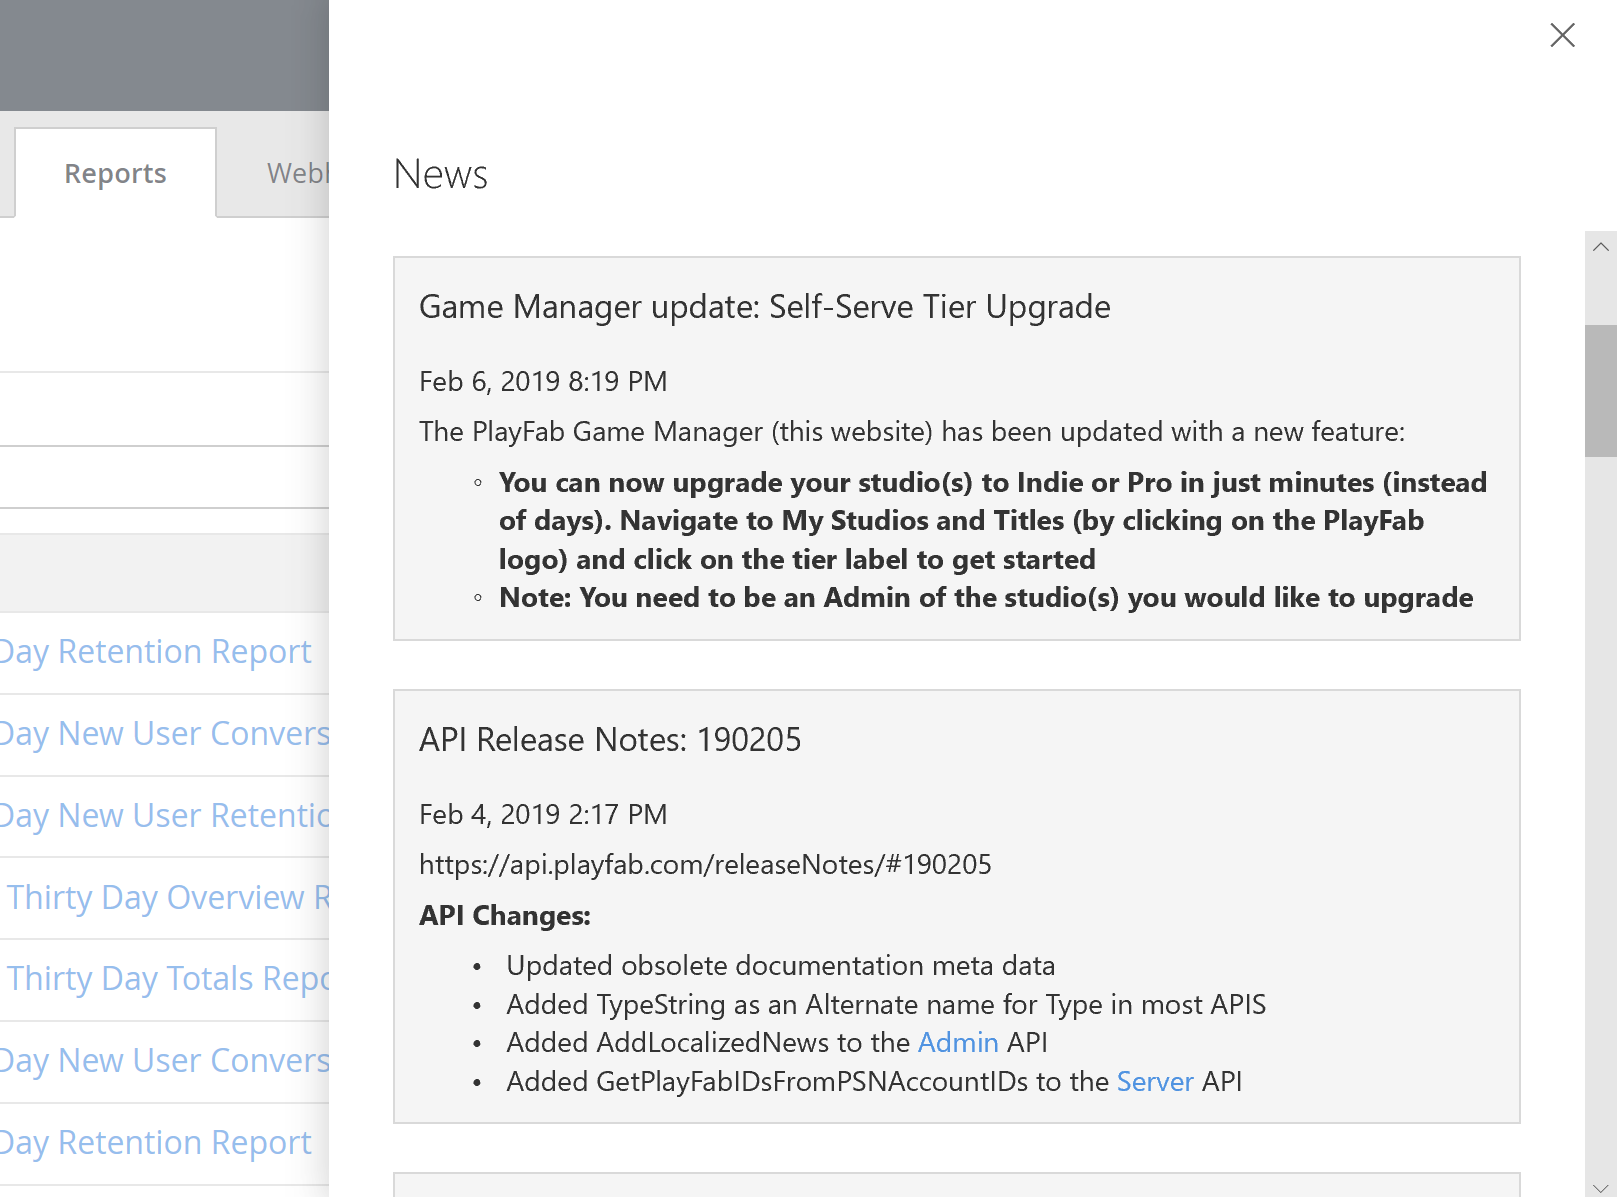
View PlayFab news
New notifications are indicated in the little bell icon in the upper-right corner of your window.- Select icon to display News.
- View the news from the PlayFab team, ordered by the most recent, first. The news feeds include information on new features, API updates, and service outages.
Create and edit studios and titles
In this section, you learn how to create and manage studios and game titles. To add a new studio:- Select the PlayFab icon to display the My Studios and Titles pages.
- Select NEW STUDIO to create a new studio in the dialog that appears.
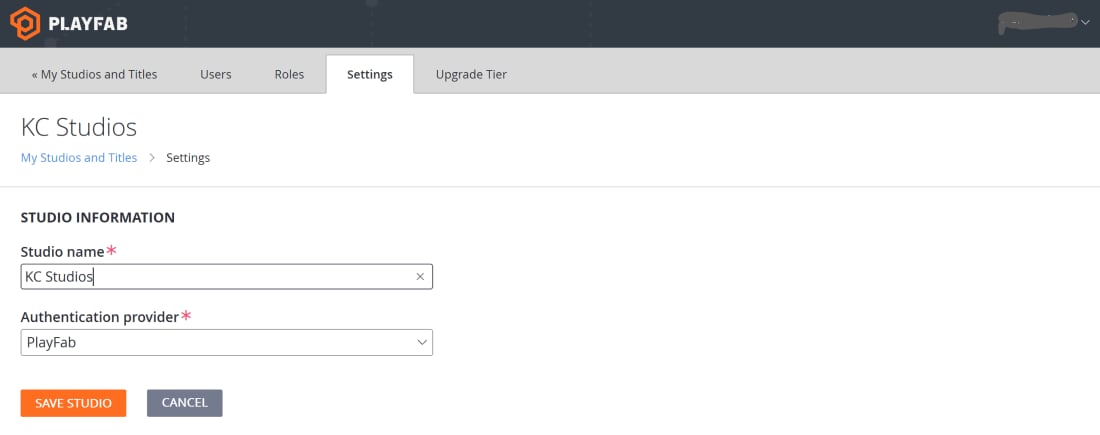
- Enter a Studio Name and Authentication provider.
- Save your changes and return to the My Studios and Titles page.
- Select the ellipsis drop-down menu to the right side of your Studio name, then select Studio settings.
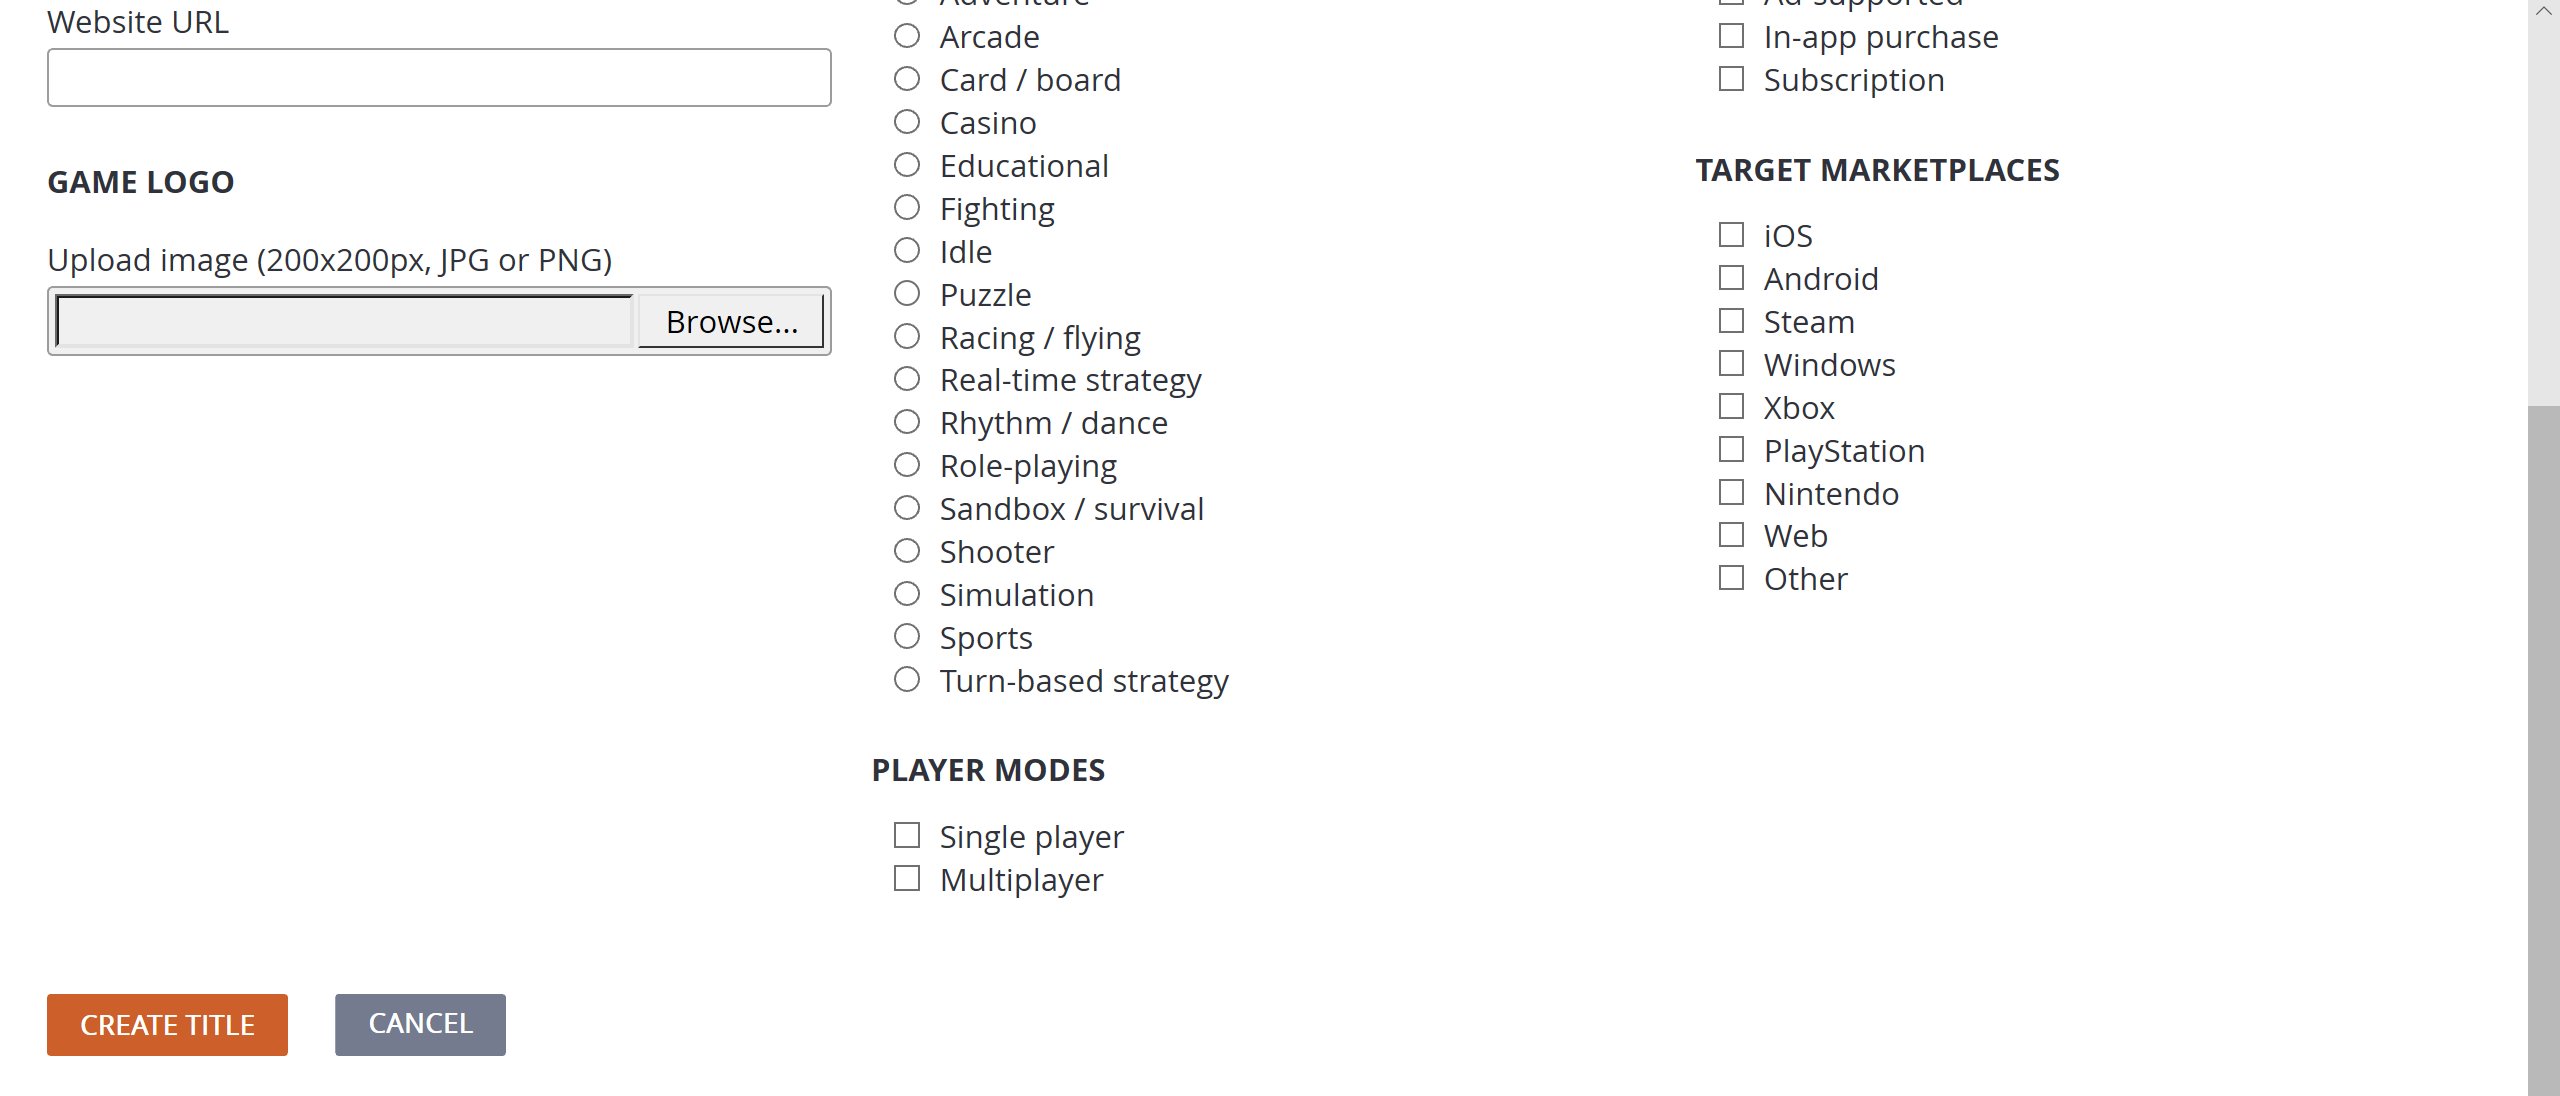
- Select the drop-down menu to the right side of your Studio’s Name, and then select New title to display the Create Title page.
- Enter the details and select the CREATE TITLE button.
To edit an existing title
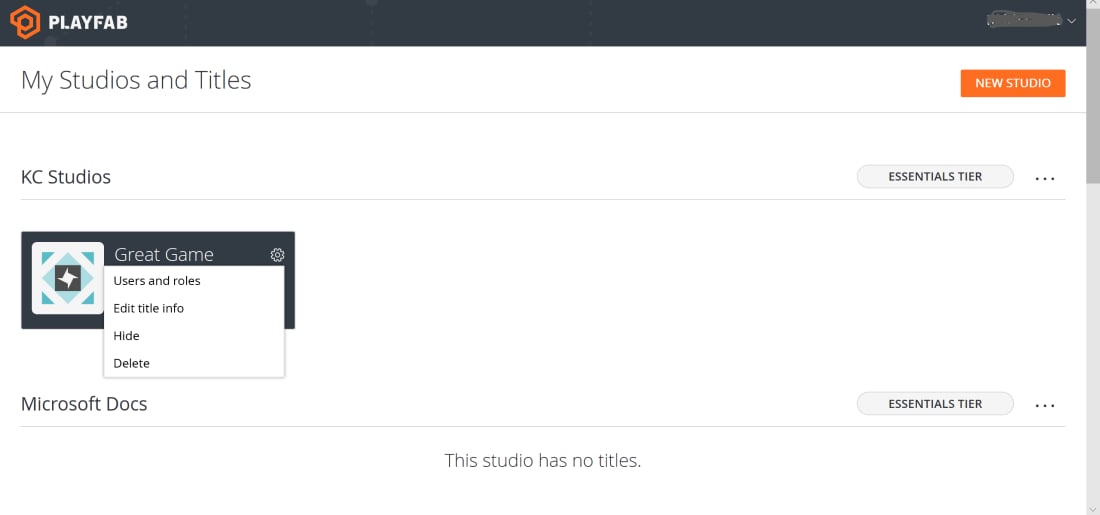
- Select the gear icon on the title name you wish to edit and select Edit title info.
About User Accounts
You can create user accounts that are individual or Admin-level accounts. Admin accounts provide access to one or more sections on one or more titles of a given studio, and provide full ability to configure studio and title information.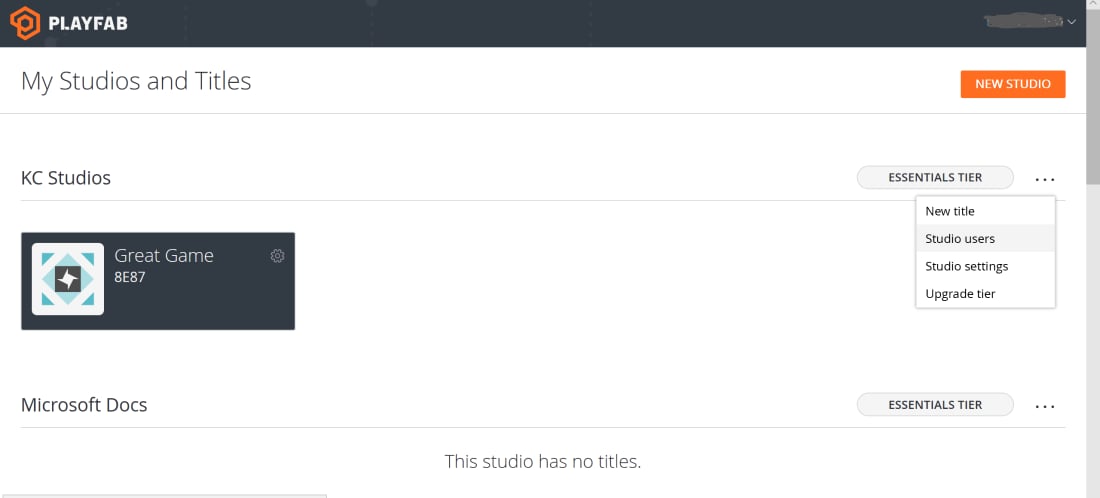
- Select the drop-down menu to the far right from your Studio name, and then select Studio users.
- Choose ADD USER to display the Add New User page. Check the box if you want to make the user an Admin.
- To remove accounts in the Users page, select Remove.