
Switching between the default and classic experiences
Partner Center supports switching between the default experience and the classic experience at any time.- Switching doesn’t affect your packages, certification status, publishing, or history.
- Both experiences show the same packages and submissions.
- Use the toggle if you encounter an issue or need to reference the classic UI.
Overview of Packages
Packages is a single place to manage your game’s packages.Packages terminology and features
Use the following terminology to understand the features available in Packages.- Branch gallery (Packages page): The main view of the Packages page, showing the product’s branches split by Draft and Live.
- Branch: A container for package files and their associated configuration.
- Branch menu: The options available after selecting the … for any specific branch. Depending on the branch (Main versus others), menu options might include View and Edit, Create Flight, Promote to Main, and Delete.
- History: The log of actions taken within specific branches or flights.
- Certify: The option to begin submission to XBOX Certification.
- Review and Publish: The option to begin publishing to a development sandbox or RETAIL.
Branches: working on multiple builds
Branches let you work on multiple versions of your game at the same time without them interfering with each other. Think of each branch as a separate workspace for a specific purpose.Why use branches?
- Certify a stable build on one branch while uploading and testing a different build elsewhere.
- Test risky changes without touching your live build.
- Create a hotfix branch to isolate urgent fixes from ongoing development.
- Prepare localization or regional variants independently.
Branch gallery: draft and live
When you open the Packages page, you see two views: Draft and Live. These views represent different states of branches.Draft view
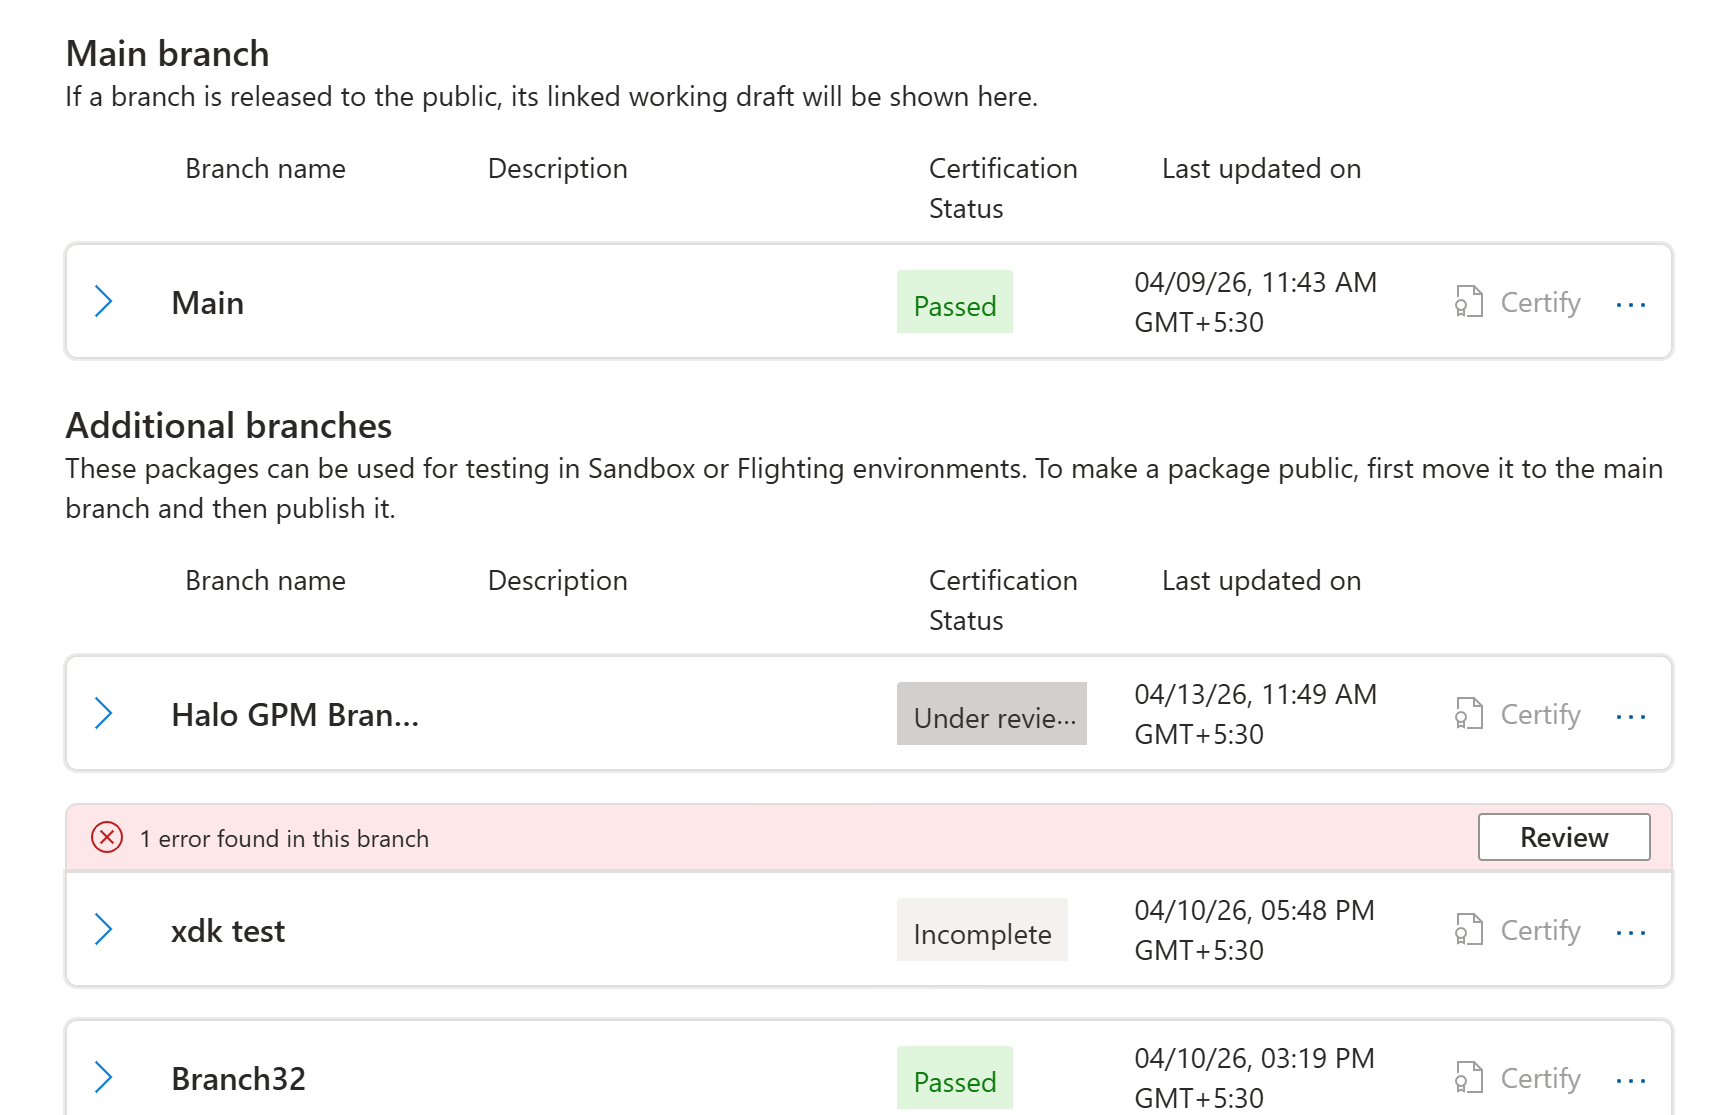
The Draft view is your active working area. Draft supports package upload, certification status checks, and preparation of builds for testing or publishing. The Draft view shows two sections:- Main branch: Shows the working draft linked to your current public release. Only the main branch can be published to RETAIL.
- Additional branches: Shows all other branches.
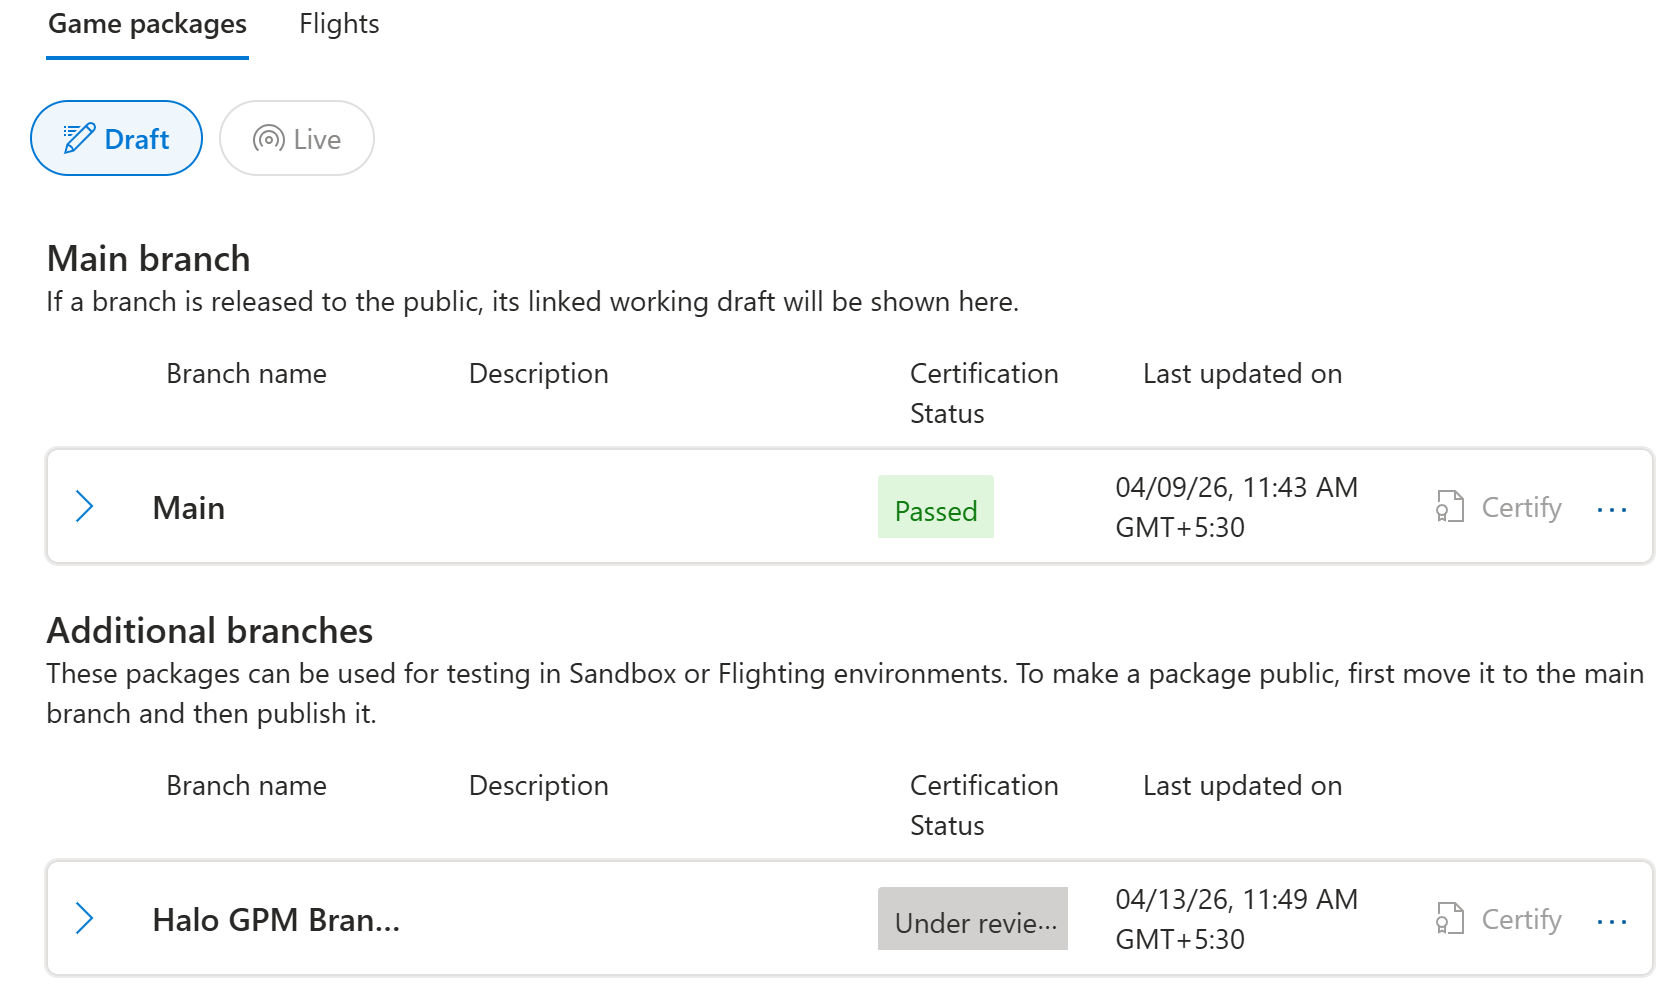
Draft view menu options
Each branch has a menu (select the … icon) with branch-specific actions.Live view
The Live view displays published packages that are available to players. This view includes packages published for general availability in the Microsoft Store, active flight branches, and sandbox branches in a published state.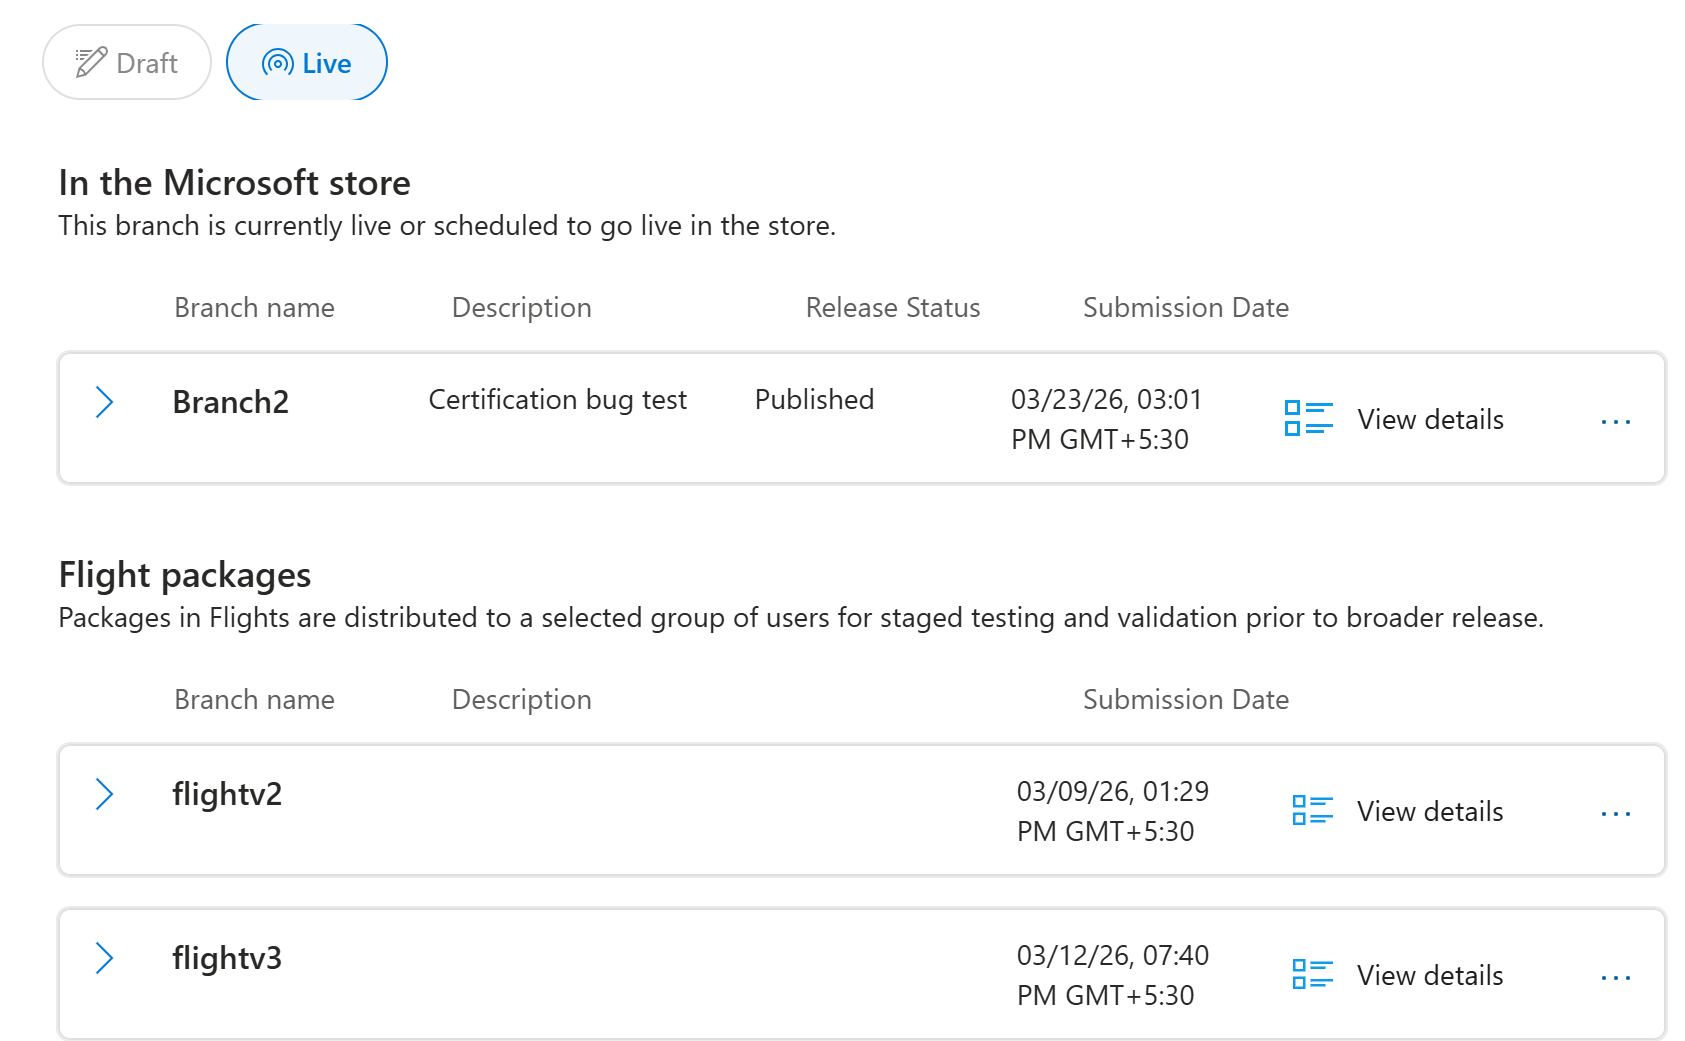
Live view menu options
Each branch has a menu (select the More options (…) icon) that includes branch‑specific actions.You work in Draft. Players see Live. Switching between the two views clarifies the difference between in‑progress builds and published content.
How to create a branch
- Open the Packages page.
- In the Draft view, select Add branch.
- Enter a Name (for example, Testing, Hotfix, Localization, or Experiment) and a Description for the branch.
- After you create the branch, it appears under Additional branches.
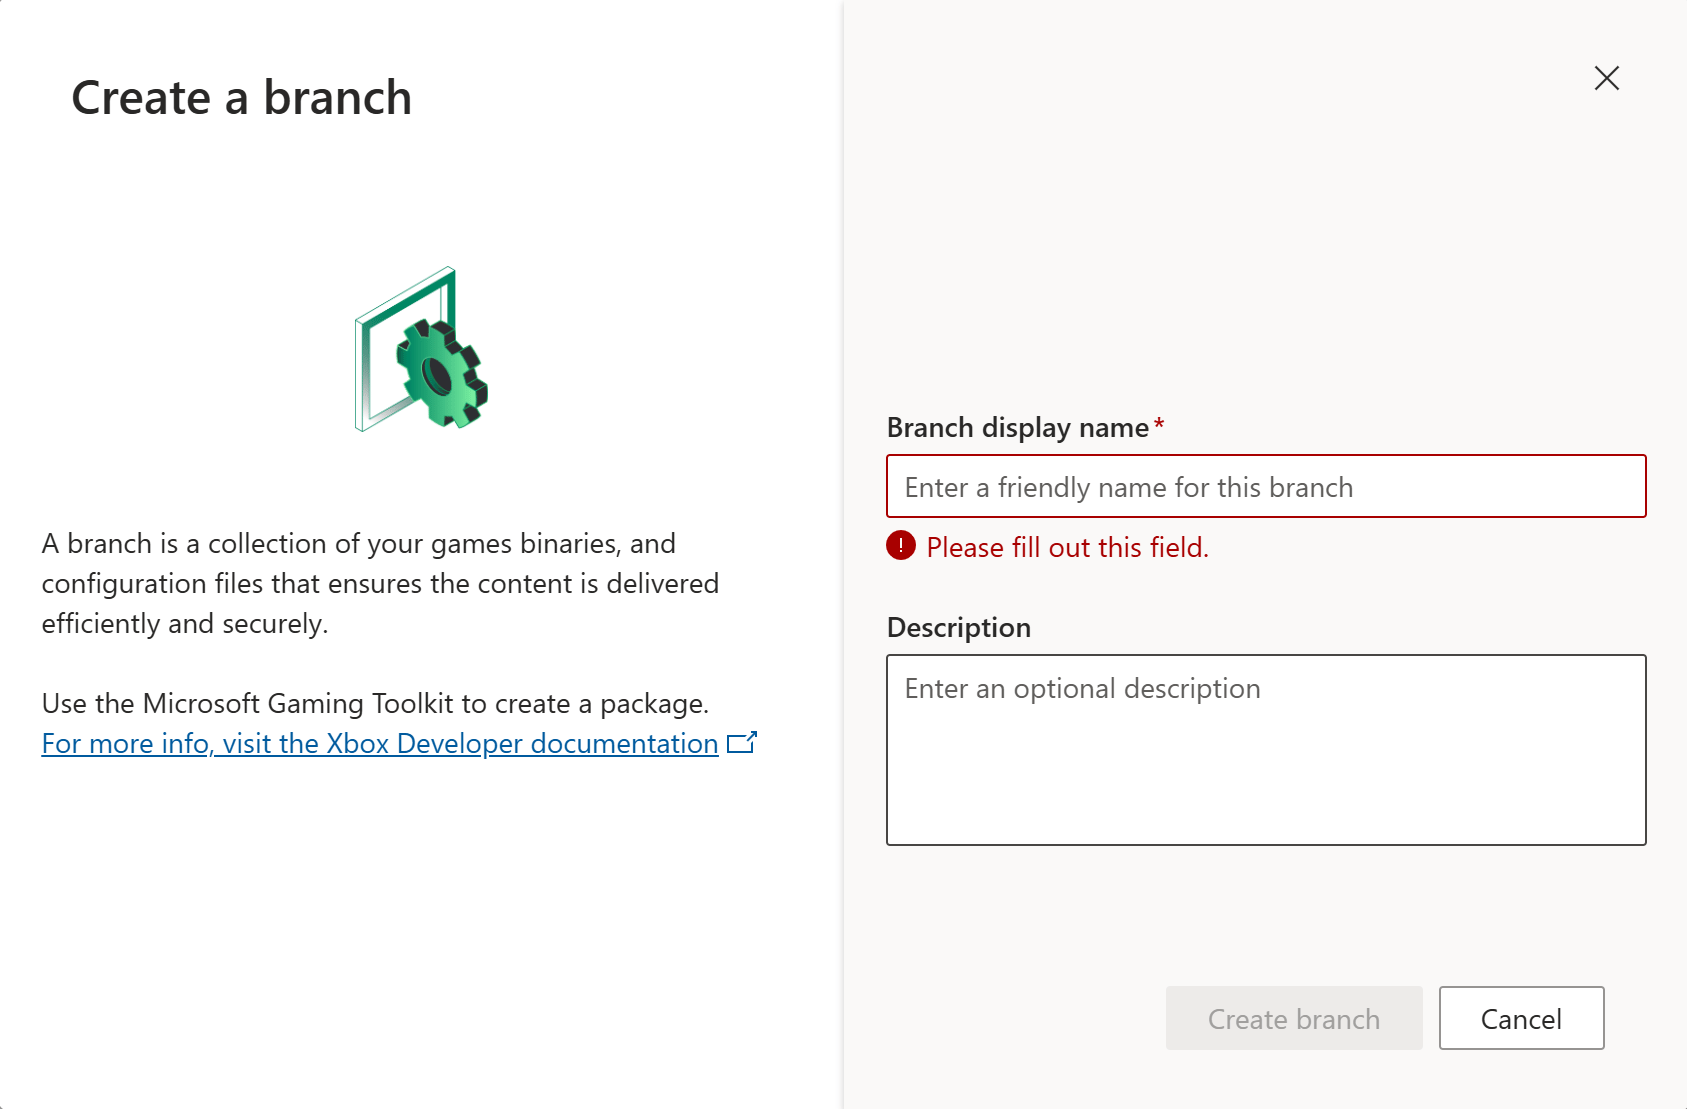
View and edit a branch
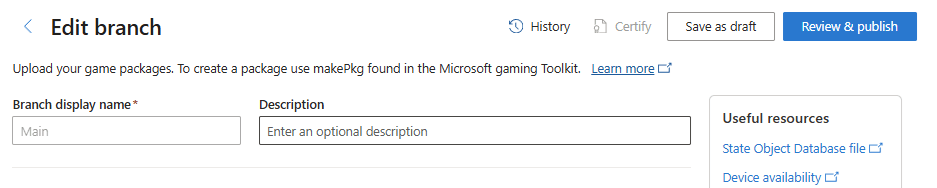
When you open a branch by using View & Edit, you’re taken to the Edit branch page. Use this page to manage packages for the branch.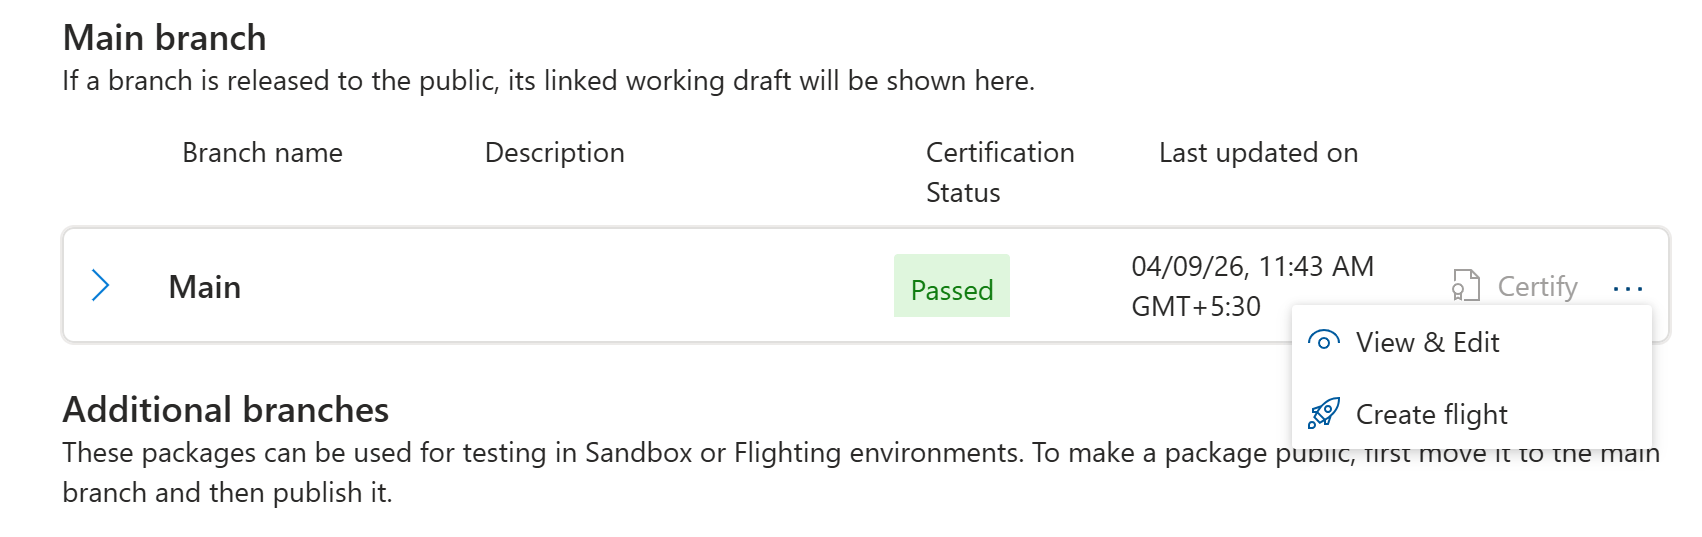
Top action bar
At the top of the Edit branch page, the following actions are available.Branch details
You can also edit the Display name and Description fields for a branch.- Branch display name: The name shown for this branch across Partner Center.
- Description: A short note that describes the purpose of the branch, for example, To be released or April hotfix.
Required package files: what to upload
When you upload a game build, some files are mandatory and some are optional. The Edit branch page clearly lists each file slot to indicate which files you can upload.Package formats
Your game package format depends on the target device. The package type that you submit must match the device family availability that you select.Mandatory files
Optional but recommended files
Package validations: catching issues before certification
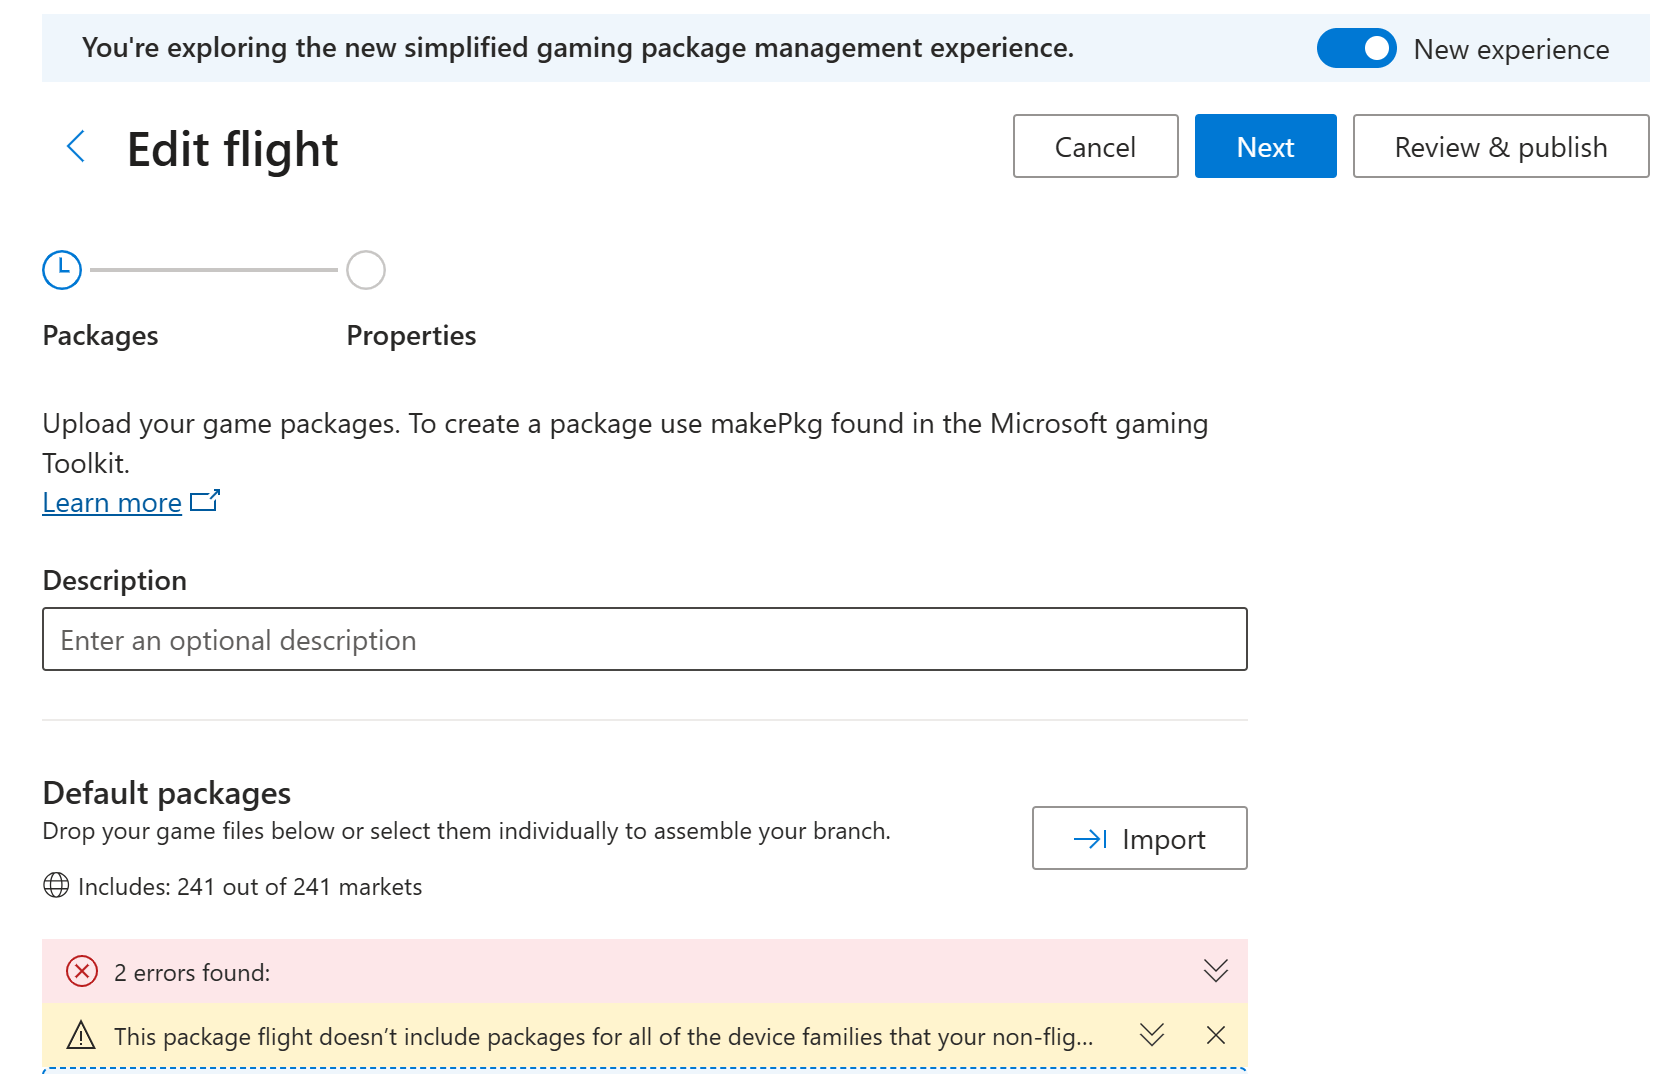
Partner Center automatically validates packages when you upload them. Validations check that your package is complete and ready for certification or publishing. Resolving issues at this stage reduces the risk of rejection and failure in certification.- All branch and package validation errors are displayed directly in the UI.
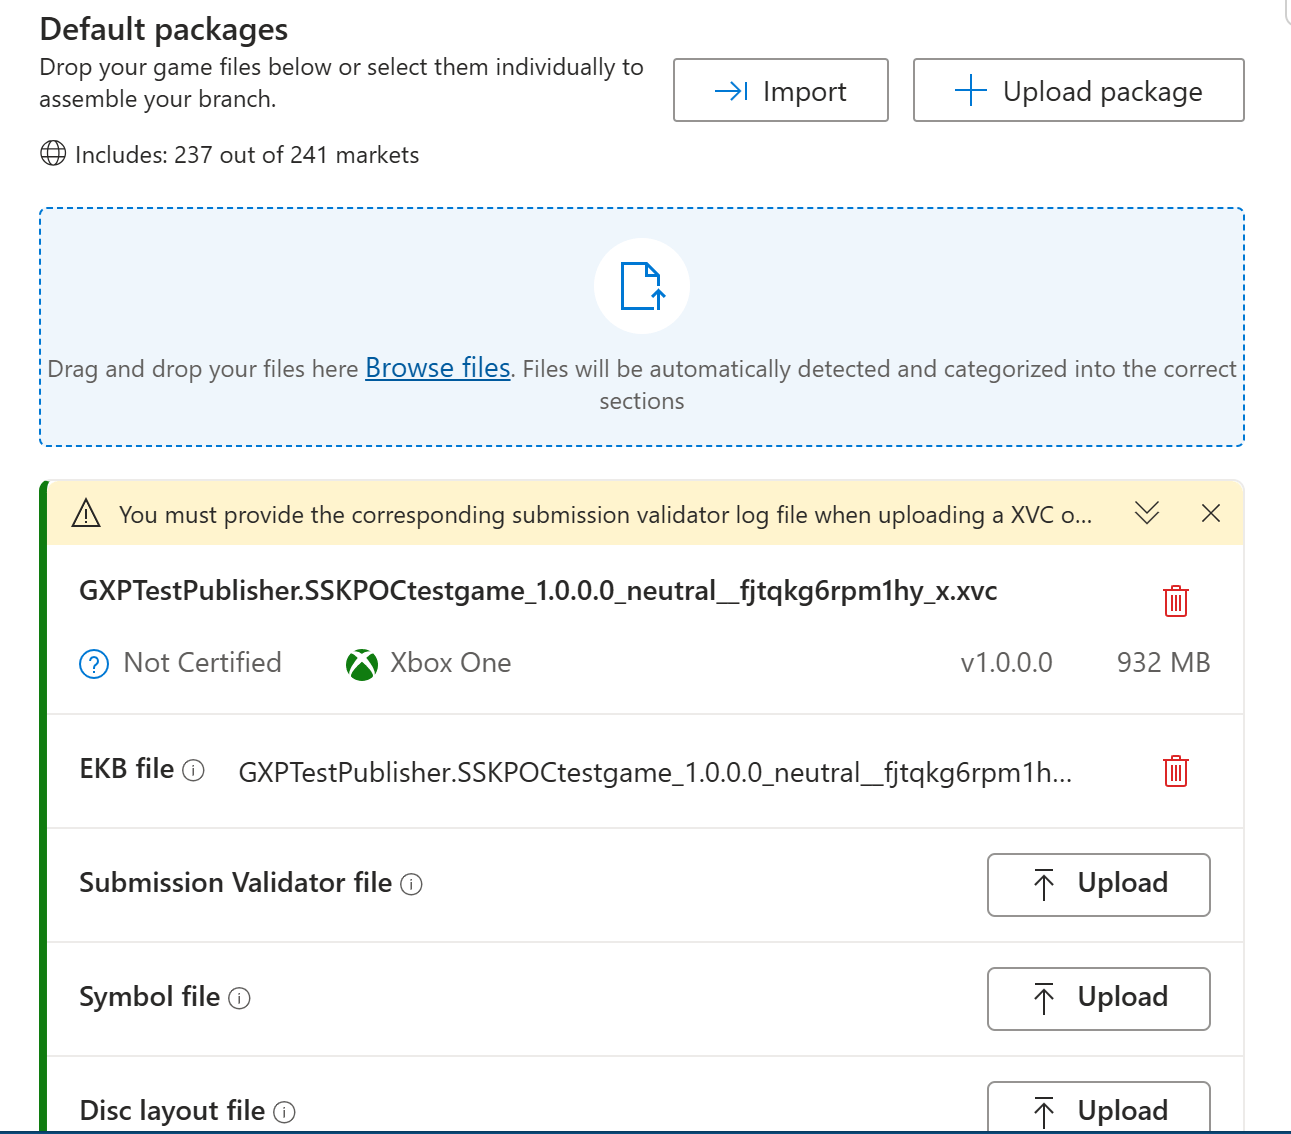
- Required files are automatically validated. The EKB and Submission Validator log files must be present.
- If the Submission Validator log contains warnings or errors, they’re clearly displayed inline for your review.
- If you configure market-specific packages, the configuration for each variant is validated before publishing is allowed.
Default packages: uploading and managing files
The Default packages section supports assembly of packages for a branch. Default packages are available in all markets. Market-specific packages for individual countries or regions are uploaded and managed separately.Upload options
- Import: Copies packages from another branch into this one without reuploading. The Import button appears at the top of the Default packages section alongside Upload package.
- Upload package: Upload game files by dragging and dropping one or more files, or by using Browse files for individual selection. The system automatically detects and categorizes files into the correct slots.
Package status icons
Market-specific packages and regional variants
The Market-specific packages section shows all regional variants configured for selected markets. This section applies when you need different builds to meet country/region‑specific or regulatory requirements.Actions available
- Import: Copies packages from another branch into a specific market group.
- Add market-specific package: Creates a new regional variant for a market group.
- Each market group (for example, Germany) has a three-dot (…) menu with Edit and Delete options.

Create a new market-specific group
- Confirm you’re viewing the Edit branch page for the intended branch.
- Select Add market-specific package.
- Enter a Market group name (for example, Germany) by specifying a new name or selecting an existing name.
- Upload a package for each group.
Advanced options: pre-order and schedule package updates
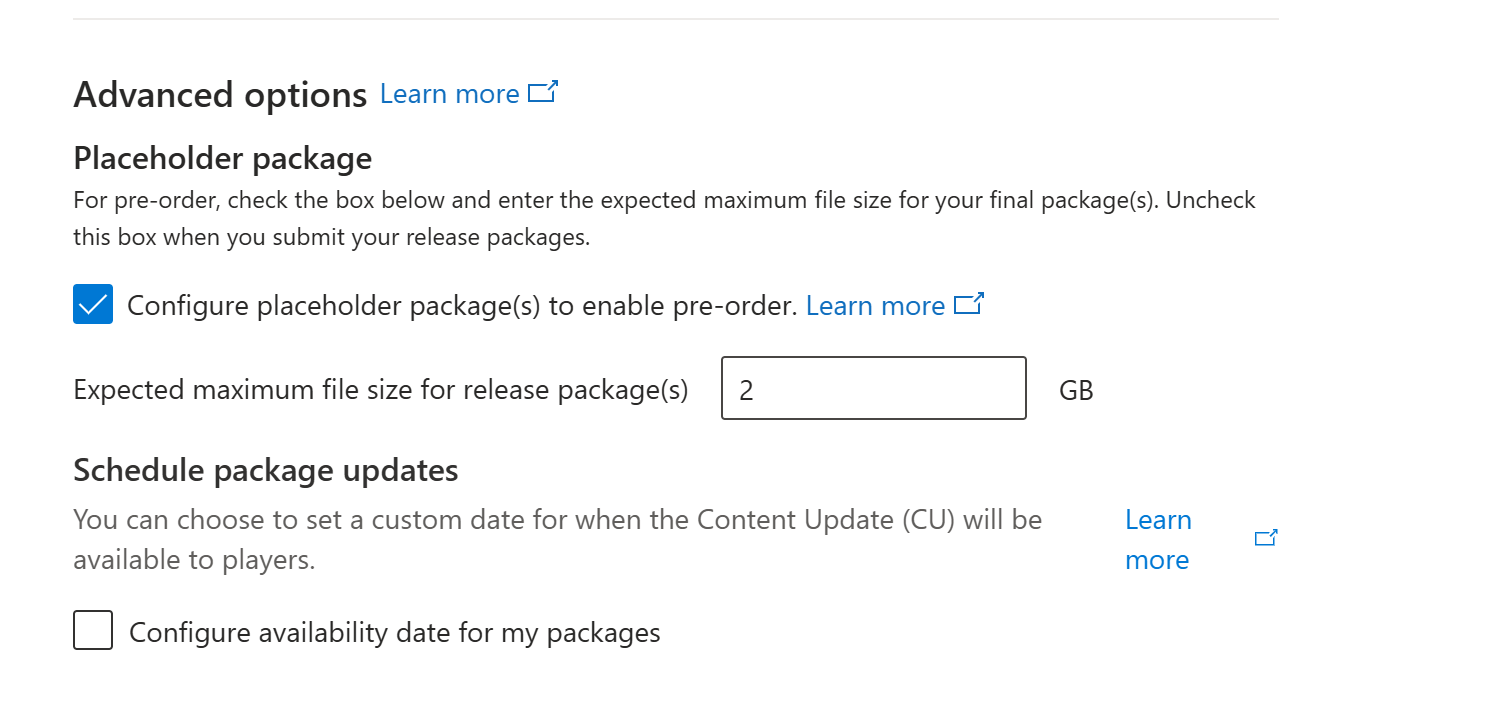
At the bottom of the Edit branch page, the Advanced options section gives you two features: pre-order configuration using placeholder packages, and scheduling Content Update (CU) availability dates.Placeholder package for pre-order
If you configure a pre-order date in your Pricing and availability settings, select Configure placeholder package(s) to enable pre-order in Advanced options and specify the Expected maximum file size for the final package. This value appears on your product’s Microsoft Store Product Details Page (PDP). It directs customers who pre-order to install the product on a drive with enough disk space for the full package. This process ensures sufficient storage is available when the product releases. At least one week before your product’s release date, publish an updated package that replaces the placeholder so customer devices start installing the full package before release. When you publish the updated package, clear the Configure placeholder package(s) to enable pre-order checkbox.Contact your Microsoft representative if you plan to use a placeholder package.
Schedule package updates
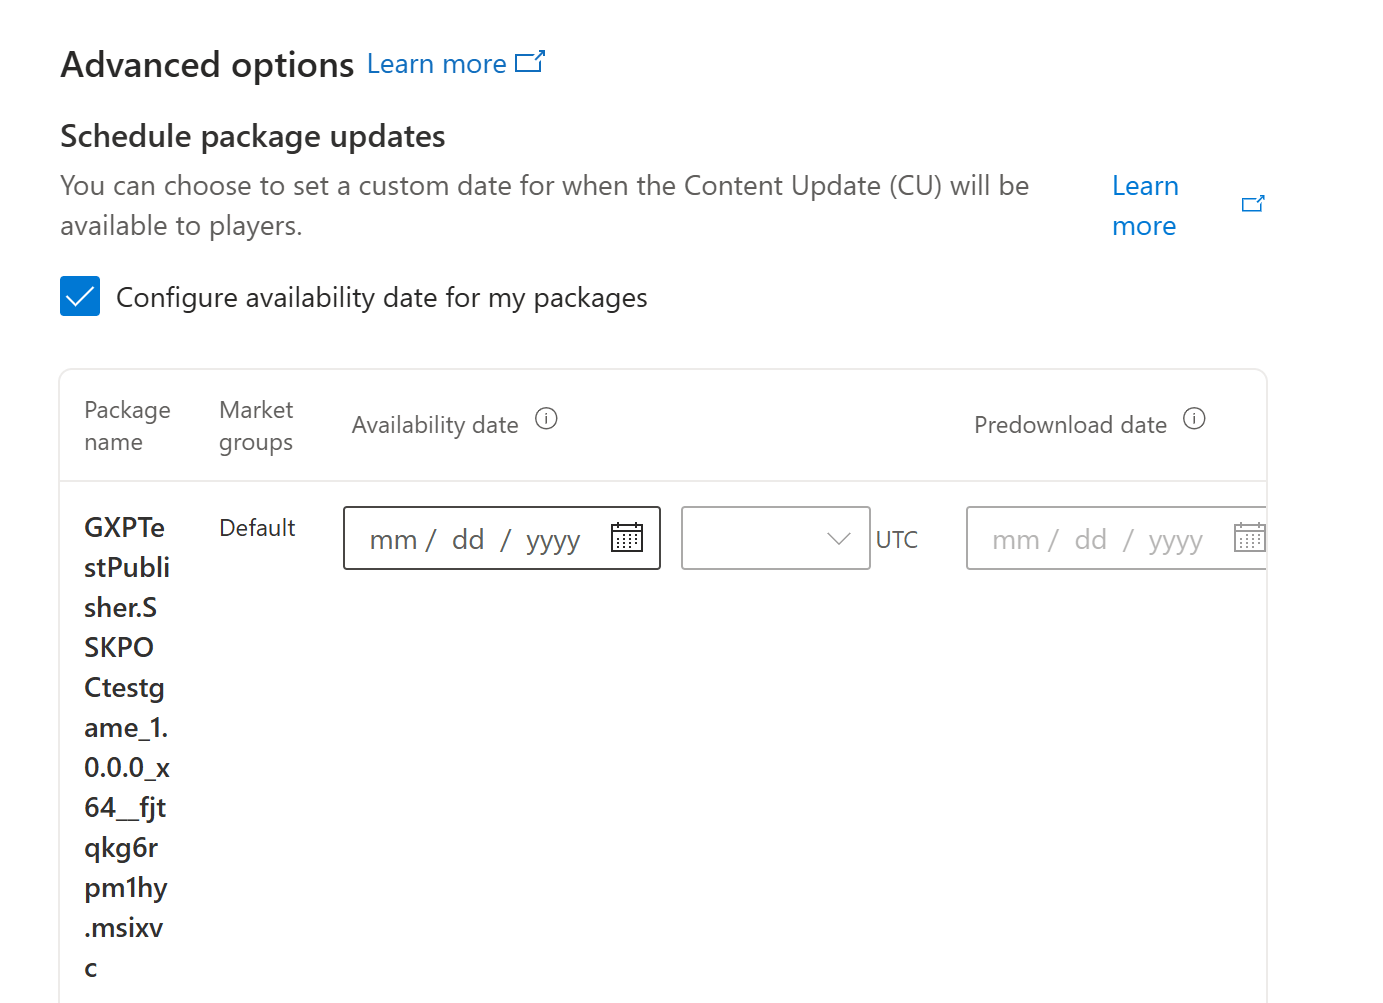
CUs support custom availability dates for release to players. Select Configure availability date for my package(s) to enable scheduling. Once enabled, set two dates per package.What happens with different date configurations
- Same predownload and availability date: no early download, update applies on that date.
- No predownload date set: update downloads only on the availability date.
- No availability date set: update is available immediately after it publishes to the RETAIL sandbox.
- Market-specific packages: set availability and predownload per market independently.
Flights: testing with a limited audience
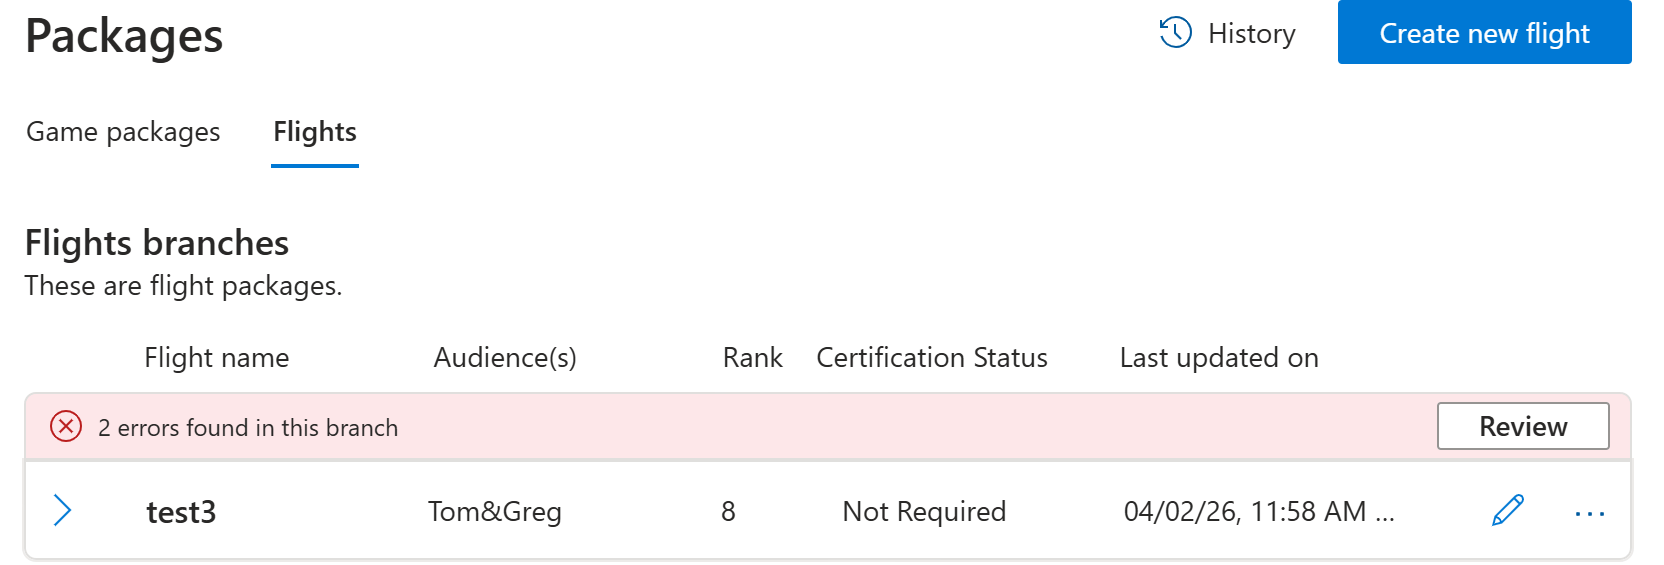
Use flights to test a branch with a limited group of users before publishing broadly. This testing method is useful for internal testing, partner previews, or early access groups.How to create a flight
- Go to the Flights tab on the Packages page.
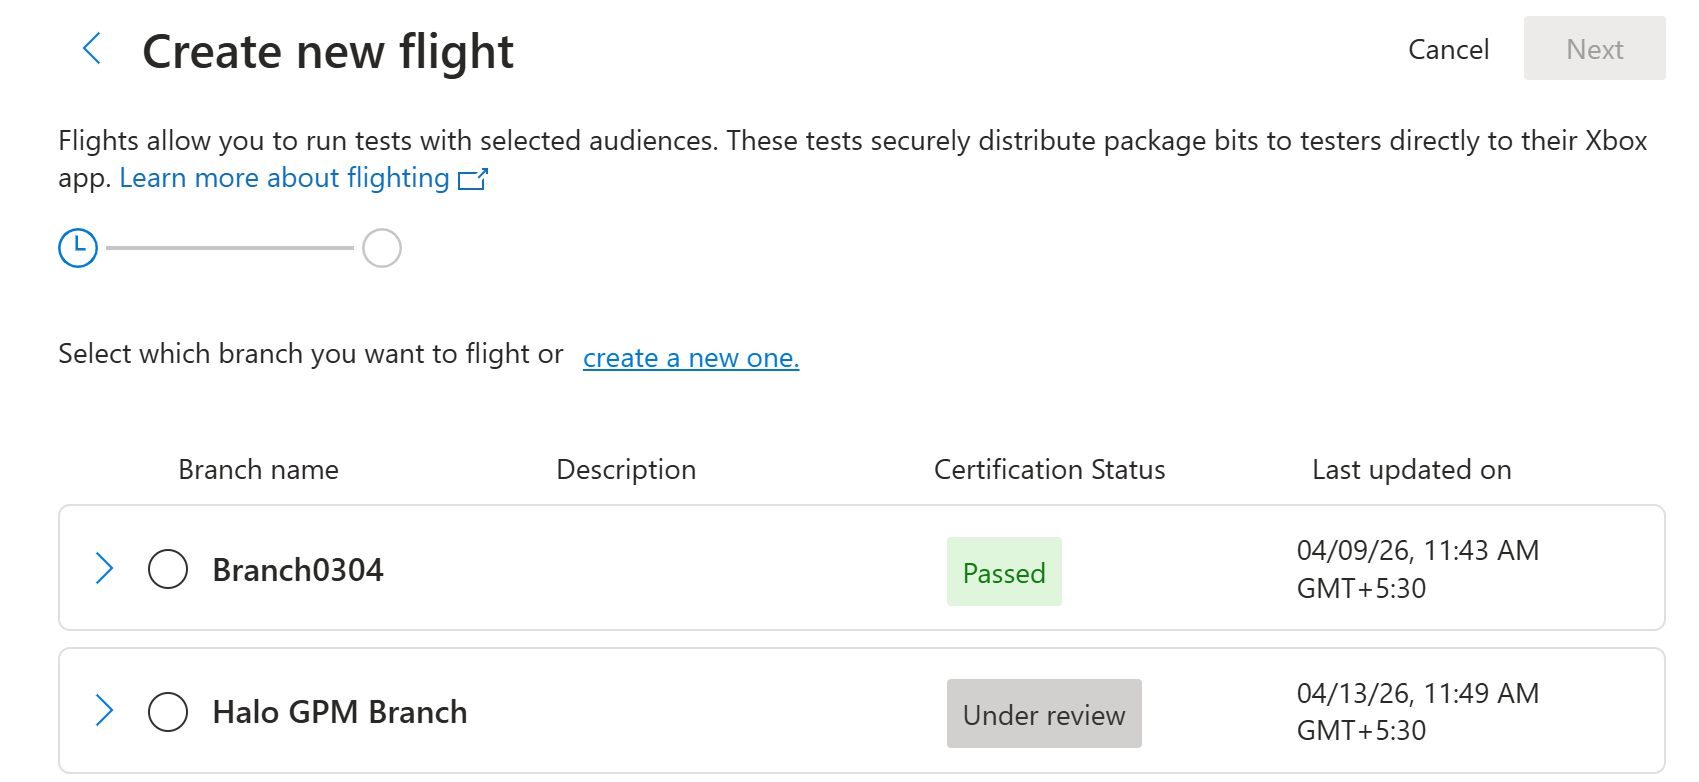
- Select Create new flight.
- Enter a name for the flight and select the audience (device or user groups).
- Select the Branch you want to test.
- (Optional) Set start and end dates.
- Select Save. The flight appears in your flight list immediately.
Editing a flight
After you create a flight, you can add or remove audience groups as needed. The Microsoft Store immediately reflects these changes. You can also edit flight ranking after flight creation.
Certification: getting your build approved
XBOX Certification verifies that your build meets all platform requirements before you can publish it to players. Select Certify for a branch and follow the prompts to submit your build for XBOX Certification. For more information, see Certify a game.Before submitting any packages for certification, complete the Certification questionnaire for the product by selecting Certification from the product’s page navigation.
Rollback: recovering from a bad release
When a released build causes player problems, you can restore a previously certified build without re-uploading or re-certifying. In Packages, you can trigger a rollback from two places.How to roll back
From the Draft view (Main Branch), follow these steps to roll back a package.- Open the Main Branch menu (… icon).
- Select Rollback from the menu options. This option gives you quick access to Rollback without switching views.
- Go to the Live view on the Packages page.
- Find the Main Branch under In the Microsoft Store.
- Open the branch menu (… icon) and select Rollback. Use this entry point when you want to see the currently published state first before deciding which build to restore.
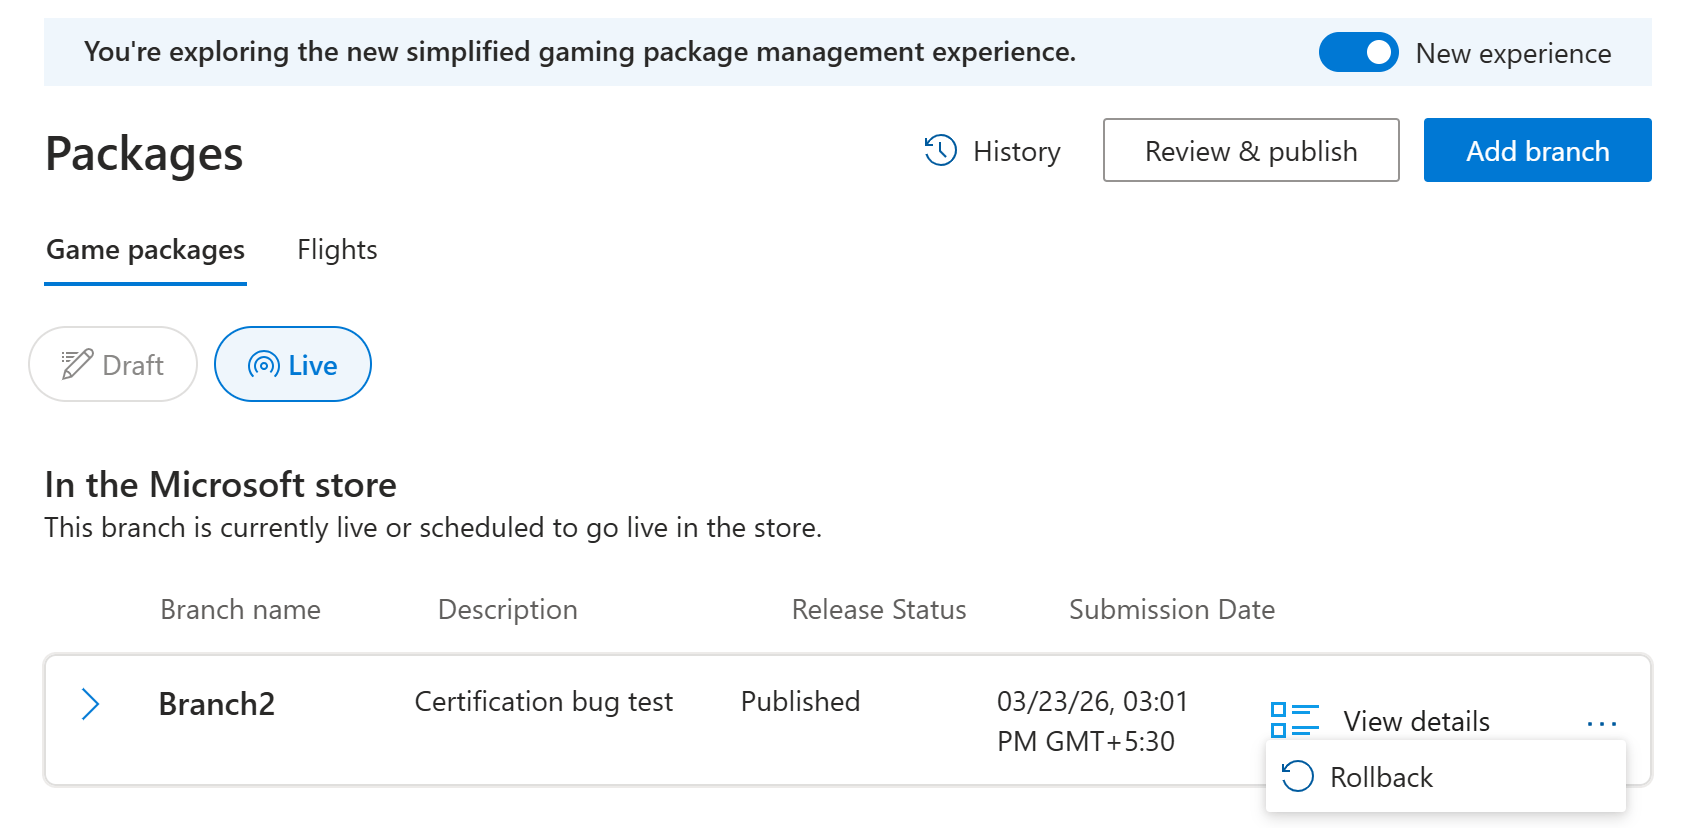
What happens when you roll back
When you select Rollback, a guided modal opens that takes you through four steps before making any changes. Step 1 - Select the previous publish: You see a list of previously certified and published builds. Select the build you want to restore. Each entry shows the build version, certification date, and who submitted it to help you identify the right one. Step 2 - View details: The full details of the selected build, such as package names, versions, device families, and certification status, are displayed. Review this information carefully to confirm it’s the correct build before proceeding. Step 3 - Compare current and target packages: A side-by-side comparison of the current live build and the build you’re about to restore is displayed. This step is critical—it lets you see exactly what changes for players after the rollback is complete. Check that no important builds or device families are lost in the process. Step 4 - Acknowledge and submit Before the rollback is executed, you explicitly acknowledge that you understand what changes. After you confirm, the rollback is submitted and the older stable build goes live immediately—no reupload or re-certification needed.Use History to find the exact build you want to restore. History shows all activity across all branches - uploads, certification submissions, publishing events, flights, and rollbacks—with who did what and when.