
Quickstart: Android
Get started with the PlayFab Services SDK for Android. Follow these steps to include the libraries in your project and try out the sample code for basic PlayFab functionality. This quickstart helps you make your first PlayFab API call using the Android SDK. Before continuing, make sure you have completed the steps in Quickstart: Game Manager, which ensure you have a PlayFab account and are familiar with the PlayFab Game Manager.Requirements
- A PlayFab developer account.
- Android Studio installed.
Project setup
Download the PlayFab Android SDK to your project from the PlayFab SDK Release Page.Integrate PlayFab C SDK into your own project
These next steps are written with the assumption that you have created a new project using Android Studio.Add binaries to your game
There are two parts of the binaries that you’ll need to integrate into your project: the shared object files (.so) and the android archive files (.aar). You can build the binaries yourself or you can download them from the releases page.Adding the .so files
These files are integrated into your project using CMake.- Unzip the PlayFab SDK for Android release and place its contents in your desired directory.
- Using target_include_directories or another equivalent function, add the headers under “Include” from the PlayFab SDK release:
- Using target_link_libraries or another equivalent function, link the locations of the .so files to your project. For example:
Adding the .aar files
These files are integrated into your project using Gradle.- Create a libs folder within app level Android project directory. Here’s an example of what your project directory should look like now:
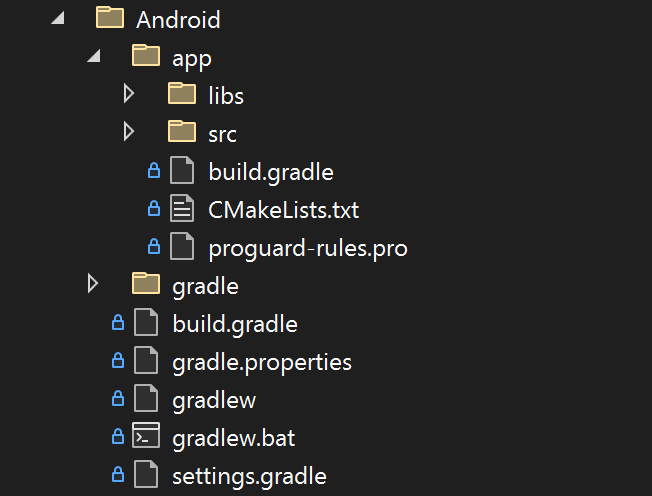
- Copy the .aar files into the libs folder.
- In app level build.gradle file, the one in the same directory as the libs folder, add these lines to the dependencies section. The second line is required as a dependency for libHttpClient.