Getting started with PlayFab (Legacy Economy), Unity IAP, and Android
Economy v1 APIs are in maintenance mode and will not be receiving any new features, only bug fixes. The v1 APIs will be maintained for the foreseeable future. See the Economy v2 Overview to learn more about the next version of PlayFab Economy!
Before we start
Setting up IAP may be tedious, especially if you are not sure how different services are supposed to integrate and cooperate. The following image illustrates how the Android Billing API and PlayFab work together to provide a solid IAP experience for your client.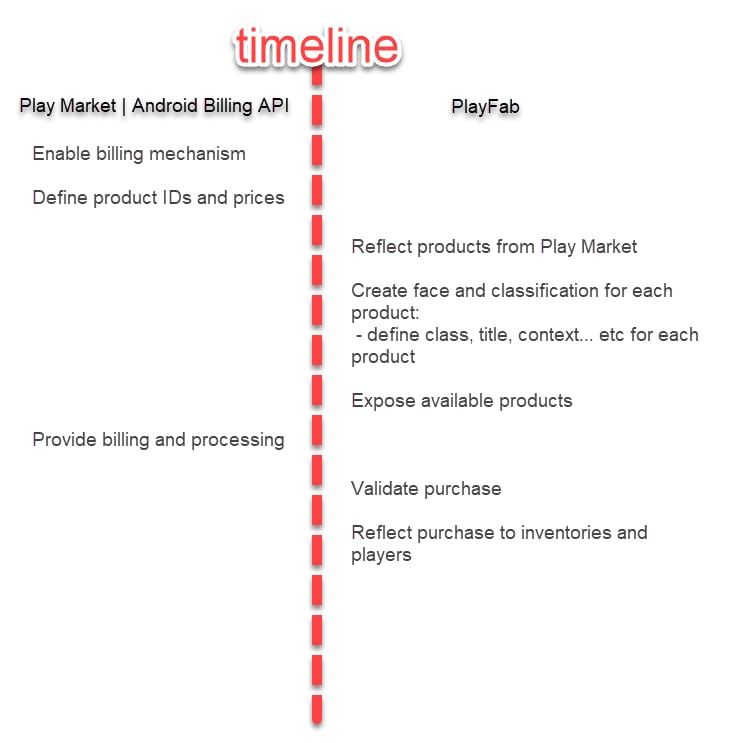
- Titles
- Descriptions
- Tags
- Types
- Images
- Behaviors
Setting up a client application
This section shows you how to configure a very primitive application to test IAP using PlayFab, UnityIAP, and the Android Billing API. Prerequisites:- A Unity project.
- The PlayFab SDK imported and configured to work with your title.
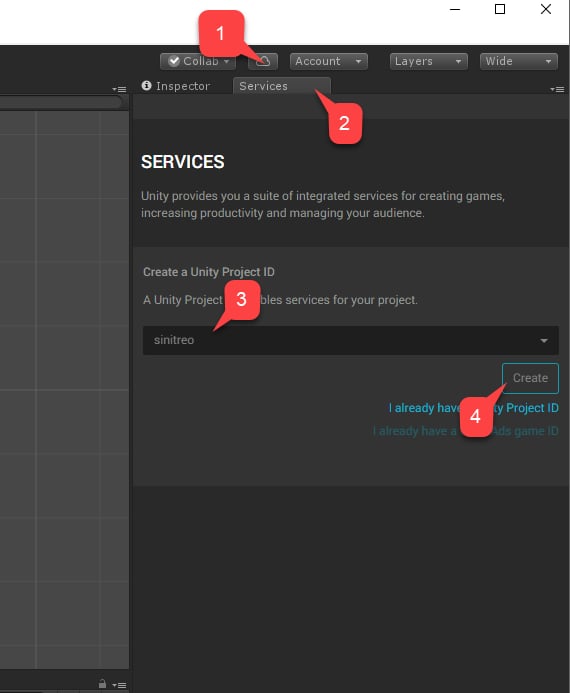
- Navigate to Services.
- Make sure the Services tab is selected.
- Select your Unity Services profile or organization.
- Select the Create button.
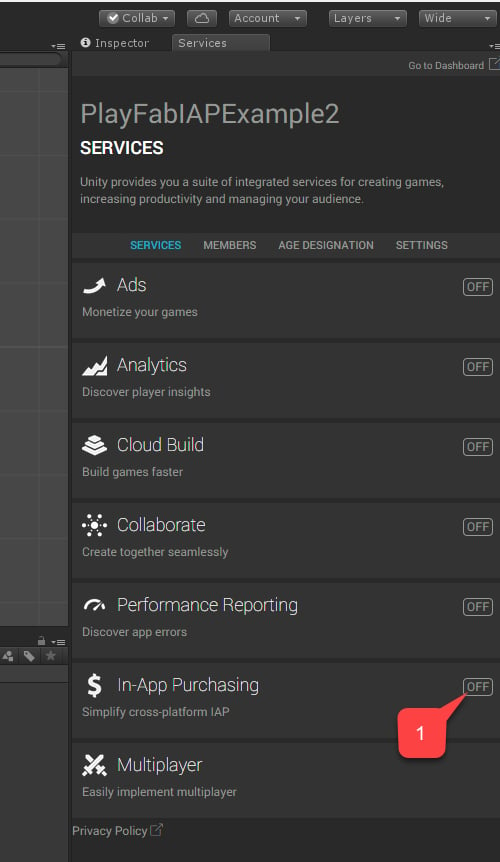
- Next, navigate to the In-App Purchasing (IAP) service.
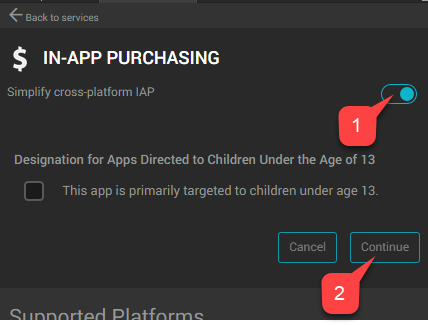
- Make sure to enable the Service, by setting the Simplify cross-platform IAP toggle.
- Then select the Continue button.
- Select the Import button.
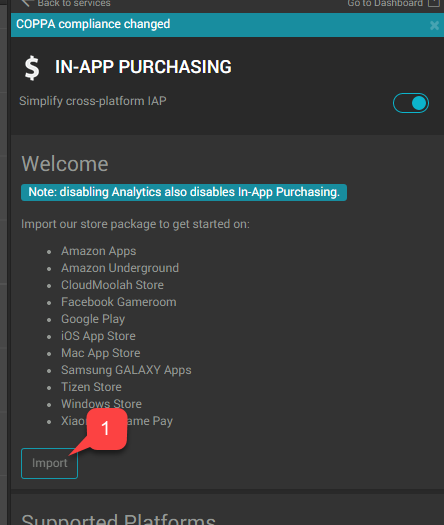
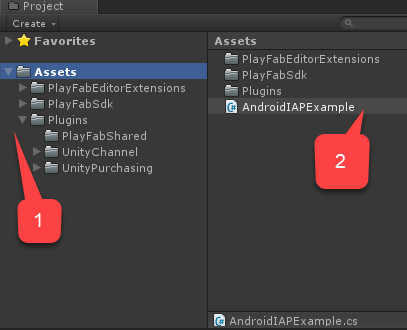
- Verify that the plugins are in place.
- Then create a new script, called AndroidIAPExample.cs.
AndroidIAPExample.cs will contain the code shown below (please refer to the code comments for further explanation).
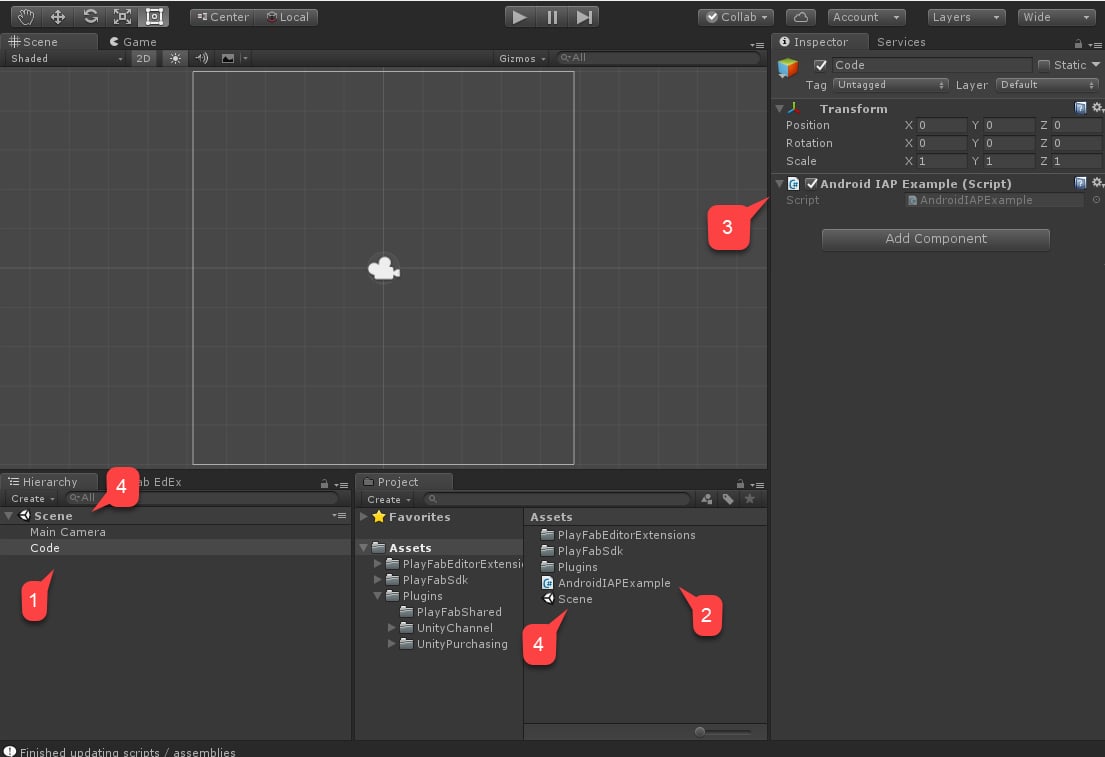
- Create a new Game object called Code.
- Add the
AndroidIAPExamplecomponent to it (2-step process). - Add the
AndroidIAPExamplecomponent to it. - Make sure to Save the scene.
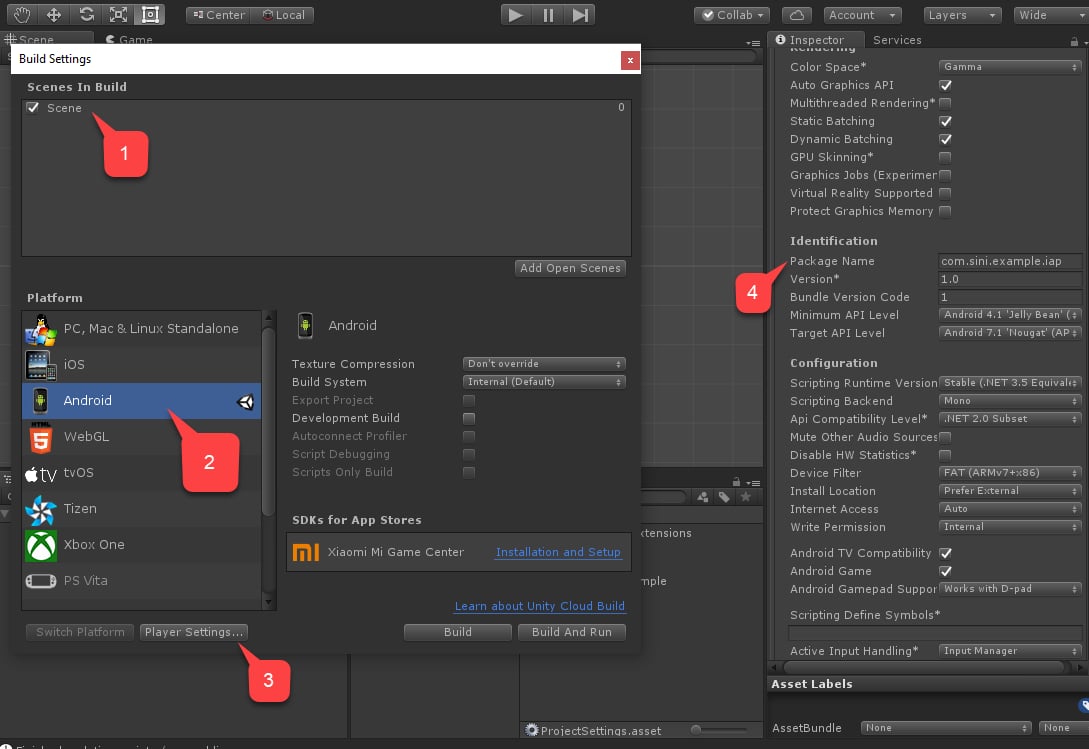
- Verify that your scene has been added to the Scenes In Build area.
- Make sure that the Android platform has been selected.
- Move to the Player Settings area.
- Assign your Package Name.
Make sure to come up with your own package name to avoid any PlayMarket collisions.
Setting up a PlayMarket application for IAP
This section describes the specifics of how to enable IAP for your PlayMarket application.Setting up the application itself is beyond the scope of this tutorial. We assume you already have an application, and that is configured to publish at least Alpha releases.
- Getting to that point will require you to have an APK uploaded. Please use the APK we constructed in the previous section.
- When asked to upload the APK, you may upload it as an Alpha or Beta Application to enable the IAP sandbox.
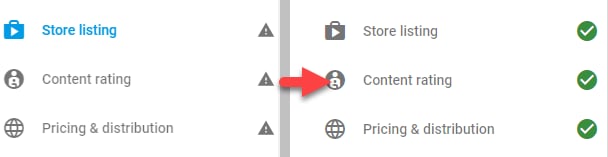
- Configuring Content Rating will include questions about how IAP is enabled in the application.
- PlayMarket does not allow Publishers to use or test IAP - so please, pick another Google account for testing purposes, and add it as a tester for your Alpha/Beta build.
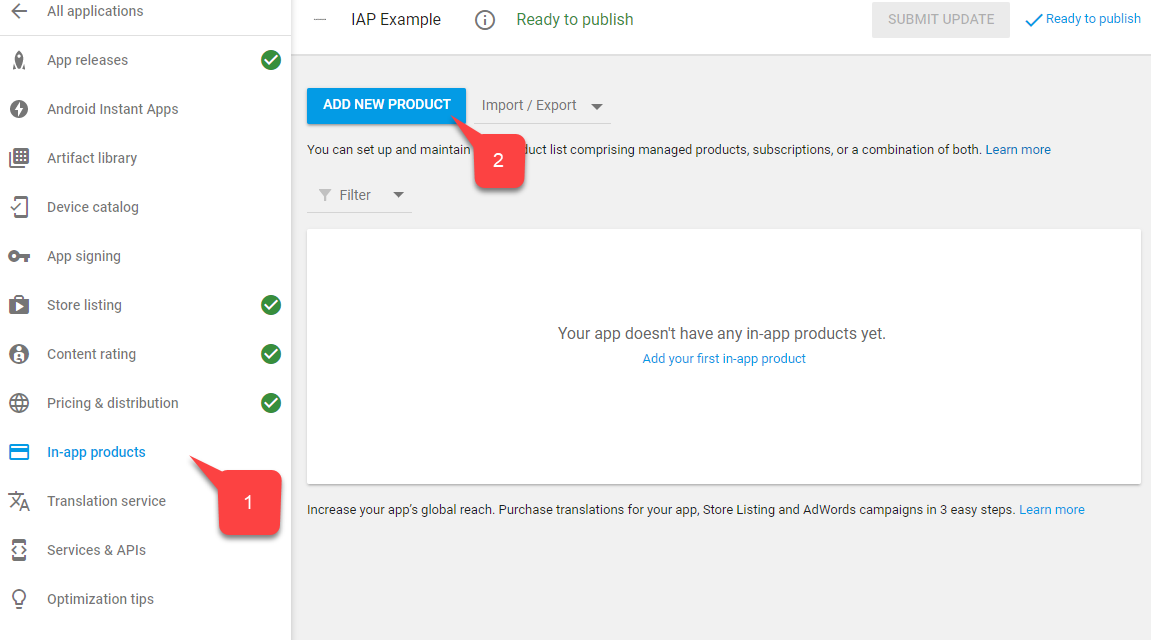
- Select In-app products from the menu.
- If you are asked for a Merchant Account, link or create one.
- Select the Add New Product button.
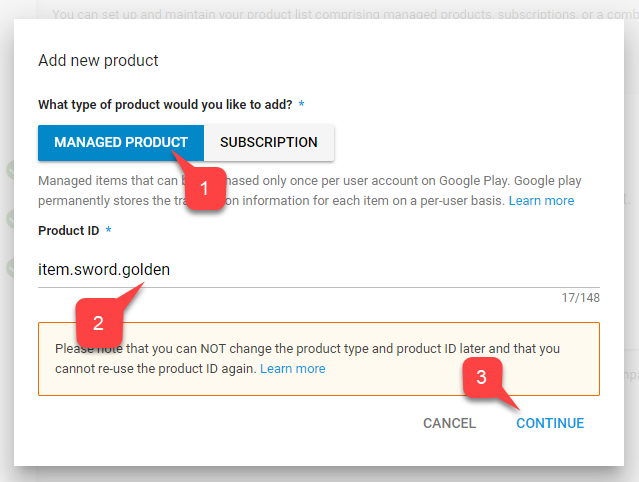
- On this screen shown below, select Managed Product.
- Give it a descriptive Product ID.
- Select Continue.
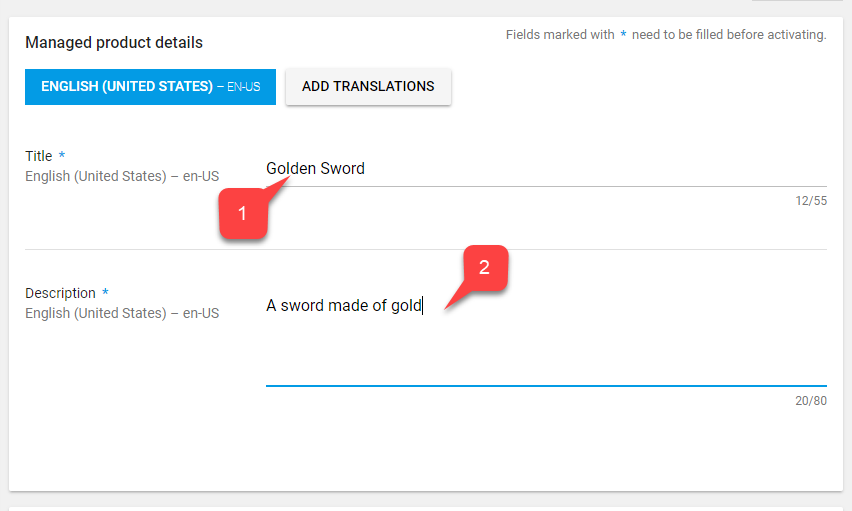
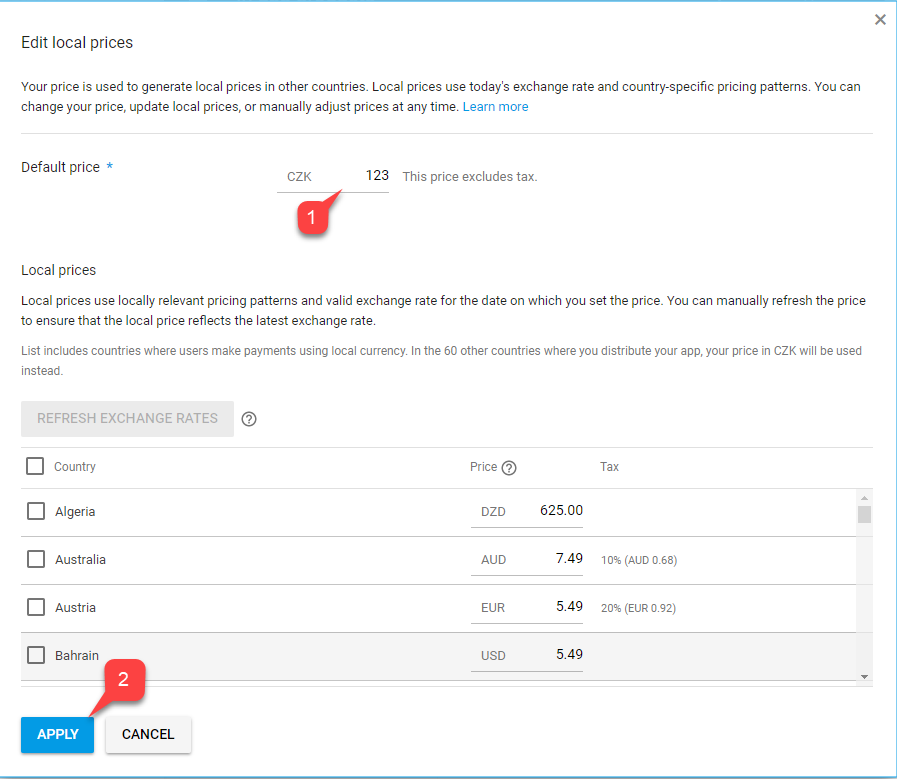
- Scroll further and select the Add a price button.
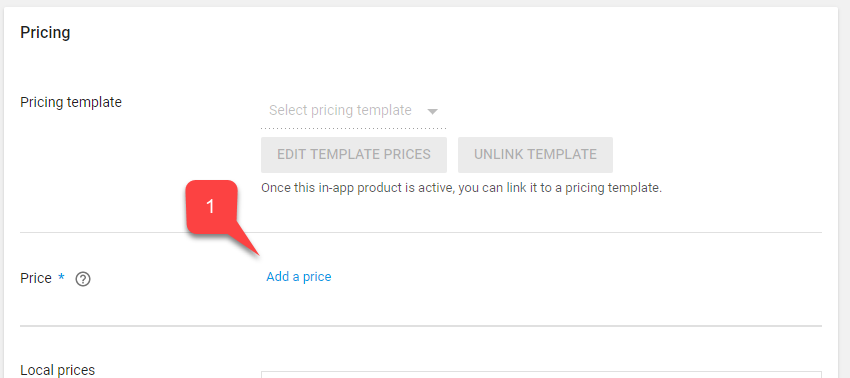
- Enter a valid price (notice how price is converted for each country/region independently).
- Select the Apply button.
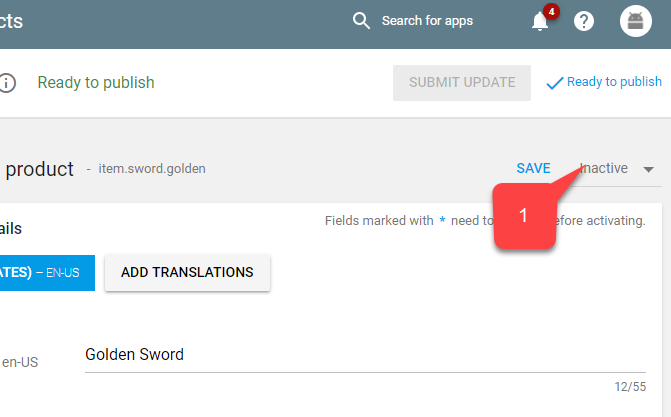
- Finally, scroll back to the top of your screen, and change the status of the item to Active.
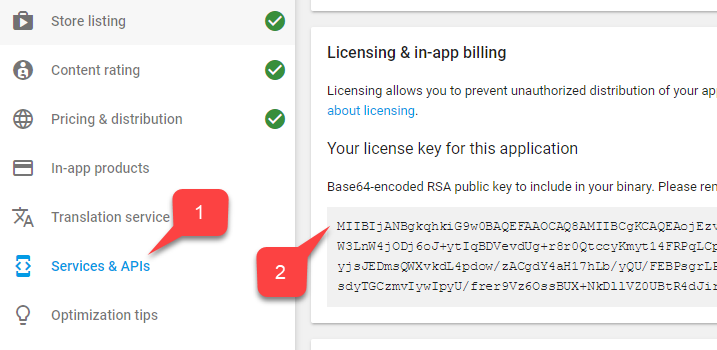
- Navigate to Services & APIs in the menu.
- Then locate and save the Base64 version of the Key.
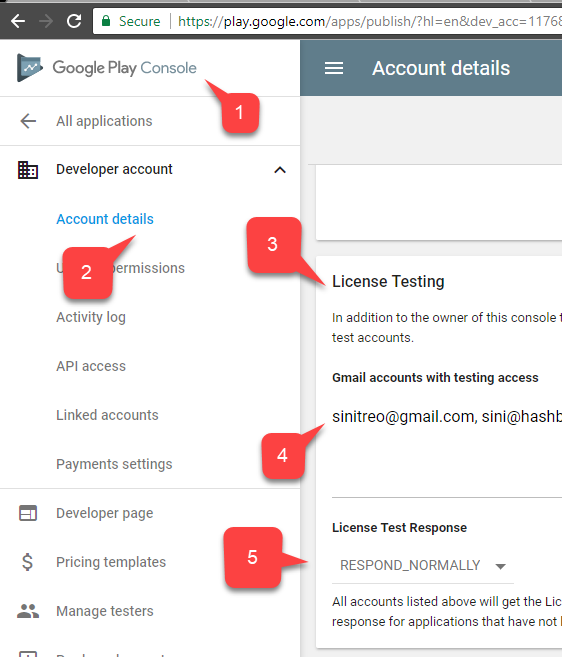
- Navigate to Home.
- Locate and select the Account details in the menu to the left.
- Locate the License Testing area.
- Verify that your Test Accounts are in the list.
- Make sure the License Test Response is set to RESPOND_NORMALLY.
Setting up a PlayFab title
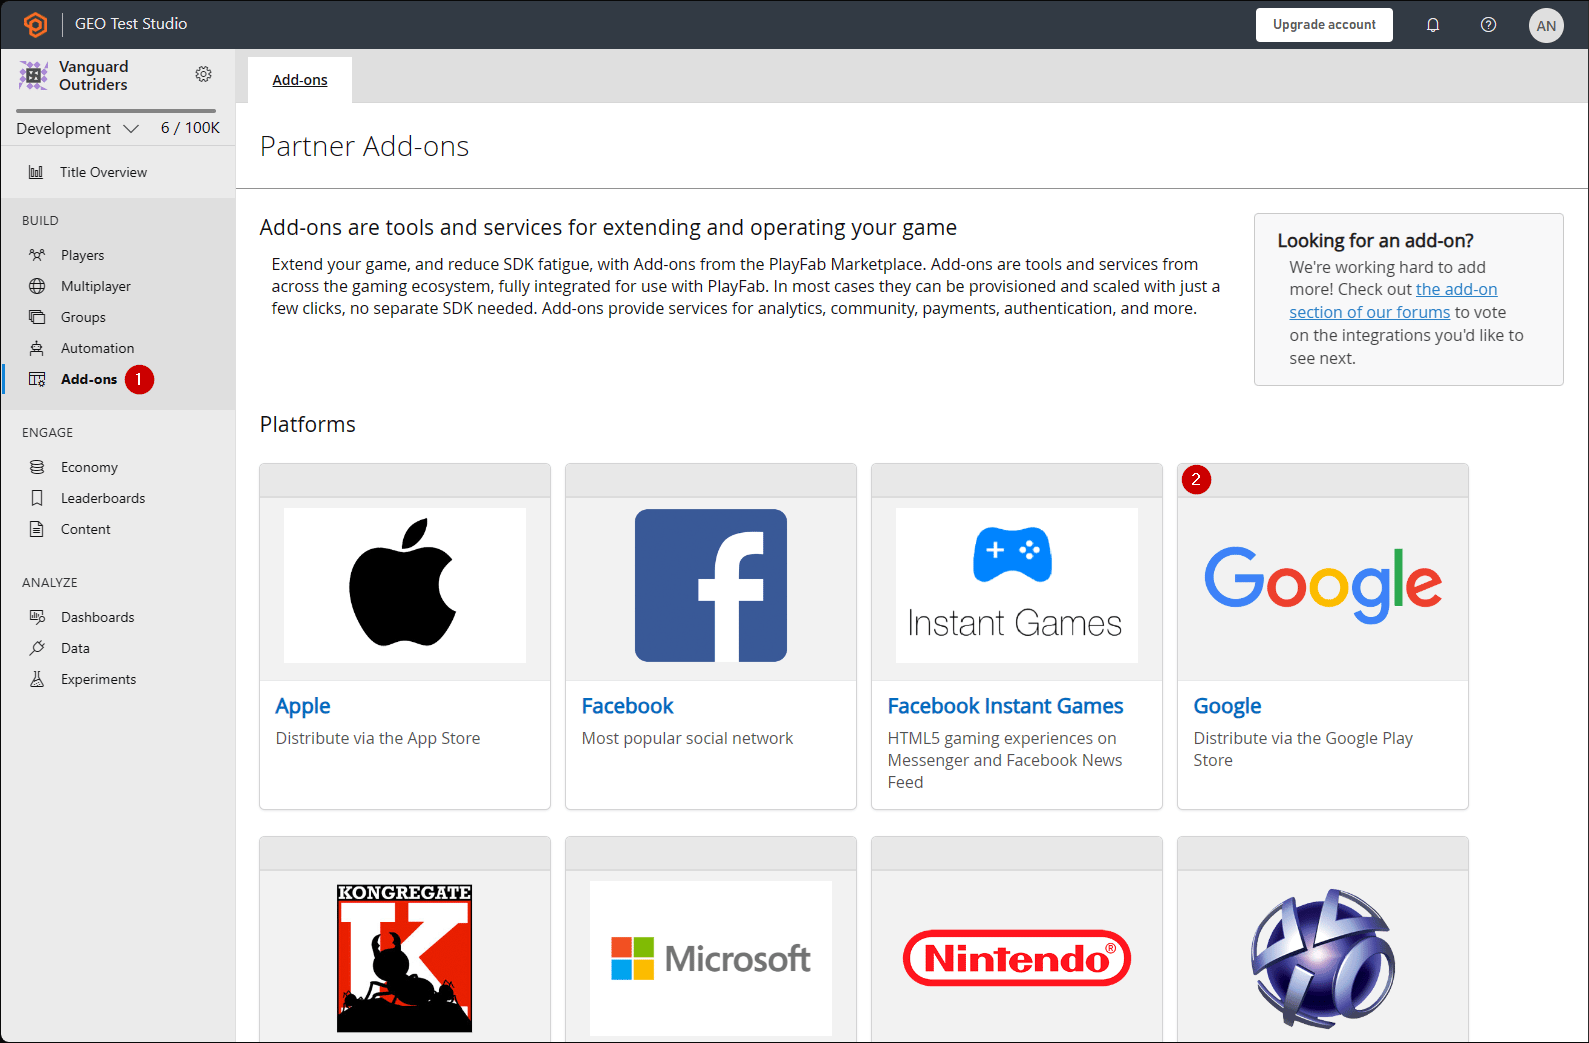
Our last step is configuring a PlayFab title to reflect our products, and integrate with the Google Billing API.- Select Add-ons.
- Then, select the Google add-on.
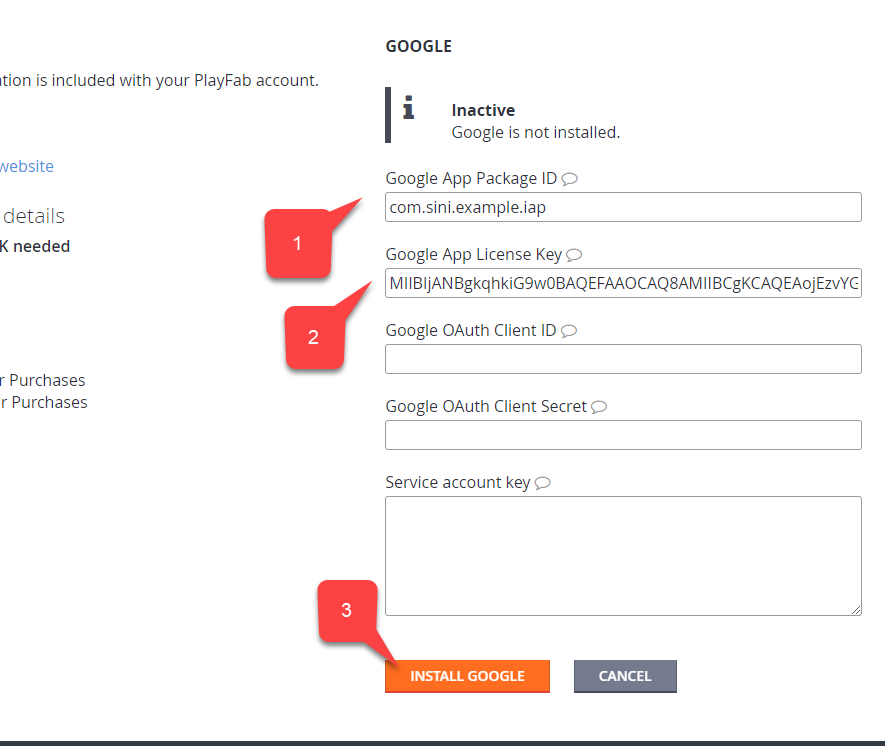
- Fill in your Package ID.
- Fill in the Google App License Key that you acquired in the previous section.
- Commit your changes by selecting the Install Google button.
- Select Economy.
- Verify that the Catalogs sub-tab is selected.
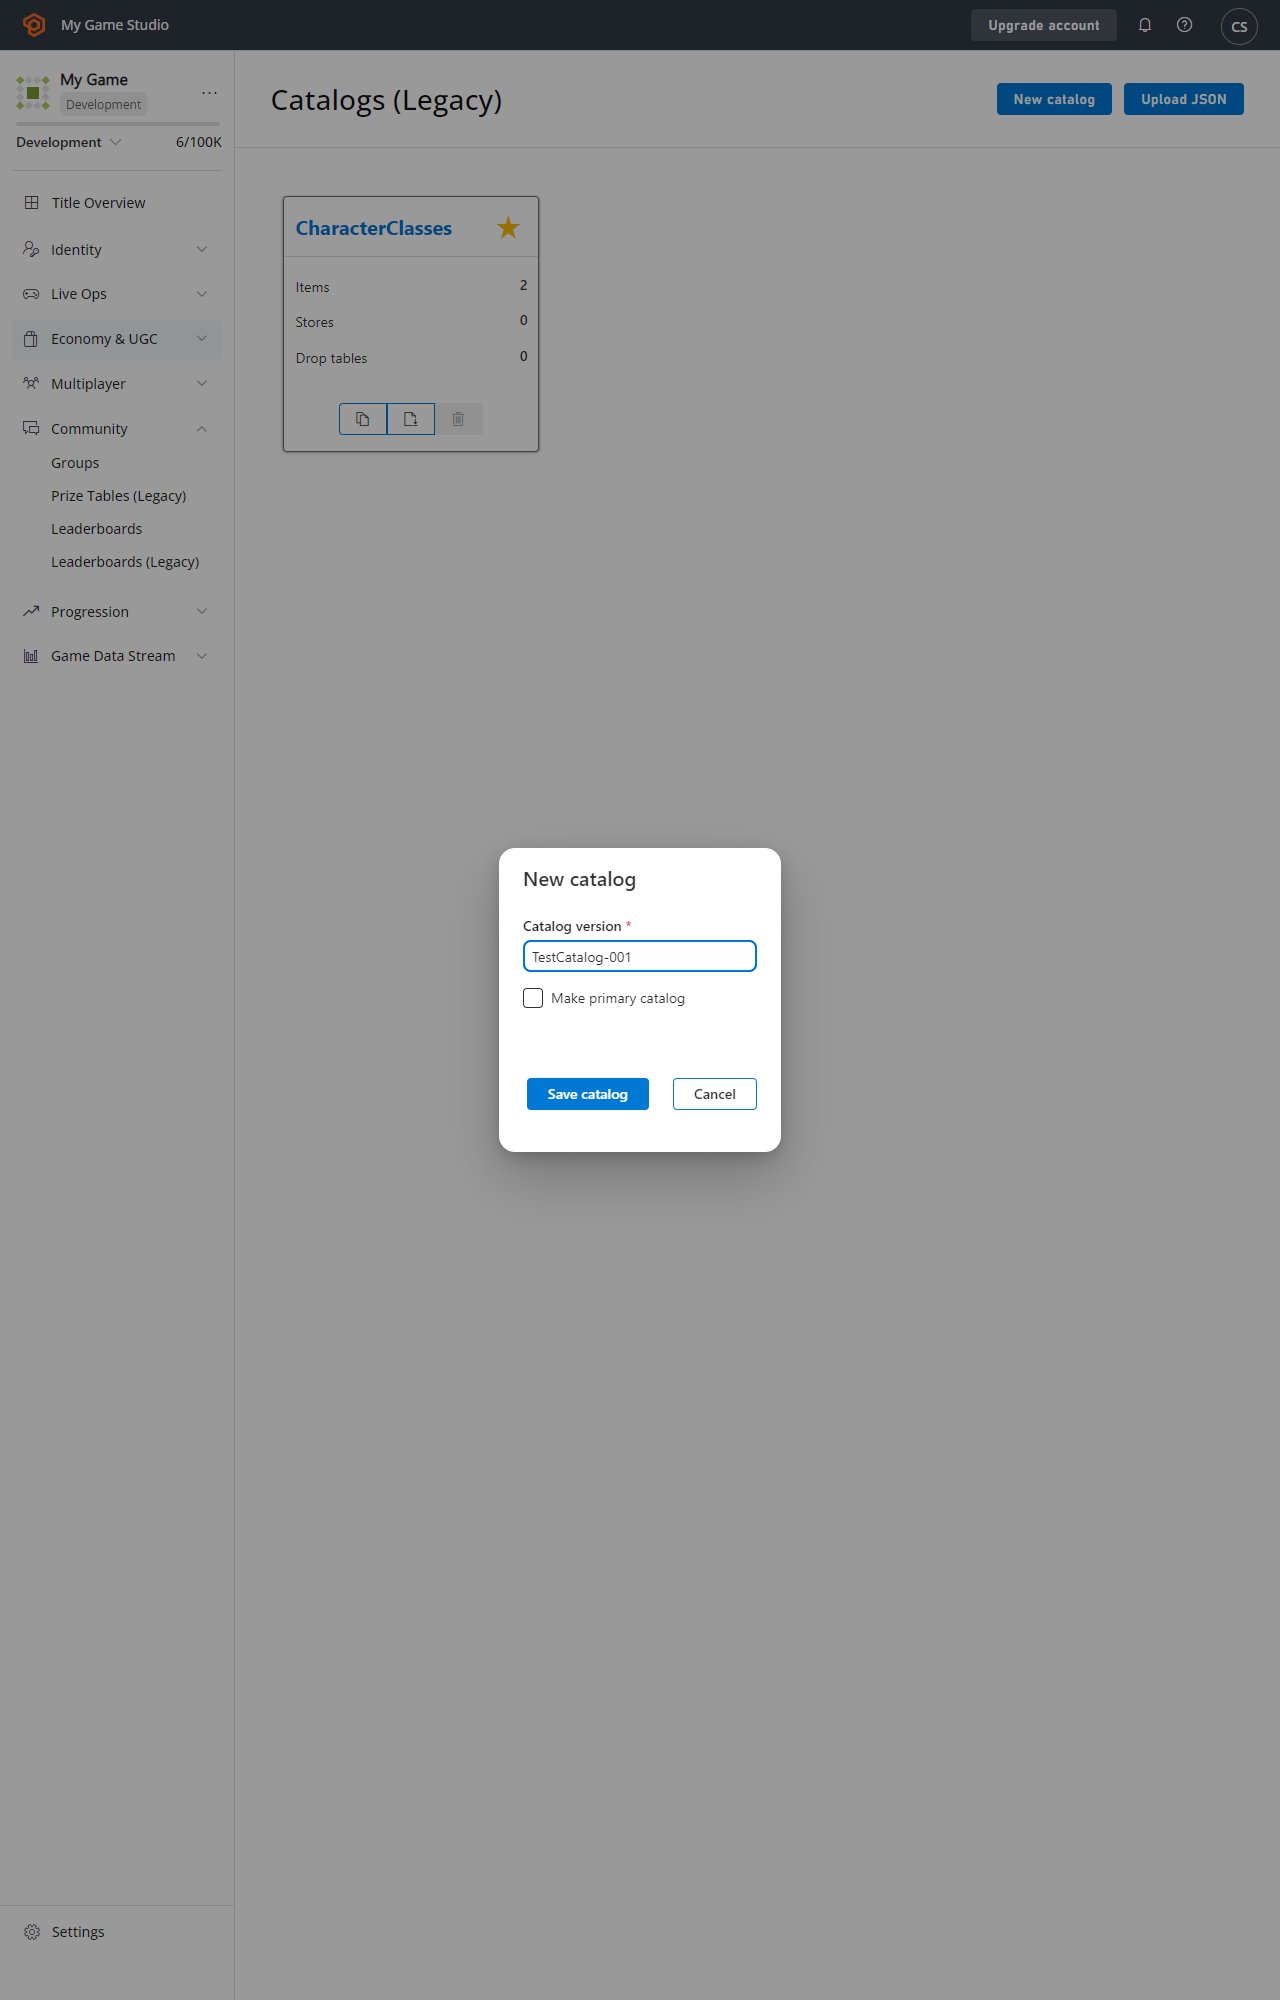
- Select New Catalog.
- Provide a Catalog version name.
- Select Save Catalog.
- Select the item to edit the Item ID to match the ID in PlayMarket.
- Now, edit the Display name and add a Description.
Keep in mind that this data has nothing to do with the Play Market Item Title and Description - it is totally independent.
- Assign a Price to your Item.
- Select Save Item to commit your changes.
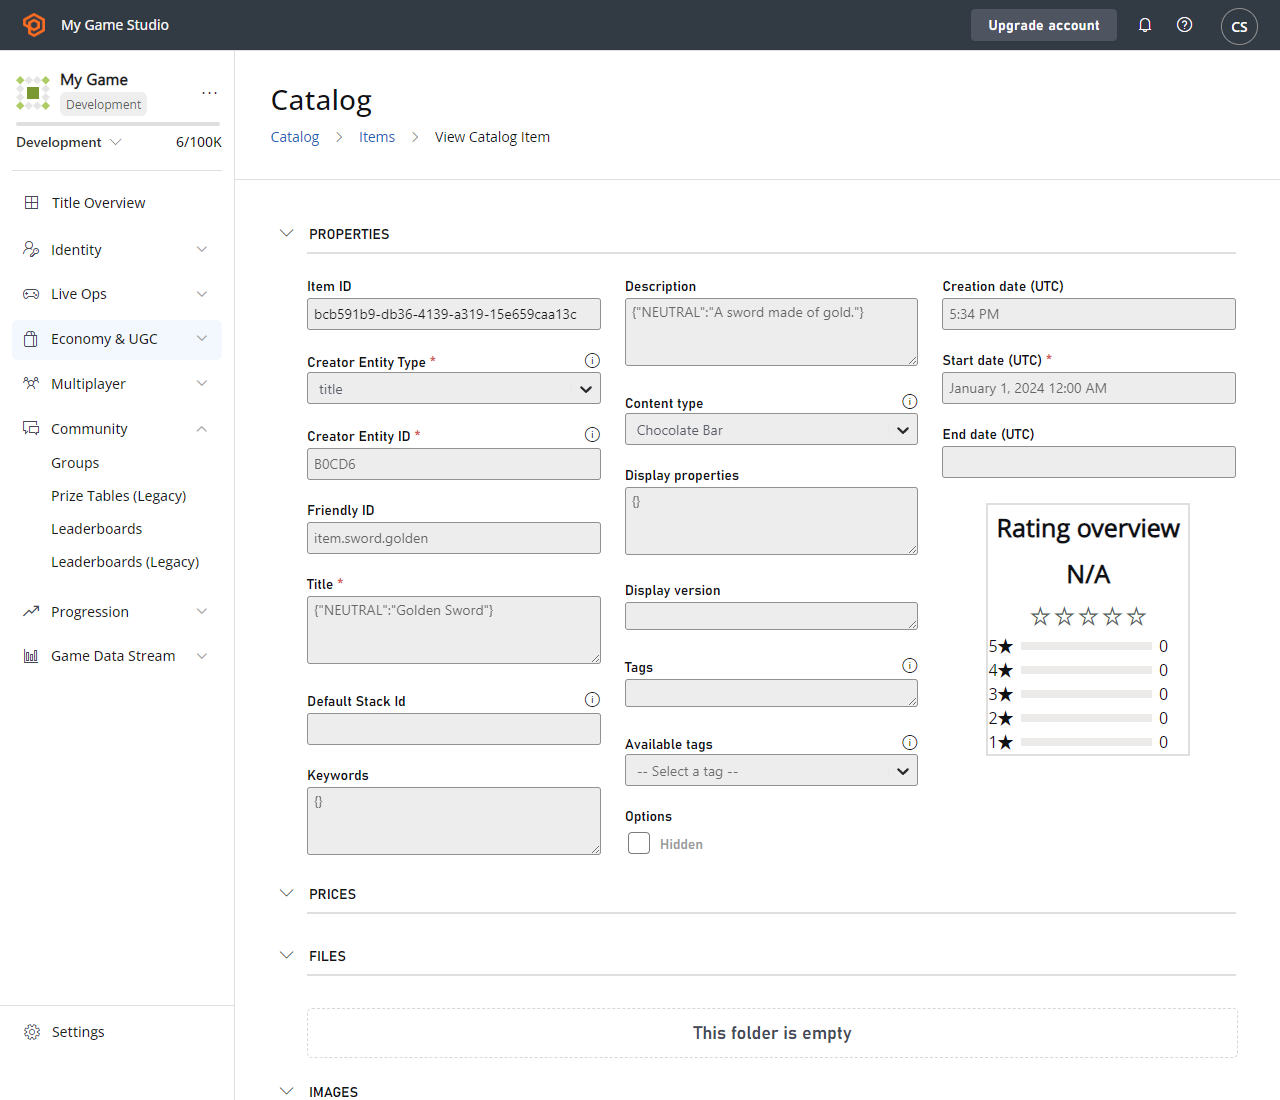
In this tutorial, IAP mainly refers to purchases for real money. That’s why we use RM - special Real Money currency. The PlayFab amount is defined in US Cents.
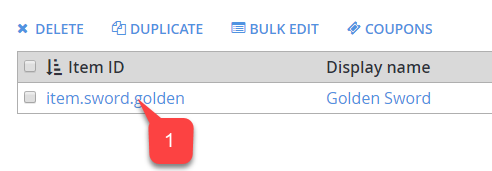
- Observe your item in the Item ID list.
Testing
For testing purposes, download the app using the Alpha/Beta release.- Make sure to use a test account and a real Android device.
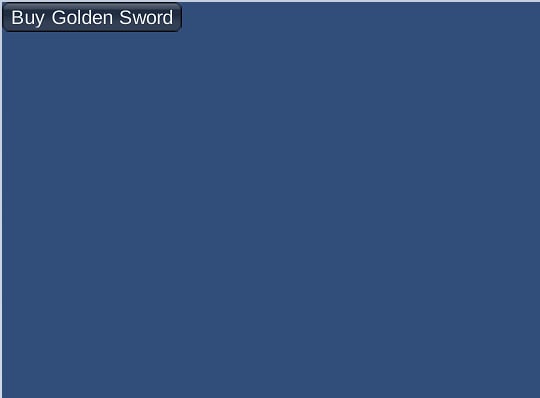
- Once you start the app, you should see IAP initialized, and one button representing your item.
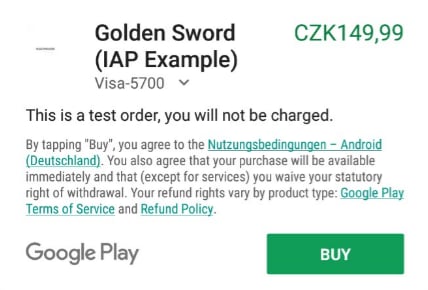
- Select that button.