
Quickstart: PlayFab Client library for C#
Get started with the PlayFab Client library for C#. Follow steps to install the package and try out example code for a basic task. This quickstart helps you make your first PlayFab API call in the using the Client library for C#. API reference documentationRequirements
- A PlayFab developer account.
- An installation of Visual Studio.
CSharp project setup
Installation- Open Visual Studio and Select Create a new project.
- Select Console App (.Net Core) for C#.
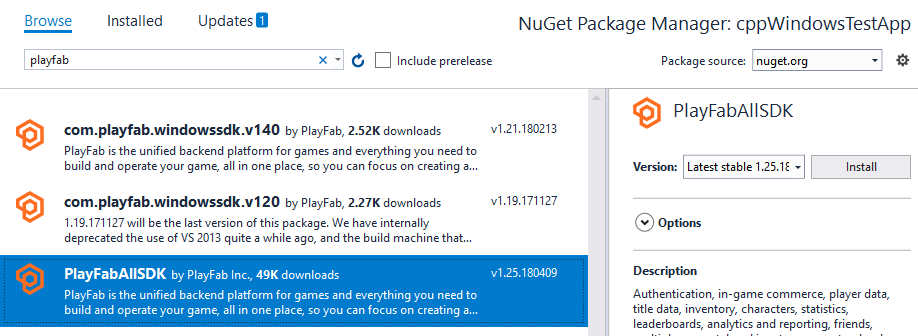
- Install NuGet package for PlayFabAllSDK.
Set up your first API call
This guide provides the minimum steps required to make your first PlayFab API call. Confirmation is done via a console print. Your new project should contain a file called Program.cs, which was created automatically by Visual Studio. Open that file, and replace the contents with the code in the example shown below (after pasting the code, you might need to refresh the file to see it). Confirmation of the API call will be done using messages written to the console output.Finish and execute
When you execute this program, following output displays in the consol “Congratulations, you made your first successful API call! Done! Press any key to close.”- At this point, you can start making other API calls, and building your game.
-
To build Admin utilities, see the alternate source files in the PlayFab CSharpSdk zip file located in
{CSharpSdk}/PlayFabClientSDK/sources.