- Platform Tabs: Outside of the General tab, there are platform-specific tabs which allow for editing features unique to that platform. All features that are shared across all platforms live in the General tab.
- Executable: This section allows for specification of the executable associated with your title.
- Target Device Family (Platform): This section allows for specification of the target device your title is intended to run on.
- Store Information: This section allows for associating your local MicrosoftGame.config with existing Store data in your Partner Center instance.
- Tile Image: This section allows for providing a source input tile image of your product which will then be generated into all other required images at their proper resolutions automatically.
Launching the standalone version of the MicrosoftGame.config Editor
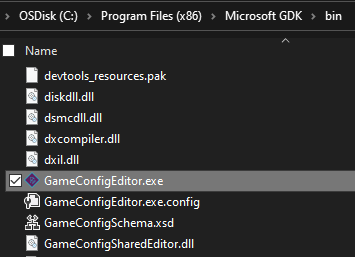
To launch the standalone MicrosoftGame.config Editor, you can do the following:- Navigate to the GDK bin folder (i.e. C:\Program Files (x86)\Microsoft GDK\bin) and double click the GameConfigEditor.exe.
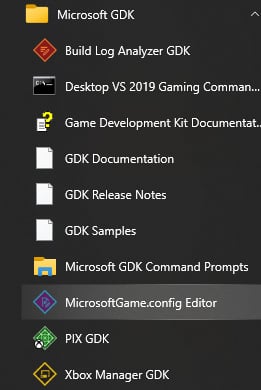
- In the Microsoft GDK folder in the Start Menu, select the MicrosoftGame.config Editor icon.
- In the Microsoft GDK folder in the Start Menu, open any Gaming Command Prompt and enter GameConfigEditor.exe.
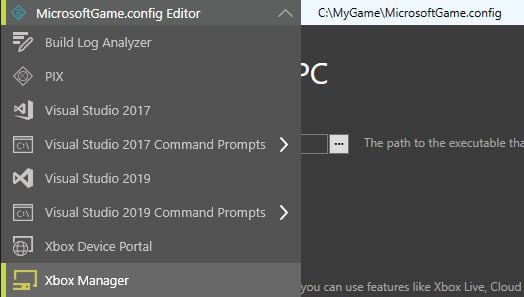
- In any GDK UX tool, expand the Tools dropdown and select MicrosoftGame.config Editor. The MicrosoftGame.config Editor also has the Tools dropdown integrated in it for quick navigation to other tools.
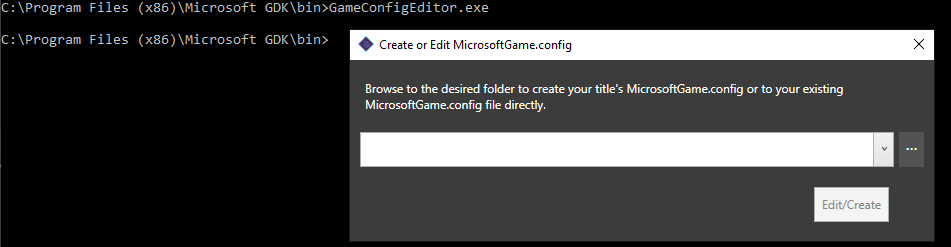
- In the Microsoft GDK folder in the Start Menu, open any Gaming Command Prompt and enter GameConfigEditor.exe with the path to an existing MicrosoftGame.config or intended folder to generate one as a parameter.

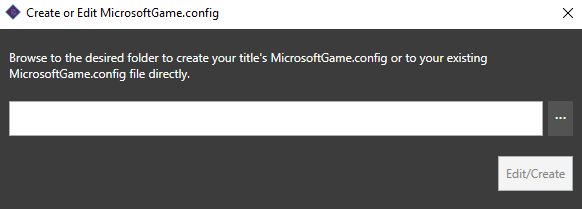
Launching the MicrosoftGame.config Editor from with Visual Studio
The MicrosoftGame.config editor is registered as the editor for .mgc files in Visual Studio. To launch the MicrosoftGame.config Editor from within Visual Studio, double click on a game config file in the Solution Explorer.If your configuration file has an extension other than .mgc, such as .config, it must be renamed before it can be opened with the MicrosoftGame.config editor.
Creating a new MicrosoftGame.config file
To create a new MicrosoftGame.config file, browse to the root folder of your title in the initial window and then select Create to generate the new file in that folder and open it in the editor.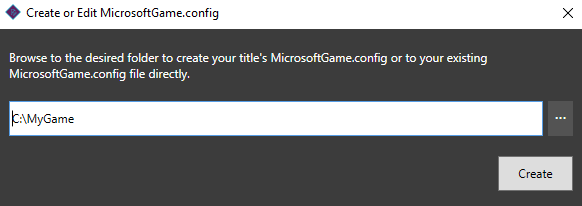
Editing an existing MicrosoftGame.config file
If a MicrosoftGame.config file already exists, browse to the file in the initial window and then select Edit to open the existing file in the editor.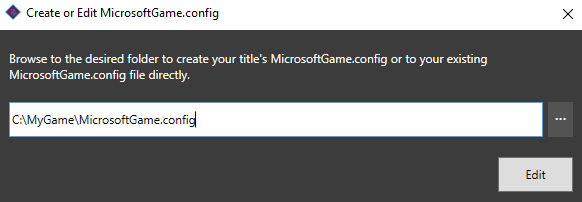
Specifying your title executable and Target Device Family in the MicrosoftGame.config file
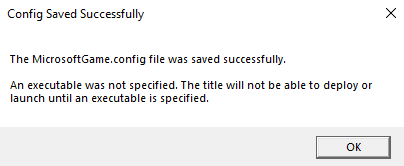
In the MicrosoftGame.config Editor window, the first input that is necessary is specifying where your title executable lives. This can be set by browsing to and selecting your title executable in the Executable section of the editor. In addition to specifying the title executable, it is important to specify which platform the executable is intended to run on. For more information on Target Device Family specifications, please refer to the MicrosoftGame.config overview section.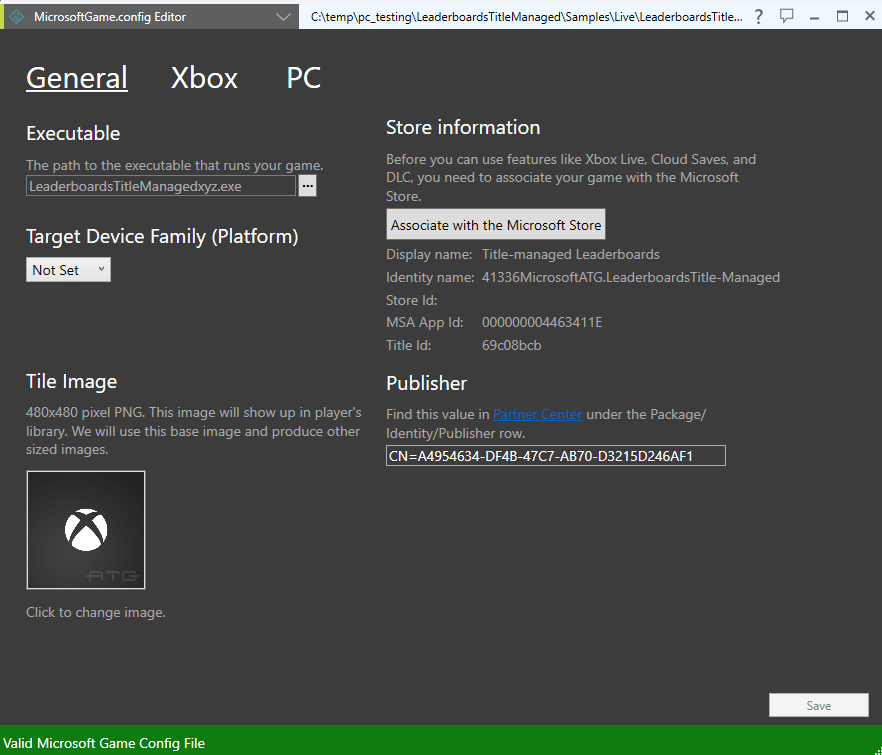

Associating with the Microsoft Store
Your title must be configured with XBOX services enabled in Partner Center to utilize the Store Association Wizard. In addition, the associated Partner Center account must be assigned one of the following roles:- Manager (Windows)
- Developer
- Business Contributor
- Finance Contributor
- Marketer
- Product-level permissions: Disc
- Product-level permissions: Publishing
- Product-level permissions: XBOX Live
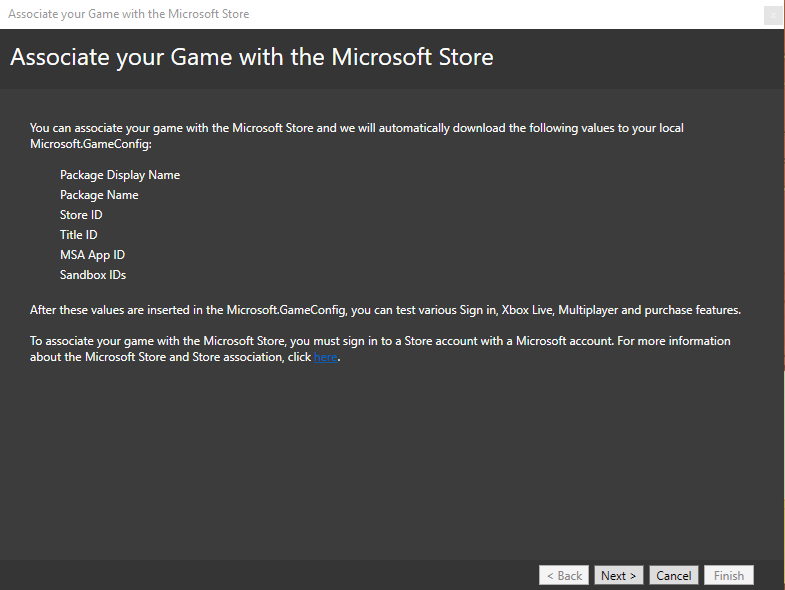
After completing the Store Association Wizard, select Save in the MicrosoftGame.config Editor to write the changes to your MicrosoftGame.config for your project.
Generating Tile Images
To generate your titles images to be used by the Microsoft Store, select the Tile image and then browse to and provide a 480x480 .PNG file to be used as the input. Upon selecting the file, all other images will be updated automatically with it as the source input and properly resized to match their required resolutions.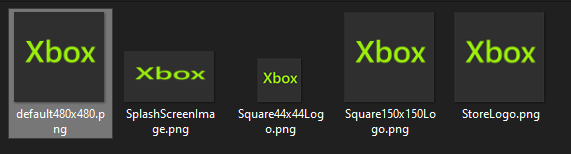
Adding Platform-specific features
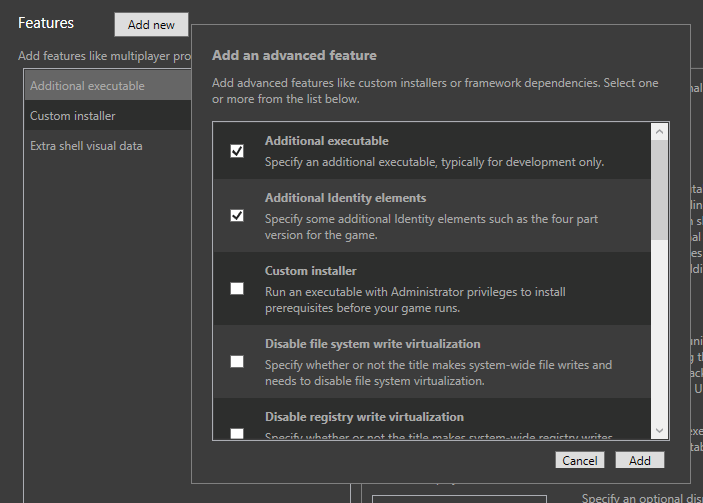
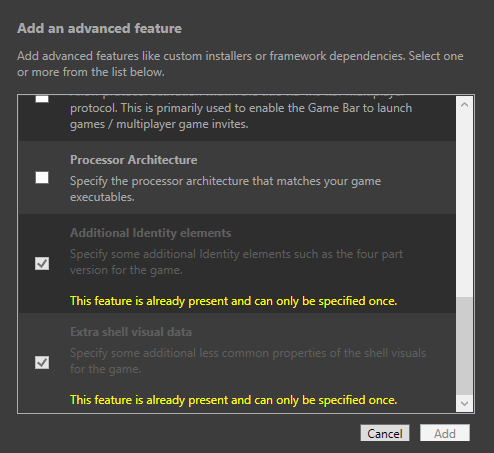
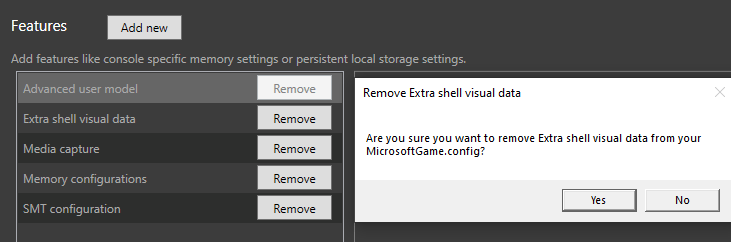
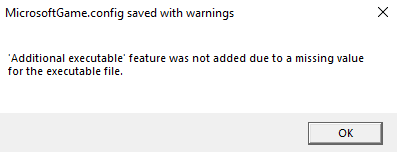
With the April 2021 GDK, the capability to add and remove platform-specific features is now present in the MicrosoftGame.config Editor, within the XBOX and PC tabs. The Features menu allows for adding new features, removing existing features and selecting and configuring existing feature values.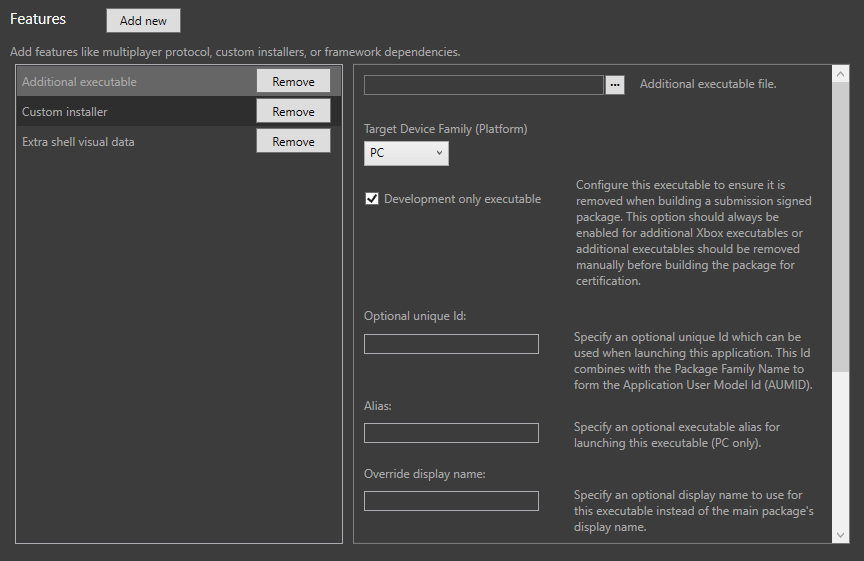
Providing feedback
The MicrosoftGame.config Editor is available for use as of the February 2021 GDK. Please use the suggestion menu item to provide feedback on the existing features or request additional functionality.
Documentation Link
For more information on the MicrosoftGame.config Editor and associated elements, click on the Documentation link in the MicrosoftGame.config Editor.