> ## Documentation Index
> Fetch the complete documentation index at: https://devdocs.xbox.com/llms.txt
> Use this file to discover all available pages before exploring further.
# CloudScript의 ES6 기능
> 문자열 보간, 화살표 함수, 구조 분해와 같은 ECMAScript 6 기능을 사용하여 strict 모드에서 더 깔끔한 PlayFab CloudScript 핸들러를 작성합니다.
CloudScript 런타임 환경은 대부분의 최신 ECMAScript 6 기능을 지원합니다. 이러한 기능의 대부분은 구문상의 편의이지만, 이를 사용하여 CloudScript 코드를 개선하고 정리할 수 있습니다.
ES6 기능에 대한 완전한 개요는 이 [치트 시트](https://devhints.io/es6)에서 확인할 수 있습니다.
이 자습서에서는 CloudScript에서 사용할 수 있는 몇 가지 기법을 보여줍니다.
일부 기능은 **strict** 모드를 필요로 합니다. 이 모드를 활성화하려면 CloudScript 파일의 맨 첫 줄에 다음 코드를 배치하세요: `use strict;`
## 문자열 보간
플레이어에게 보내는 메시지를 작성할 때, 여러 줄로 보간된 문자열을 사용하고 싶을 수 있습니다. *백틱 기호*를 사용하여 보간된 문자열을 만듭니다. 그런 다음 `${ variable }` 구문을 사용하여 문자열에 데이터를 바로 삽입할 수 있습니다.
이렇게 하면 문자열 연결을 피하고 코드 가독성이 향상됩니다.
백틱 문자열은 원문 그대로이며 여러 줄이 될 수 있습니다. 즉, 여분의 공백/탭이 문자열에 포함되므로 *모든 들여쓰기*에 주의해야 합니다.
```javascript theme={null}
function sendPushNotification(playerName, prizeAmount, newLevel) {
let message = `Congratulations ${playerName}!
You have reached level ${newLevel}.
You get ${prizeAmount} coins for your efforts.`;
// Use message variable and send push notification
// ...
}
```
## 새 메서드 및 화살표 함수
ES6는 화살표 연산자 `=>`를 사용하여 함수를 정의하는 *새로운* 구문을 제공합니다. 아래에 표시된 스니펫은 특정 연산자 사용에 대한 대략적인 변환을 보여줍니다.
```javascript theme={null}
// The following snippets:
const add = (a,b) => a+b;
const add = (a,b) => {
return a+b;
}
// Both translate into something like
function add(a, b) {
return a+b;
}
```
이 연산자는 새로운 `Array.findIndex` 메서드와 결합하여, 다음의 보기 좋고 간결한 코드로 조건자로 검색할 수 있게 합니다.
```javascript theme={null}
const players = [...]; // Suppose this is an array of Player Profiles
// Search by predicate: find item in 'players' that has 'DisplayName' set to 'Bob':
const bobIndex = players.findIndex(p => p.DisplayName === 'Bob');
```
## 객체 할당
`Object.assign` 메서드를 사용하면 새로운 속성 및 메서드 세트로 객체를 쉽게 확장할 수 있습니다.
이 메서드는 다양한 용도로 사용되지만, 특히 핸들러 객체를 확장하고 핸들러 그룹을 만드는 데 유용합니다.
```javascript theme={null}
let TestHandlers = {
TestLeaderboards : (args, ctx) => {
// Test leaderboards code
},
TestPrizes : (args, ctx) => {
// Test prizes code
}
// ...
}
let ProductionHandlers = {
CleanUp : (args, ctx) => {
// System clean up code
},
GrantTournamentAccess : (args, ctx) => {
// Another useful production code
}
// ...
}
// Install both handler groups:
Object.assign(handlers, TestHandlers);
Object.assign(handlers, ProductionHandlers);
// Comment out the group to disable it but keep the relevant code
// Object.assign(handlers, SomeOtherHandlers);
```
이렇게 하면 핸들러 그룹을 빠르게 활성화 및 비활성화할 수 있을 뿐만 아니라, 핸들러를 처리하고 예외 처리와 같은 유용한 코드로 래핑할 수 있는 지점을 제공합니다.
다음 코드는 이전 스니펫을 자동 예외 로깅으로 확장합니다. 예시로, 문제를 로깅합니다(항상 유용한 것은 아님). 그러나 취향에 맞게 동작을 확장할 수 있습니다.
```javascript theme={null}
// Handlers installer wraps the handler to catch error
function installHandlers(handlersObject) {
for (let property in handlersObject) {
handlersObject[property] = wrapHandler(handlersObject,property)
}
Object.assign(handlers, handlersObject);
}
// Utility
function wrapHandler(obj, key) {
if (obj.hasOwnProperty(key) && typeof obj[key] === 'function') {
let original = obj[key]; // Take the original function
return function() { // return a new function that
try { // Wraps the original invocation with try
return original.apply(null,arguments); // Do not forget to pass arguments
} catch (error) { // If error occurs
log.error(error); // We log it, but you may want to retry / do something else
throw error; // Rethrow to keep the original behaviour
}
}
} else { // If property is not a function, ignore it
return obj[key];
}
}
// Install handler groups:
installHandlers(TestHandlers);
installHandlers(ProductionHandlers);
```
## Getter
"Getter"를 사용하여 일반적인 API 호출을 구문상 더 보기 좋은 형태로 캡슐화할 수 있습니다. 다음 **Title Data** 상태를 고려해 보세요.
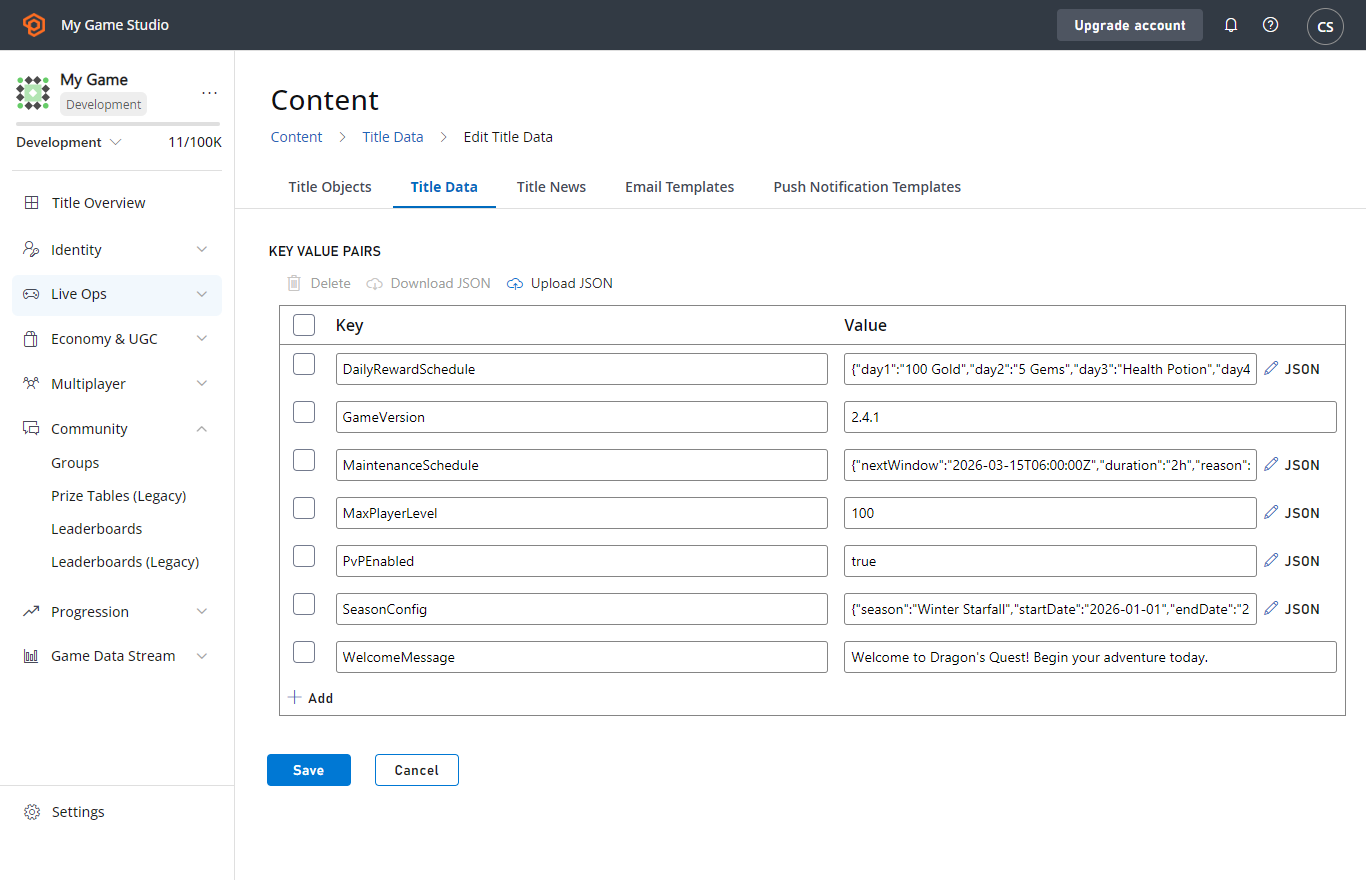 다음 스니펫은 `TitleData`에서 `Foo`와 `Bar` 데이터를 검색한 다음, 매우 간단한 방식으로 사용하는 방법을 보여줍니다.
```javascript theme={null}
'use strict'
// Define
let App = {
get TitleData() {
// Please, consider limiting the query by defining certain keys that you need
return server.GetTitleData({}).Data;
},
}
// Use
handlers.TestFooBar = () => {
// Client code is clean and does not show the fact of calling any functions / making api request
var titleData = App.TitleData; // Note that this implementation makes an API call every time it's accessed
log.debug(titleData.Foo);
log.debug(titleData.Bar);
}
```
다음 스니펫은 `TitleData`에서 `Foo`와 `Bar` 데이터를 검색한 다음, 매우 간단한 방식으로 사용하는 방법을 보여줍니다.
```javascript theme={null}
'use strict'
// Define
let App = {
get TitleData() {
// Please, consider limiting the query by defining certain keys that you need
return server.GetTitleData({}).Data;
},
}
// Use
handlers.TestFooBar = () => {
// Client code is clean and does not show the fact of calling any functions / making api request
var titleData = App.TitleData; // Note that this implementation makes an API call every time it's accessed
log.debug(titleData.Foo);
log.debug(titleData.Bar);
}
```