> ## Documentation Index
> Fetch the complete documentation index at: https://devdocs.xbox.com/llms.txt
> Use this file to discover all available pages before exploring further.

# PlayFab용 Battle.net 로그인 설정하기

> Blizzard 앱 설정, OAuth 흐름, 플레이어 로그인 통합 등 HTML5와 JavaScript를 사용한 Battle.net PlayFab 인증을 구성하세요.

# Battle.net을 사용하여 PlayFab 인증 설정하기

이 튜토리얼에서는 Battle.net과 HTML5/JavaScript를 사용하여 PlayFab 인증을 설정하는 프로세스를 안내합니다.

## 요구 사항

다음이 필요합니다.

* 테스트용 [Battle.net 계정](https://developer.battle.net).
* 등록된 [PlayFab](https://developer.playfab.com/) 타이틀.
* [로그인 기본 사항 및 모범 사례](/services/playfab/identity/player-identity/login/login-basics-best-practices)에 대한 이해.
* 정적 HTML 파일 역할을 할 수 있는 유효한 도메인 이름을 가진 서버. 설정 방법에 대한 정보는 [테스트용 HTTP 서버 실행하기](/services/playfab/identity/player-identity/platform-specific-authentication/running-an-http-server-for-testing) 튜토리얼을 참조하세요.

## 서버 및 도메인

이 가이드를 따라가려면 유효한 도메인이 있는 서버가 필요합니다. 아직 등록된 도메인과 원격 웹 서버가 없다면 유효한 도메인 이름으로 로컬 웹 서버를 실행하는 방법에 대한 정보는 [테스트용 HTTP 서버 실행하기](/services/playfab/identity/player-identity/platform-specific-authentication/running-an-http-server-for-testing) 튜토리얼을 따르세요.

이 가이드 전반에 걸쳐 도메인이 [http://playfab.example라고](http://playfab.example라고) 가정합니다.

## Battle.net 타이틀 Client ID 검색

먼저 [Battle.net](https://developer.battle.net)으로 이동하여 Battle.net 개발자 계정을 만듭니다. 계정이 만들어지면 타이틀을 생성하고 Client ID를 할당받아야 합니다.

## Battle.net Add-on 설치

타이틀의 PlayFab **Game Manager** 페이지로 이동합니다.

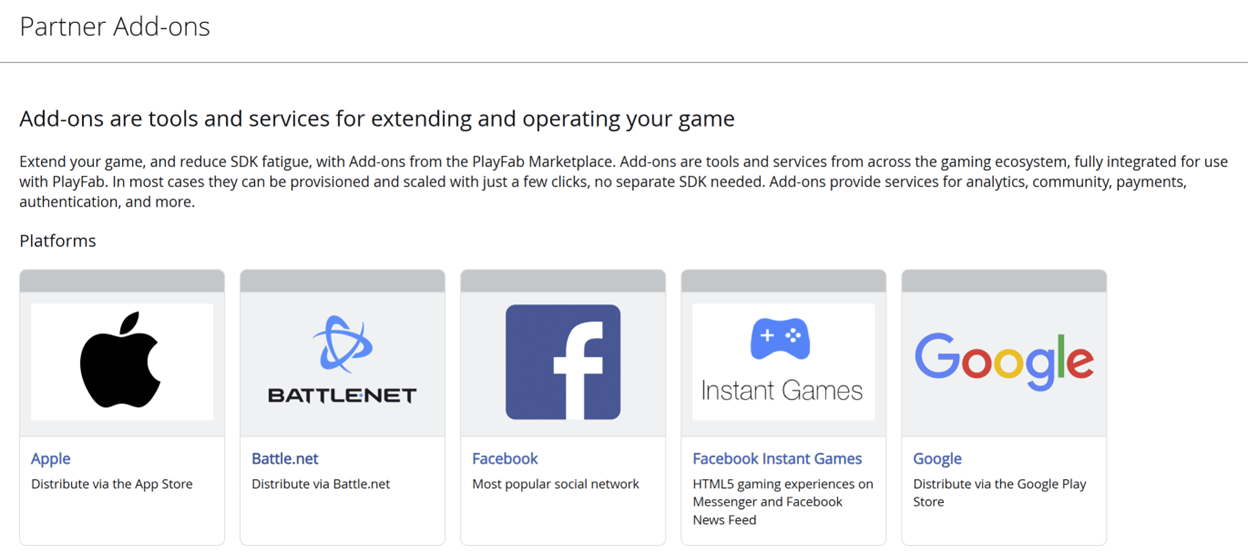
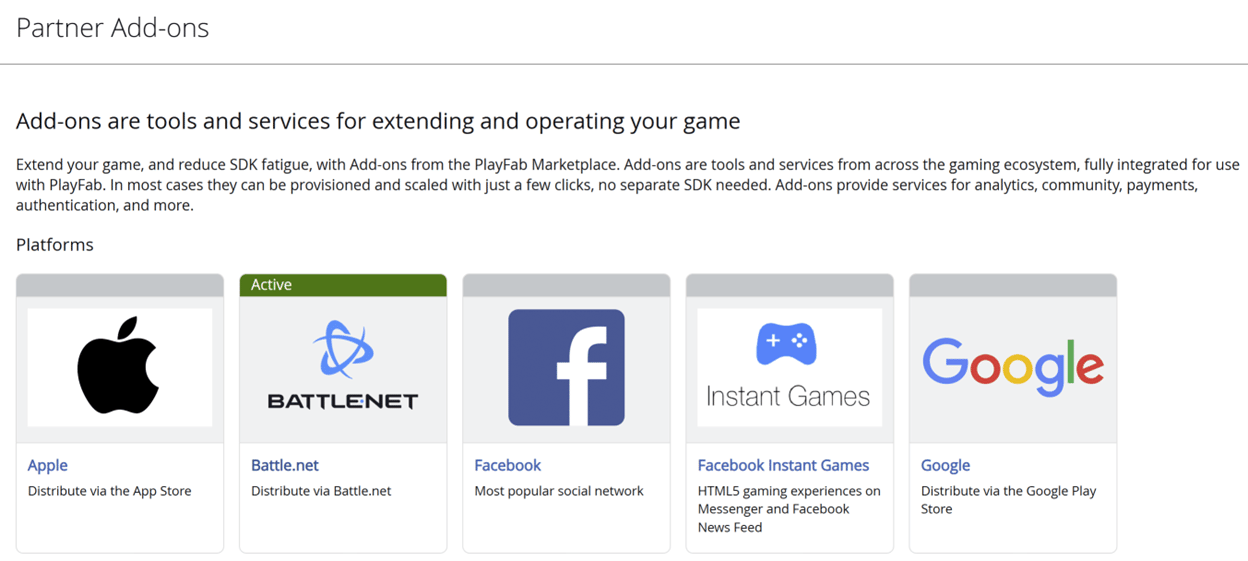
1. 메뉴에서 **Add-ons**로 이동합니다.
2. **Battle.net Add-on** 아이콘/링크를 찾아 엽니다.

<img src="https://mintcdn.com/microsoft-4404708b/mLCHf0iQv3VidfBe/images/playfab/identity/player-identity/platform-specific-authentication/tutorials/battlenet/battlenet-partner-add-on-page.png?fit=max&auto=format&n=mLCHf0iQv3VidfBe&q=85&s=de4613079755faeb998407ac4158da89" alt="PlayFab Game Manager Add-on" width="1248" height="555" data-path="images/playfab/identity/player-identity/platform-specific-authentication/tutorials/battlenet/battlenet-partner-add-on-page.png" />

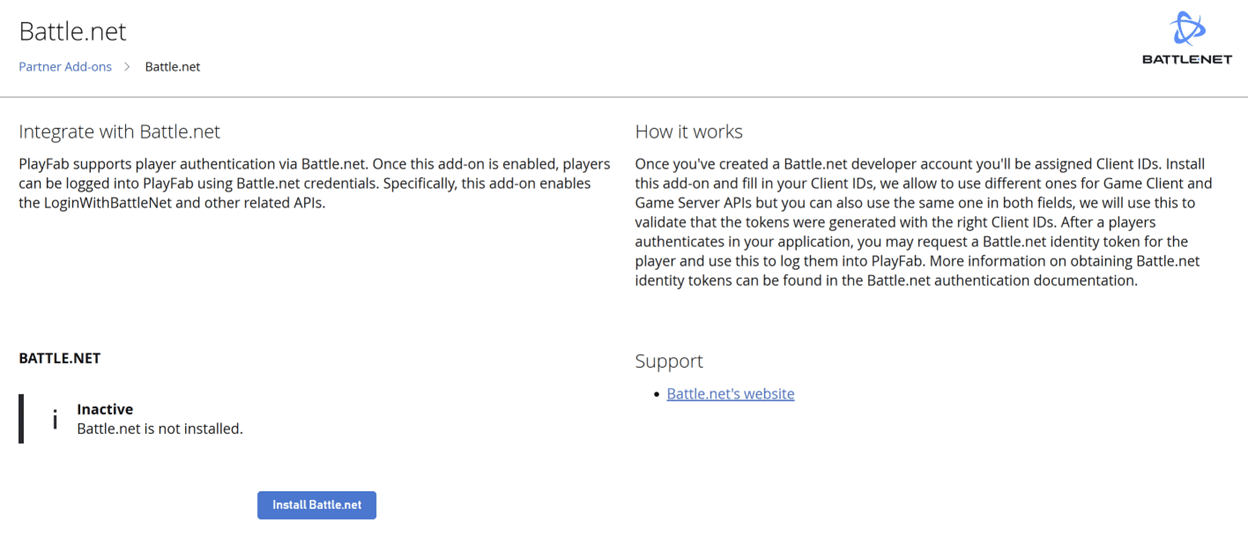
3. **Install Battle.net**을 선택합니다.

<img src="https://mintcdn.com/microsoft-4404708b/mLCHf0iQv3VidfBe/images/playfab/identity/player-identity/platform-specific-authentication/tutorials/battlenet/battlenet-add-on.png?fit=max&auto=format&n=mLCHf0iQv3VidfBe&q=85&s=f9828e789c2285bbde0d456d7f307102" alt="PlayFab Game Manager Battle.net Add-on" width="1248" height="545" data-path="images/playfab/identity/player-identity/platform-specific-authentication/tutorials/battlenet/battlenet-add-on.png" />

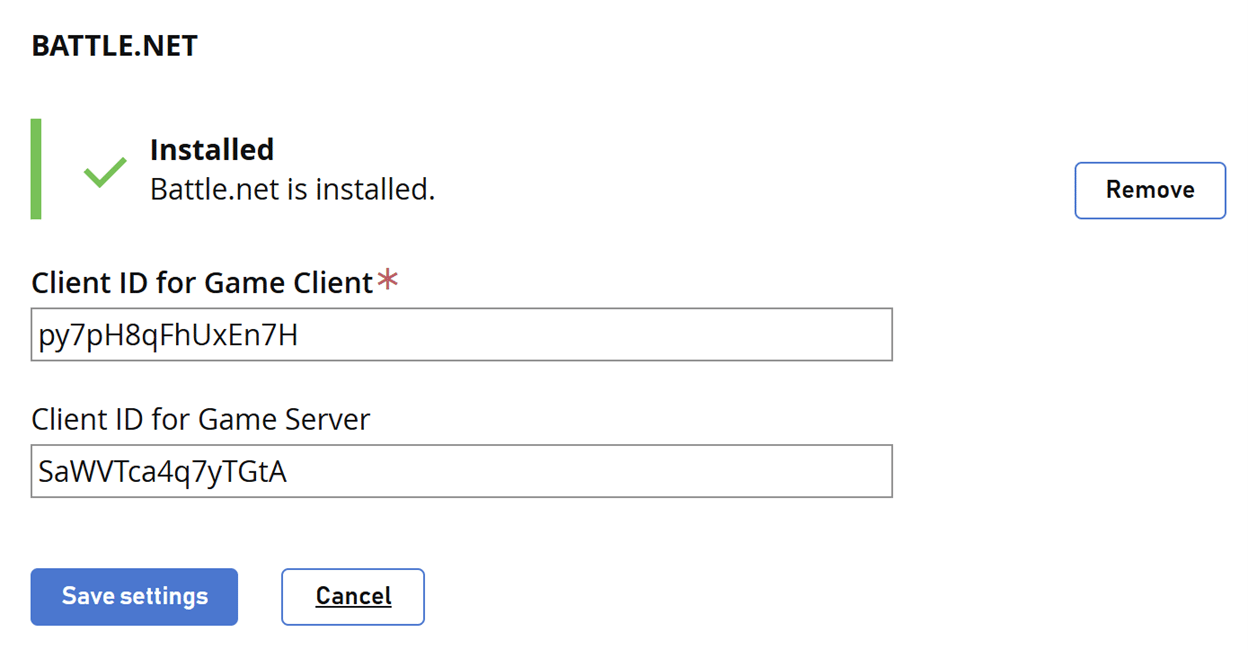
4. **Client ID for Game Client**를 입력합니다.
5. 선택적으로 **Client ID for Game Server**를 입력합니다.
6. 그런 다음 **Save settings** 버튼을 선택합니다.
<img src="https://mintcdn.com/microsoft-4404708b/mLCHf0iQv3VidfBe/images/playfab/identity/player-identity/platform-specific-authentication/tutorials/battlenet/battlenet-validated.png?fit=max&auto=format&n=mLCHf0iQv3VidfBe&q=85&s=1fe7a49156f04e31ae204c6f7ce6a9ef" alt="PlayFab Game Manager Battle.net Add-on Client IDs" width="1248" height="650" data-path="images/playfab/identity/player-identity/platform-specific-authentication/tutorials/battlenet/battlenet-validated.png" />

Battle.net이 Add-on 페이지에서 활성 상태로 표시됩니다.
<img src="https://mintcdn.com/microsoft-4404708b/mLCHf0iQv3VidfBe/images/playfab/identity/player-identity/platform-specific-authentication/tutorials/battlenet/battlenet-partner-add-on-page-active.png?fit=max&auto=format&n=mLCHf0iQv3VidfBe&q=85&s=42e07d365b7f93b5e3014039e91ac91b" alt="PlayFab Game Manager Battle.net Add-on active" width="1248" height="561" data-path="images/playfab/identity/player-identity/platform-specific-authentication/tutorials/battlenet/battlenet-partner-add-on-page-active.png" />

## 액세스 토큰을 사용한 테스트

이 예제에서는 기존의 액세스 토큰 방식을 사용하여 LoginWithBattleNet API를 테스트하는 방법을 보여줍니다. 테스트를 위해 제공된 HTML 코드를 사용하세요.

<Note>
  `YOUR_CLIENT_ID`, `YOUR_PLAYFAB_TITLE_ID`, `YOUR_BNET_TITLE_NAME`, `YOUR_CLIENT_SECRET`를 자신의 값으로 *반드시* 교체하세요.
</Note>

```html theme={null}
<!DOCTYPE html>
<html>
<head>
    <script src="https://cdn.jsdelivr.net/npm/axios/dist/axios.min.js"></script>
</head>
<body>
    <h2>Battle.net SSO Token Demo (Manual Flow)</h2>
    <ol>
        <li>
            <button onclick="openBattleNetLogin()">Log in to Battle.net</button>
        </li>
        <li>
            After login, copy the <b>ST</b> value from the URL (e.g. <code>ST=US-xxxx-xxxx) and paste it here:
            

            <input type="text" id="ssoToken" size="80" placeholder="Paste SSO token (ST=...)" />
        </li>
        <li>
            Click "Exchange SSO Token for id_token"

            <button onclick="exchangeSSOToken()">Exchange SSO Token for id_token</button>
            

            <label>id_token:</label>

            <input type="text" id="idToken" size="80" placeholder="id_token will appear here" />
        </li>
        <li>
            Click "Login to PlayFab" to complete the flow

            <button onclick="loginWithPlayFab()">Login to PlayFab</button>
        </li>
    </ol>
    

    <div id="log"></div>
    <script>
        // Demo configuration variables
        const BNET_TITLE_NAME = 'YOUR_BNET_TITLE_NAME';
        const PLAYFAB_TITLE_ID = 'YOUR_PLAYFAB_TITLE_ID';
        const CLIENT_ID = 'YOUR_CLIENT_ID';
        const CLIENT_SECRET = 'YOUR_CLIENT_SECRET';

        function openBattleNetLogin() {
            const url = `http://account.battle.net/login/en/?app=${encodeURIComponent(BNET_TITLE_NAME)}`;
            window.open(url, '_blank');
        }

        function exchangeSSOToken() {
            const ssoToken = document.getElementById('ssoToken').value.trim();
            if (!ssoToken) {
                logLine("Please enter the SSO token.");
                return;
            }
            logLine("Exchanging SSO token for id_token...");
            // Prepare the request for the token exchange
            const params = new URLSearchParams();
            params.append('scope', 'account.basic openid');
            params.append('grant_type', 'urn:ietf:params:oauth:grant-type:token-exchange');
            params.append('subject_token', ssoToken);
            params.append('subject_token_type', 'urn:blizzard:params:oauth:token-type:sso');
            params.append('requested_token_type', 'urn:ietf:params:oauth:token-type:jwt');

            // Basic Auth header
            const authHeader = 'Basic ' + btoa(CLIENT_ID + ':' + CLIENT_SECRET);

            fetch('https://oauth.battle.net/token', {
                method: 'POST',
                headers: {
                    'Content-Type': 'application/x-www-form-urlencoded',
                    'Authorization': authHeader
                },
                body: params
            })
            .then(res => res.json())
            .then(data => {
                if (data.id_token) {
                    document.getElementById('idToken').value = data.id_token;
                    logLine("id_token received.");
                } else {
                    logLine("Error: " + JSON.stringify(data));
                }
            })
            .catch(err => logLine("Error: " + err));
        }

        function loginWithPlayFab() {
            const idToken = document.getElementById('idToken').value.trim();
            if (!idToken) {
                logLine("Please exchange for an id_token first.");
                return;
            }
            logLine("Logging in to PlayFab...");
            axios.post(
                `https://${PLAYFAB_TITLE_ID}.playfabapi.com/Client/LoginWithBattleNet`,
                {
                    TitleId: PLAYFAB_TITLE_ID,
                    IdentityToken: idToken,
                    CreateAccount: true
                },
                {
                    headers: {
                        'Content-Type': 'application/json'
                    }
                }
            )
            .then(response => logLine("Response: " + JSON.stringify(response.data)))
            .catch(error => logLine("Error: " + JSON.stringify(error.response ? error.response.data : error)));
        }

        function logLine(message) {
            const logDiv = document.getElementById('log');
            logDiv.innerHTML += message + "
";
        }
    </script>
</body>
</html></code>
```

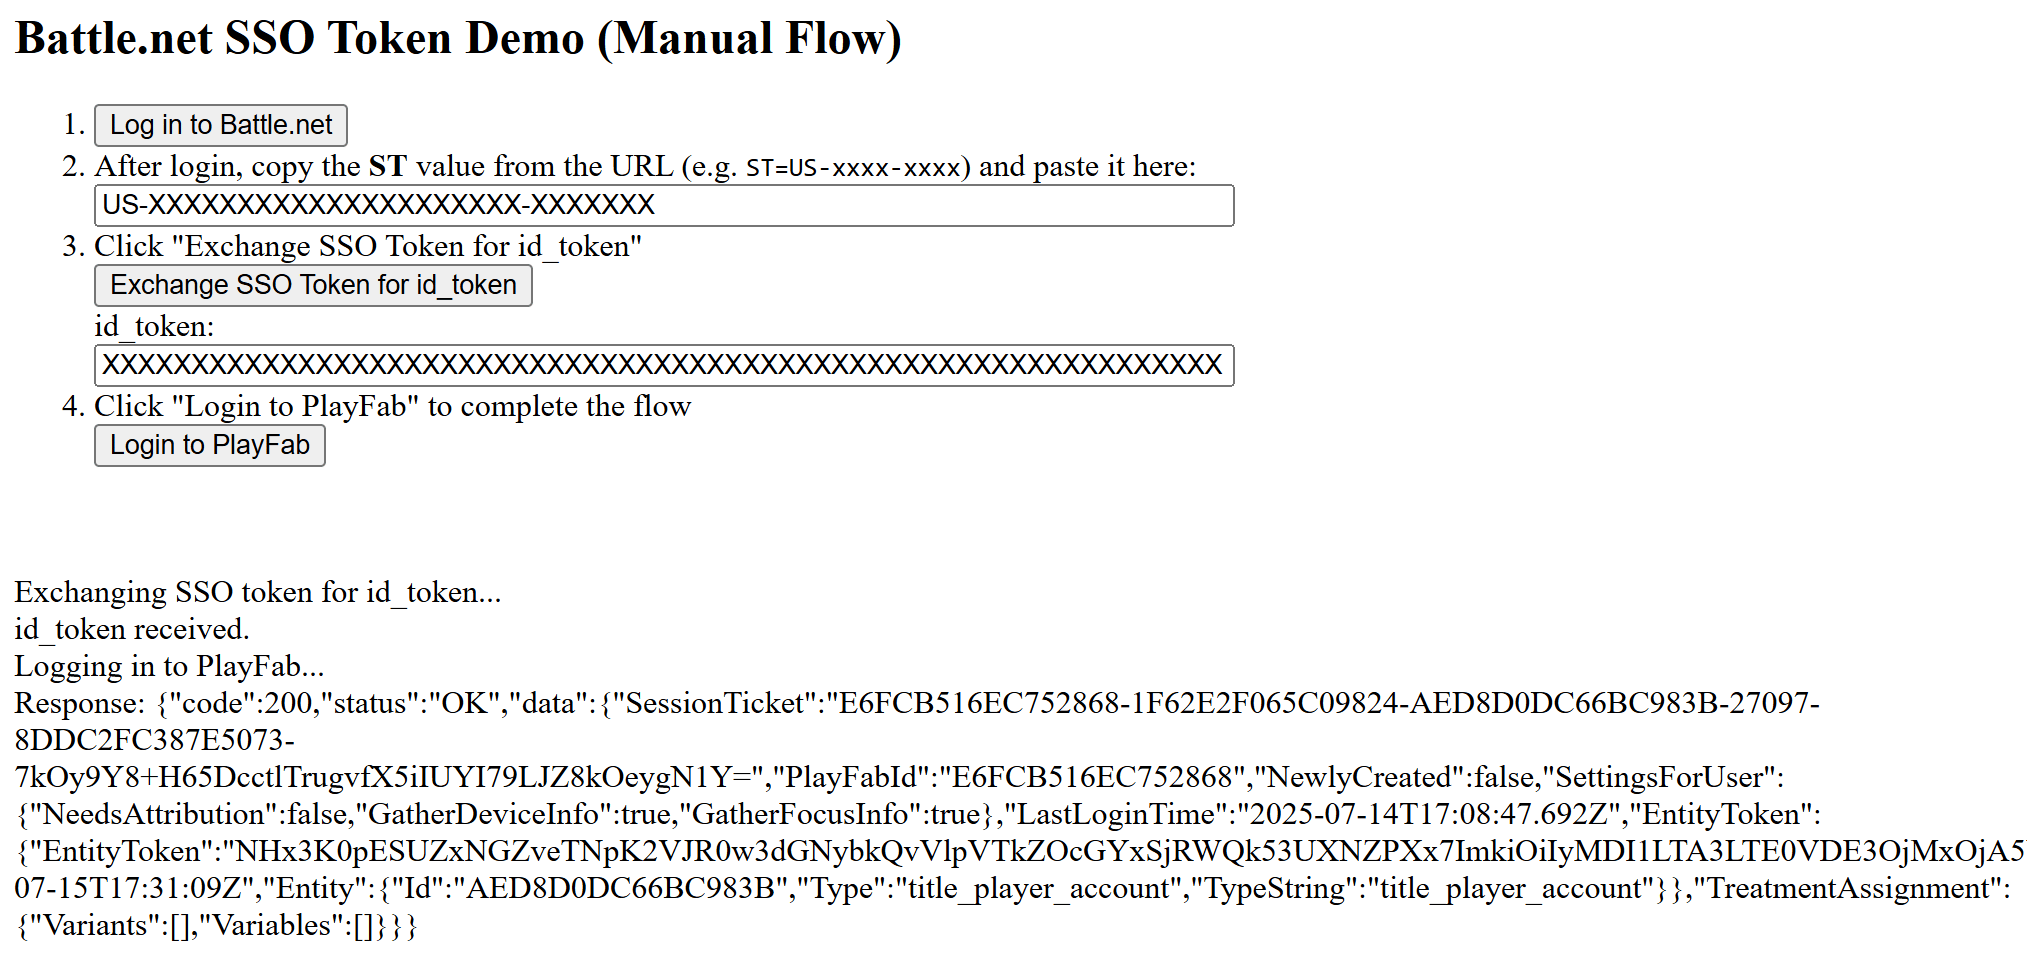
웹 서버를 사용하여 HTML 페이지를 열고, 지정한 URL을 사용하여 이 페이지에 접근하세요.

1. 페이지가 열리면 **Log in to Battle.net**을 선택합니다.
2. 로그인 후 URL에서 **ST** 값(예: ST=US-xxxx-xxxx)을 복사하여 대화 상자에 입력합니다.
3. **Exchange SSO Token for id\_token**을 선택하고 값을 대화 상자에 복사합니다.
4. **Login to PlayFab**을 선택하여 로그인 흐름을 완료합니다.
5. 완료되면 스크립트가 PlayFab 측에서 인증을 시도하고 결과를 보여줍니다.

<img src="https://mintcdn.com/microsoft-4404708b/mLCHf0iQv3VidfBe/images/playfab/identity/player-identity/platform-specific-authentication/tutorials/battlenet/battlenet-token-demo.png?fit=max&auto=format&n=mLCHf0iQv3VidfBe&q=85&s=6436d543b2543a12c1842bb36ad4021d" alt="Battle.net 인증 예제" width="2027" height="961" data-path="images/playfab/identity/player-identity/platform-specific-authentication/tutorials/battlenet/battlenet-token-demo.png" />


## Related topics

- [PlayFab용 Apple 로그인 설정하기](/ko/services/playfab/identity/player-identity/platform-specific-authentication/apple-open-id/overview.md)
- [Steam과 Unity를 사용하여 PlayFab 인증 설정하기](/ko/services/playfab/identity/player-identity/platform-specific-authentication/steam-unity.md)
- [Facebook과 Unity를 사용하여 PlayFab 인증 설정하기](/ko/services/playfab/identity/player-identity/platform-specific-authentication/facebook-unity.md)
- [Kongregate와 Unity를 사용하여 PlayFab 인증 설정하기](/ko/services/playfab/identity/player-identity/platform-specific-authentication/kongregate-unity.md)
- [Google과 HTML5를 사용하여 PlayFab 인증 설정하기](/ko/services/playfab/identity/player-identity/platform-specific-authentication/google-html5.md)